‘Piccadilly Circus - The Heart of London’ Tour
This particular ‘Hidden London’ Tour occurred on the 30th January 2026.
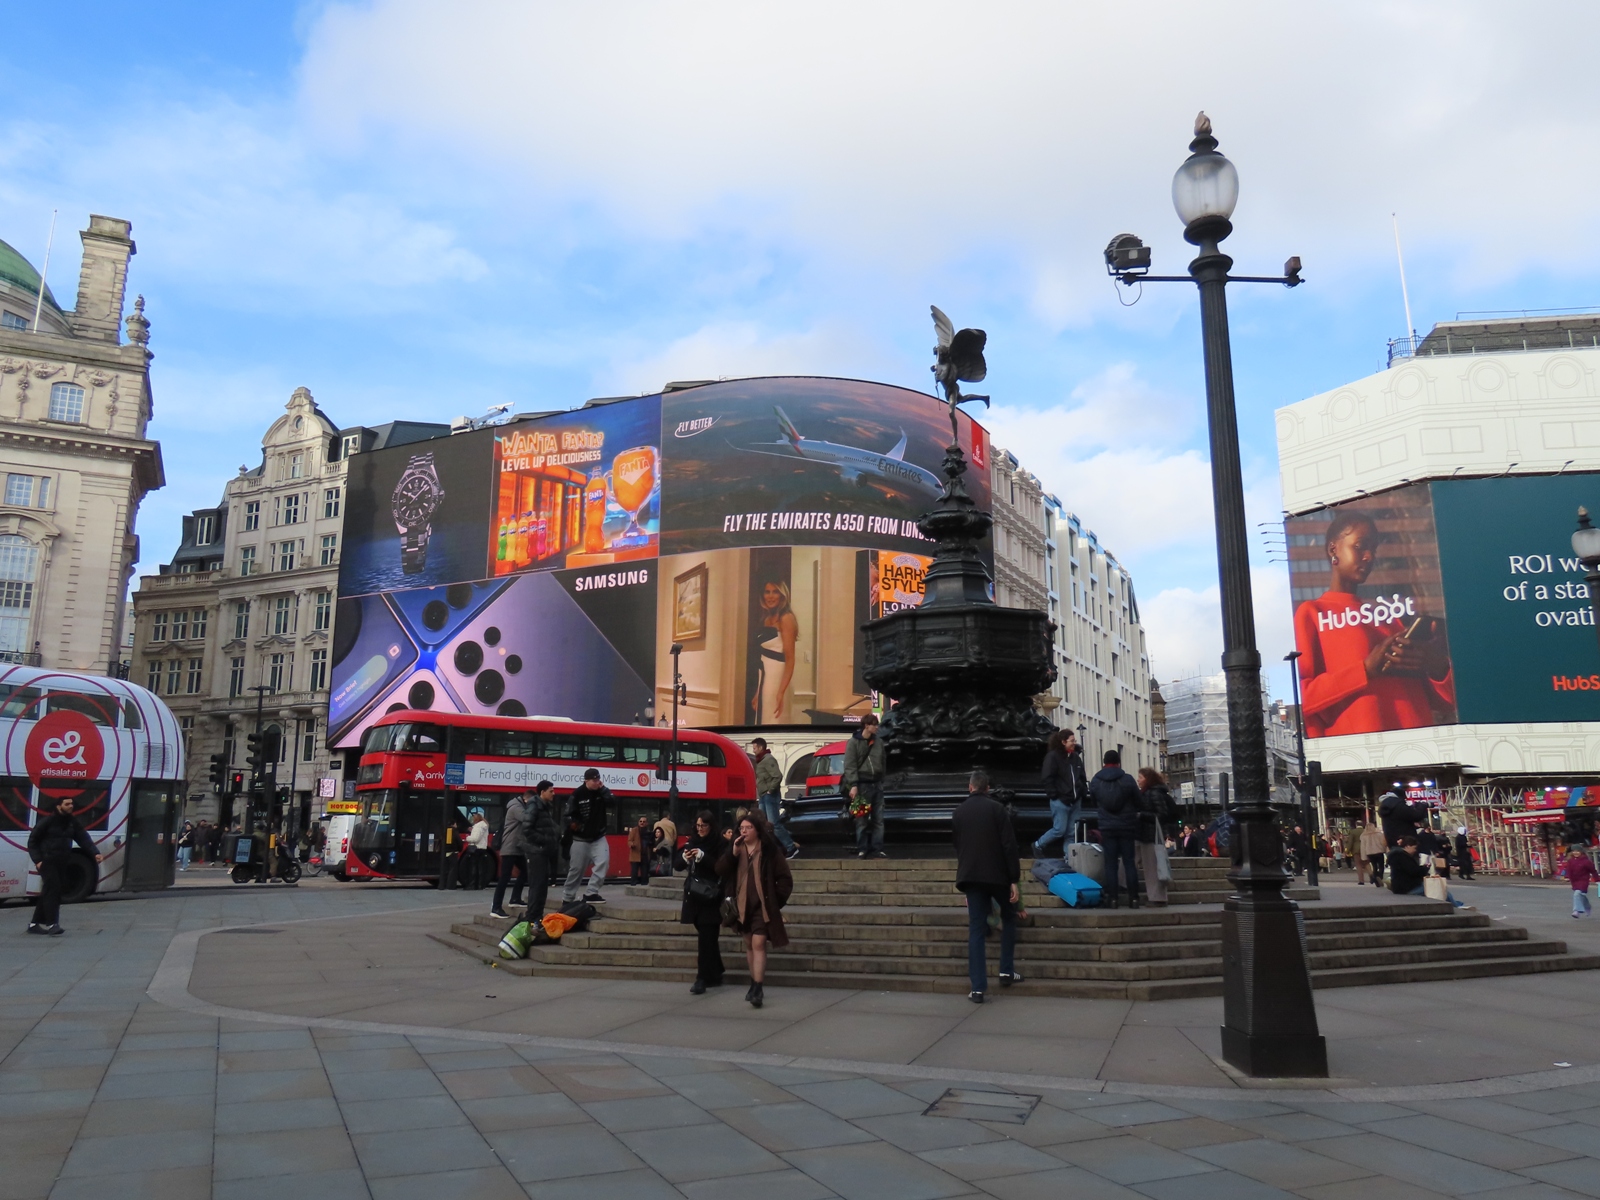
The tour commenced above ground, near the famous fountain that is topped by Anteros (not Eros, as is widely believed). The original Leslie Green surface building for Piccadilly Circus, which opened in March 1906 at the start of Bakerloo line operations, became redundant after the new subterranean booking hall came into use in 1929, but survived until the 1980s, when a new building was constructed on the site. This took design inspiration from the Leslie Green building, as well as that of architect John Nash, who designed the Piccadilly Circus thoroughfare in 1820. The short life of the original Leslie Green building can be attributed to how busy the station was, even in the early days - even with a total of eight lifts, the station could not cope with the passenger demand - 18 million annual users in 1922 - and so a new booking hall incorporating the then-new invention of escalators was designed by Charles Holden to reduce the overcrowding issues of the station.
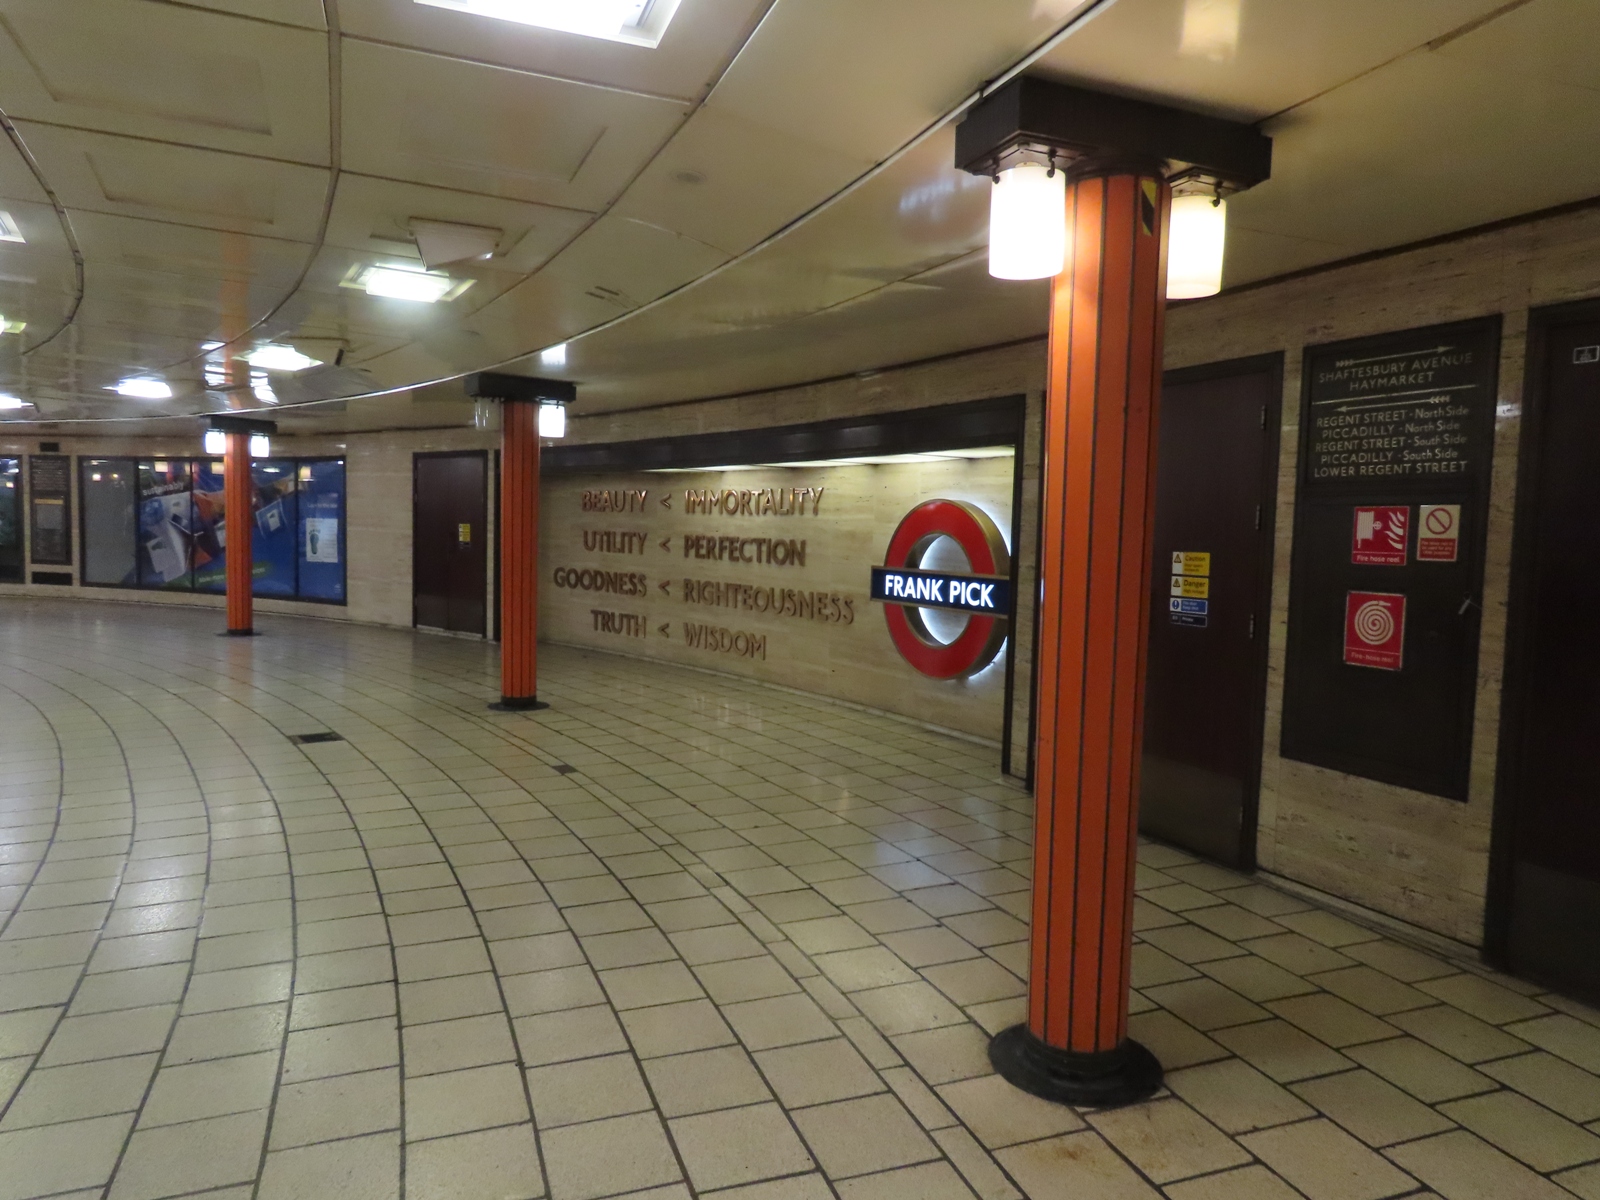
Holden’s design comprised a circular space with lavish decoration that could be accessed from several staircases around the Circus. An area that once was home to a bank of pay telephones now serves as a permanent memorial to former Managing Director Frank Pick (1878 - 1941) who oversaw the introduction of many of the corporate design cues and standards that are still synonymous with the Underground to this day, as well as overseeing the extensions to many existing lines that would include further station designs by Holden. The orange colouring to the columns that support the roof is a 1970s’ alteration.
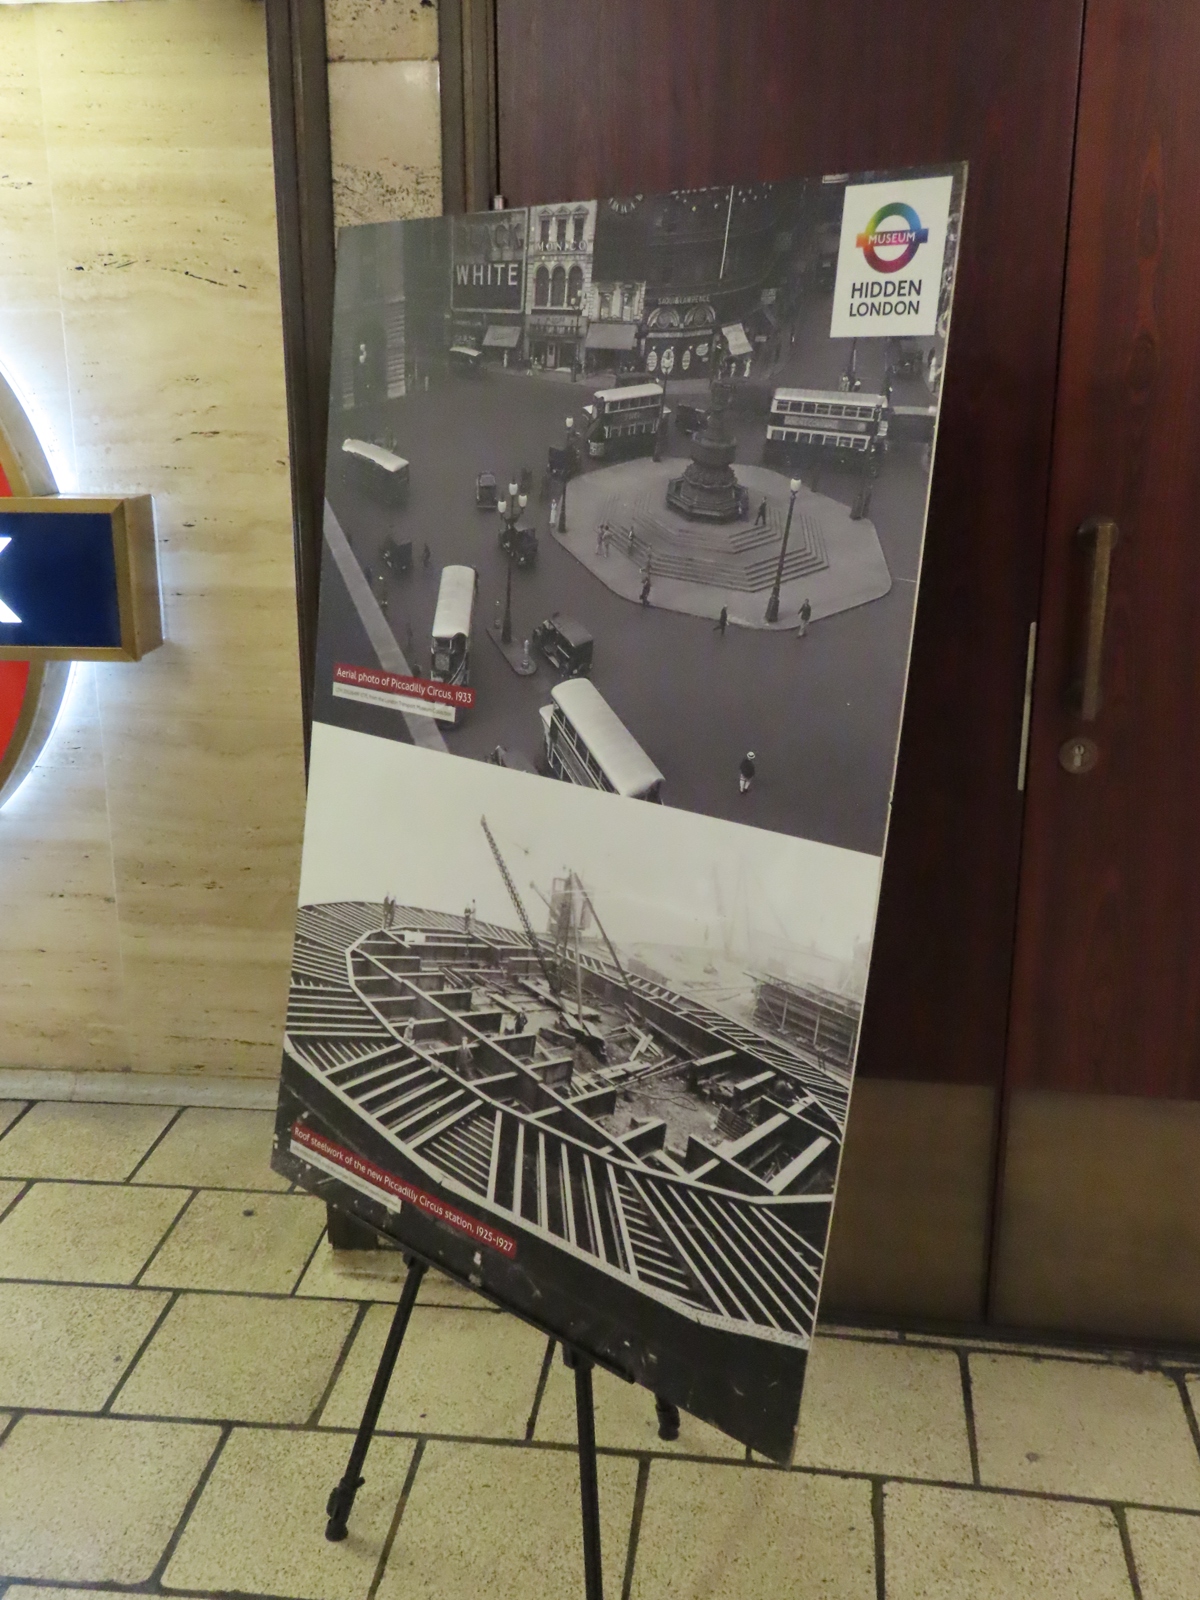
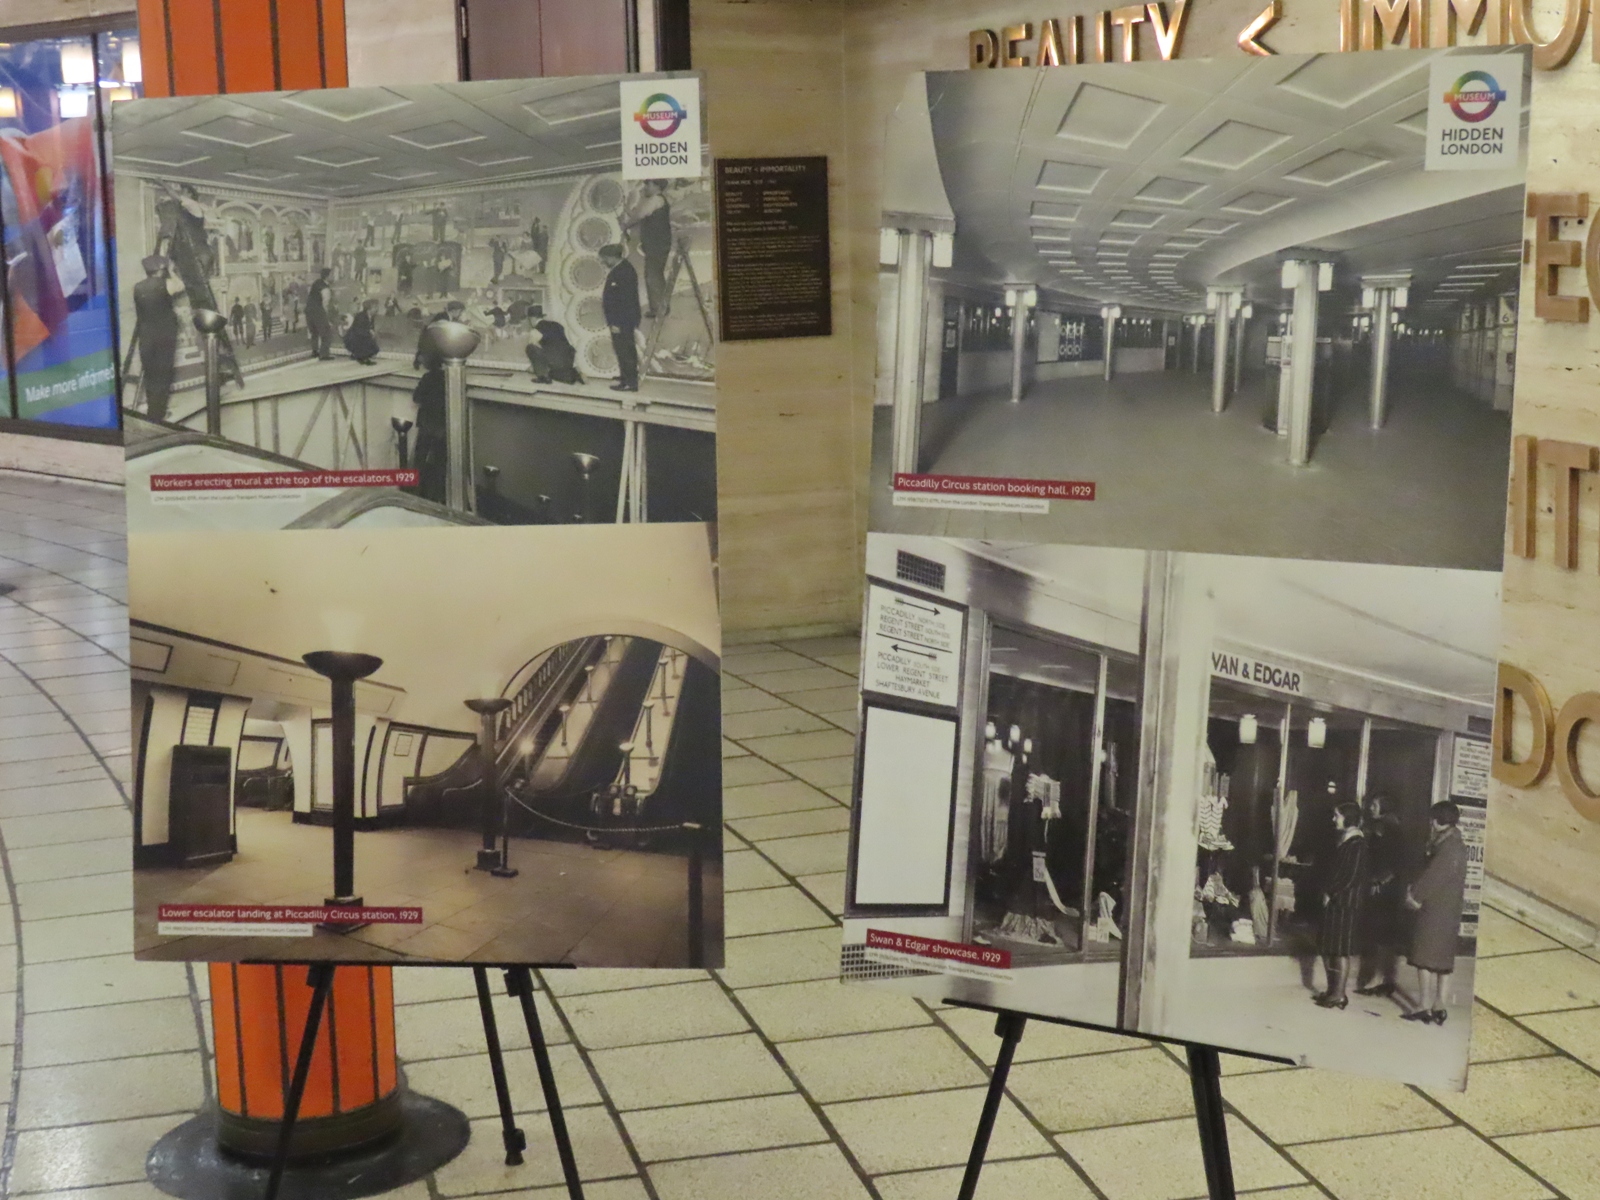
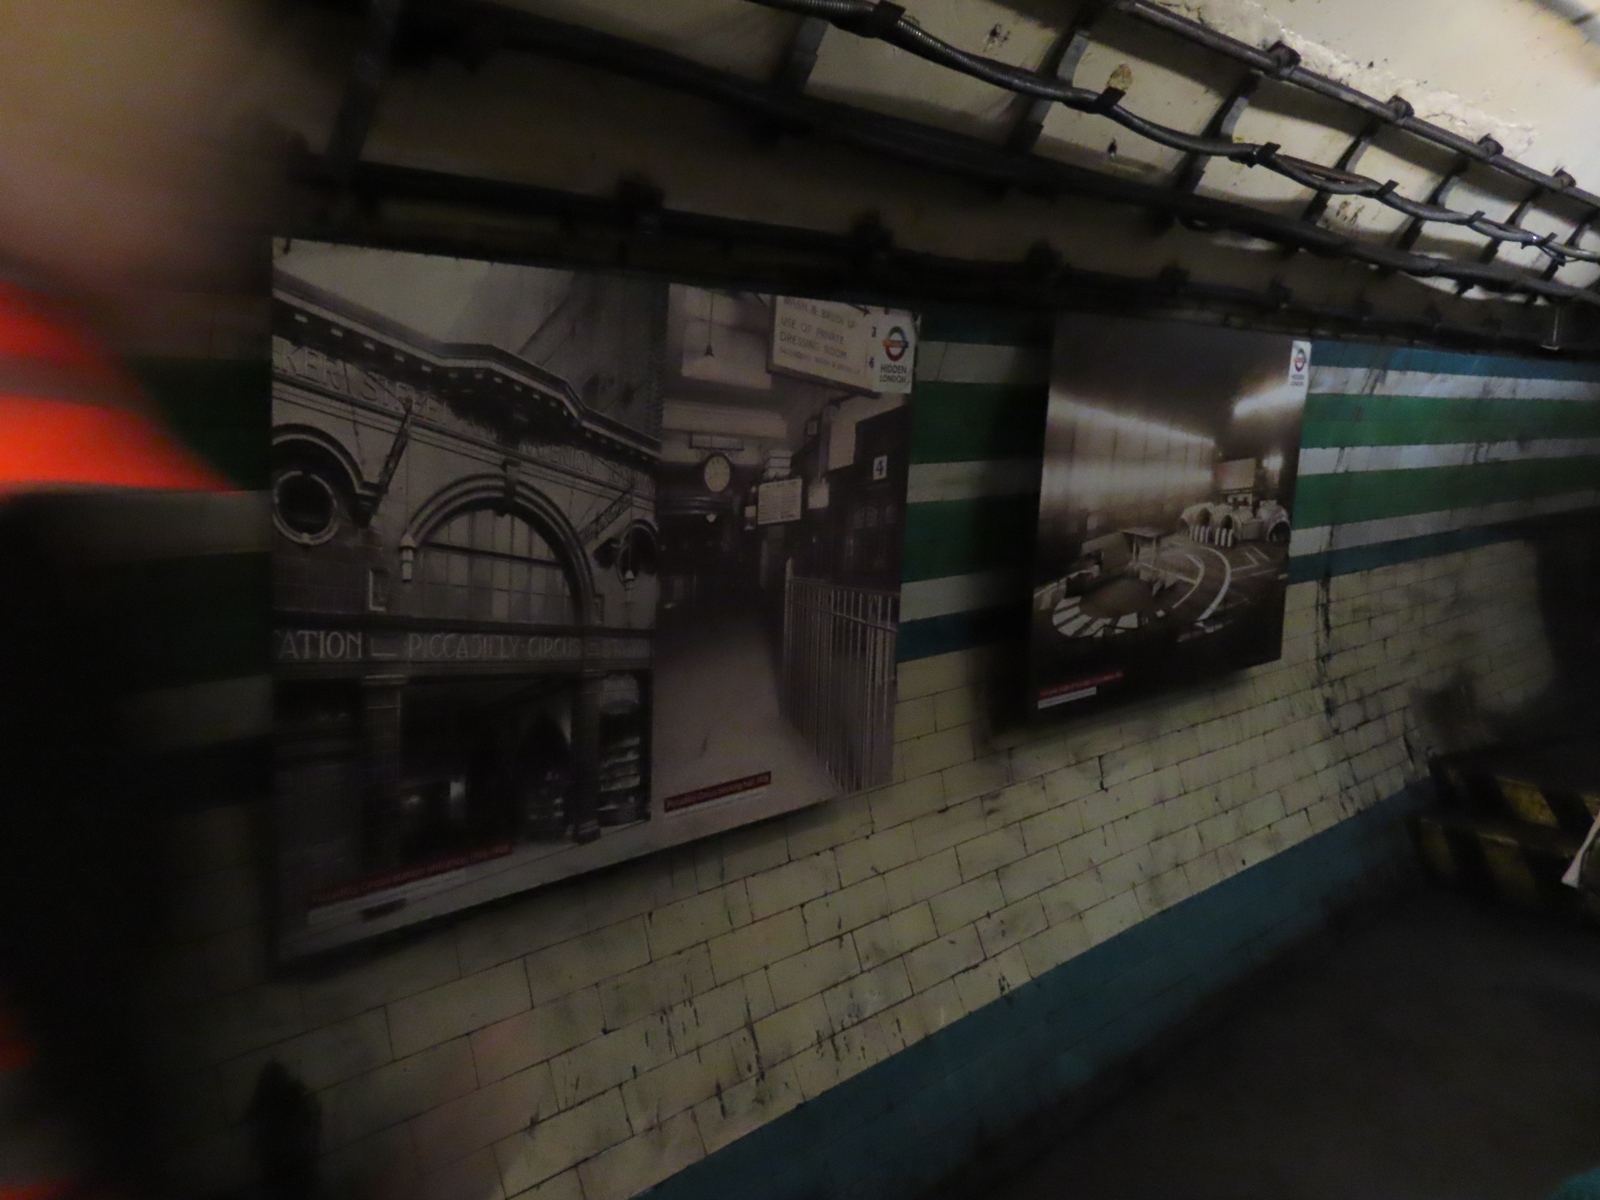
This information panel shows the Circus after the new booking hall was constructed (top), as it appeared in 1933, as well as a mid-1920s’ view of the steel roof of the booking hall (bottom).
Two further panels showed pictures of the station soon after opening, including one of a mural produced by artist Stephen Bone that existed above the escalators. The mural was short-lived, with the space proving ideal, and far more lucrative, for displaying large advertisements instead - a purpose it continues to serve to this day.
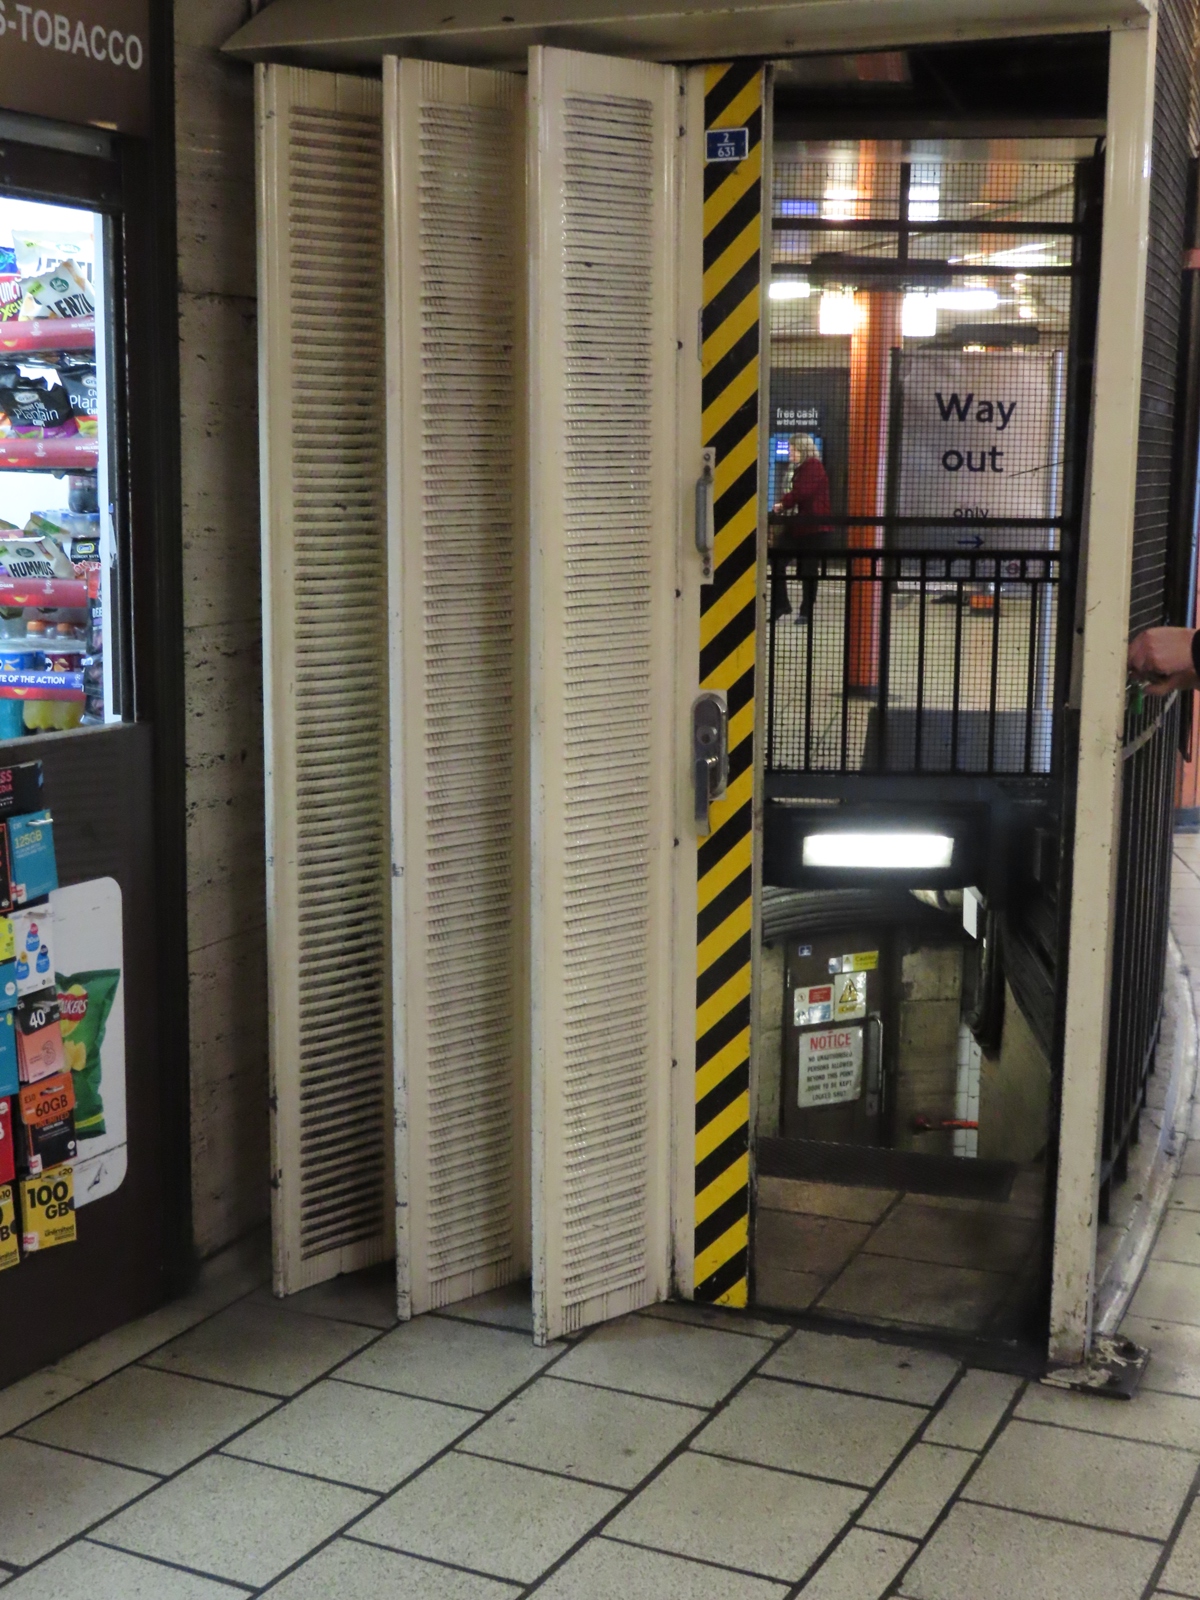
The first behind-the-scenes area to be explored was through this concertina sliding door located near a small newsagent’s shop. This led to a lengthy spiral staircase; part of which remains in use as an alternative means of transferring between lines. Note that this is not the original Leslie Green spiral staircase, but also dates from the reconstruction of the late 1920s, and was used as a construction shaft for the new escalator passageways.
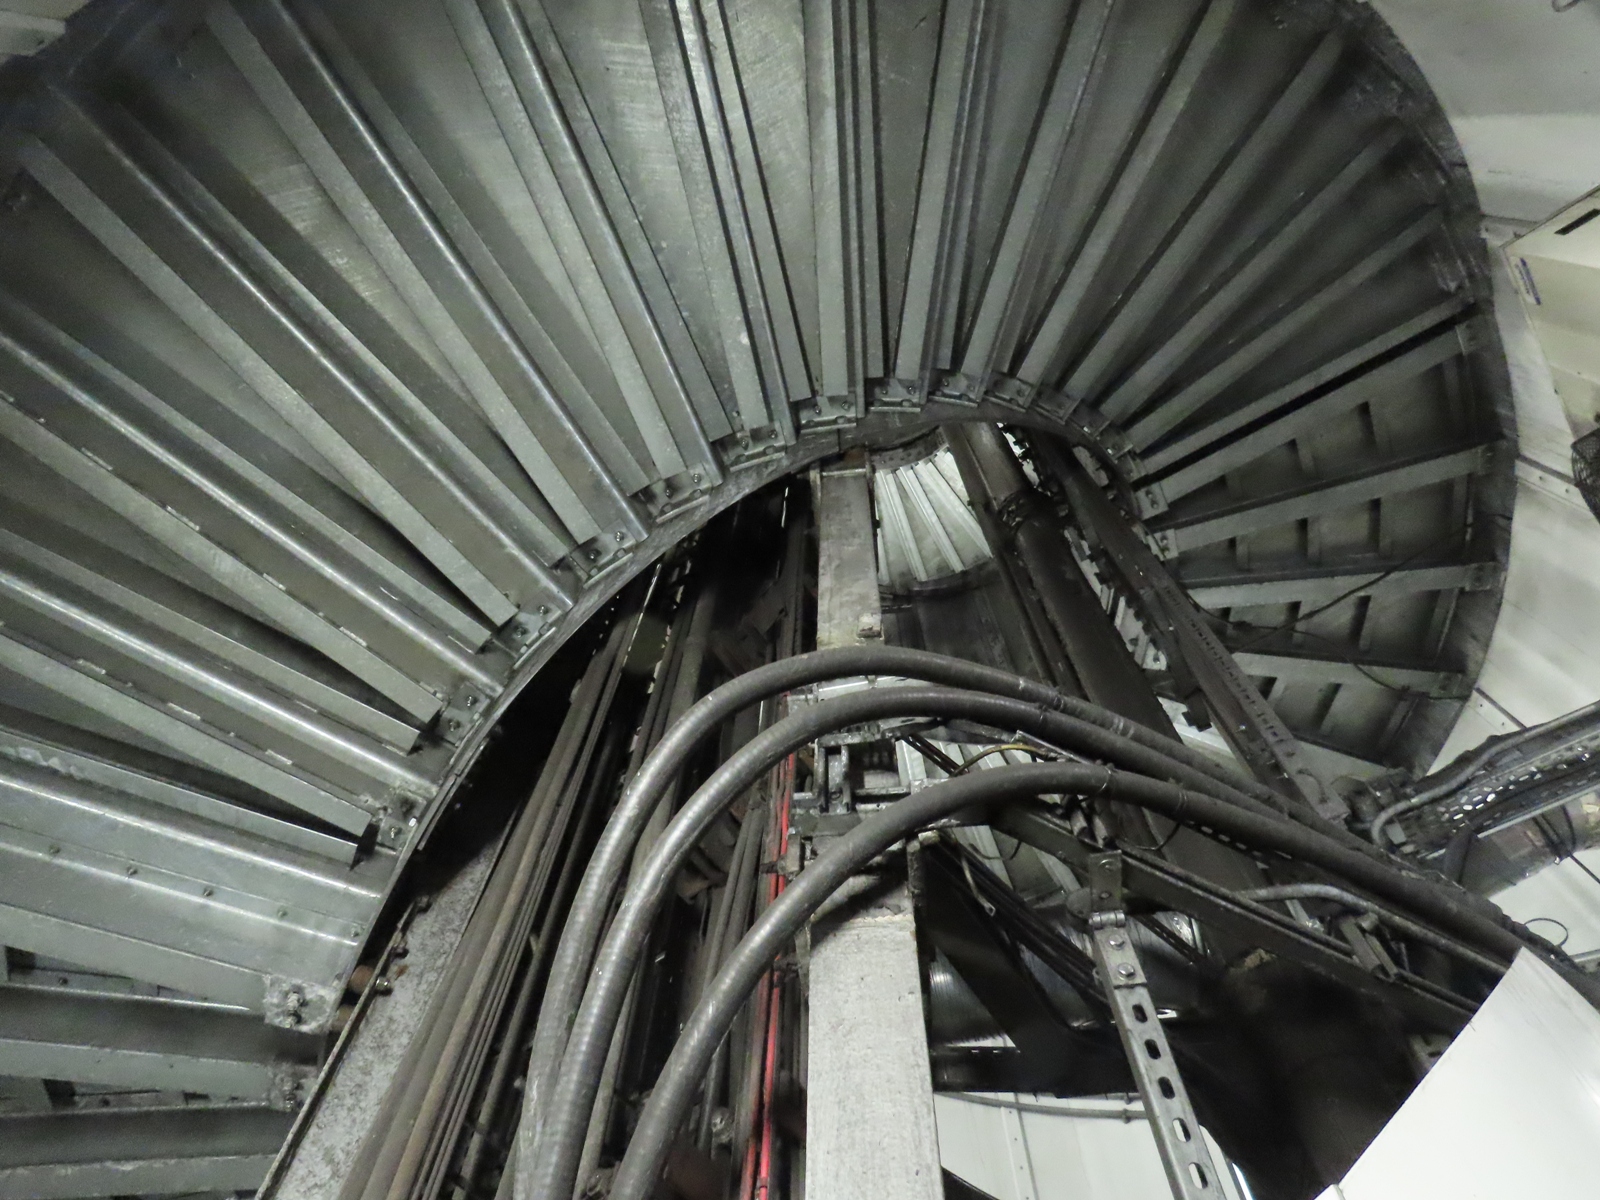
Looking back up the spiral staircase, near to the section that remains open to the public.
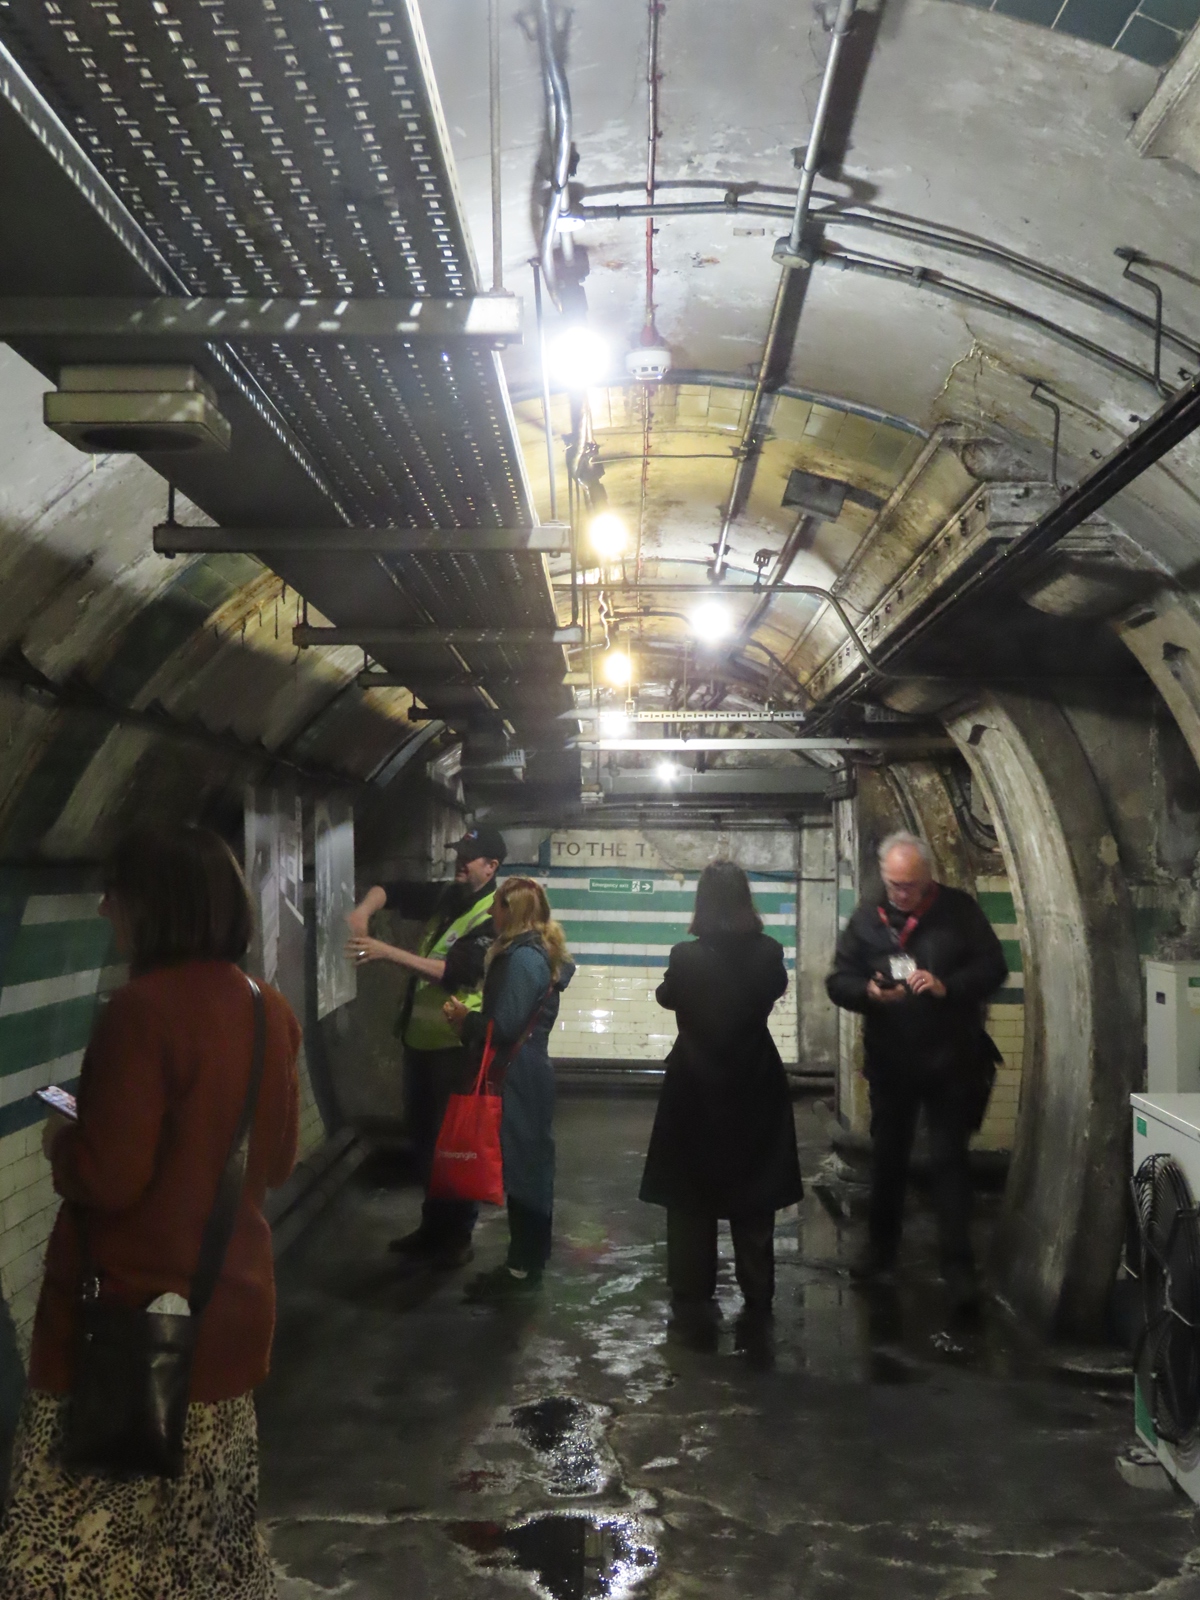
After being led along one of the Bakerloo line platforms, we were directed through a grille door near the end that was built as a passageway between the lifts and the platforms, but became used as a ventilation shaft after the 1929 station remodelling.
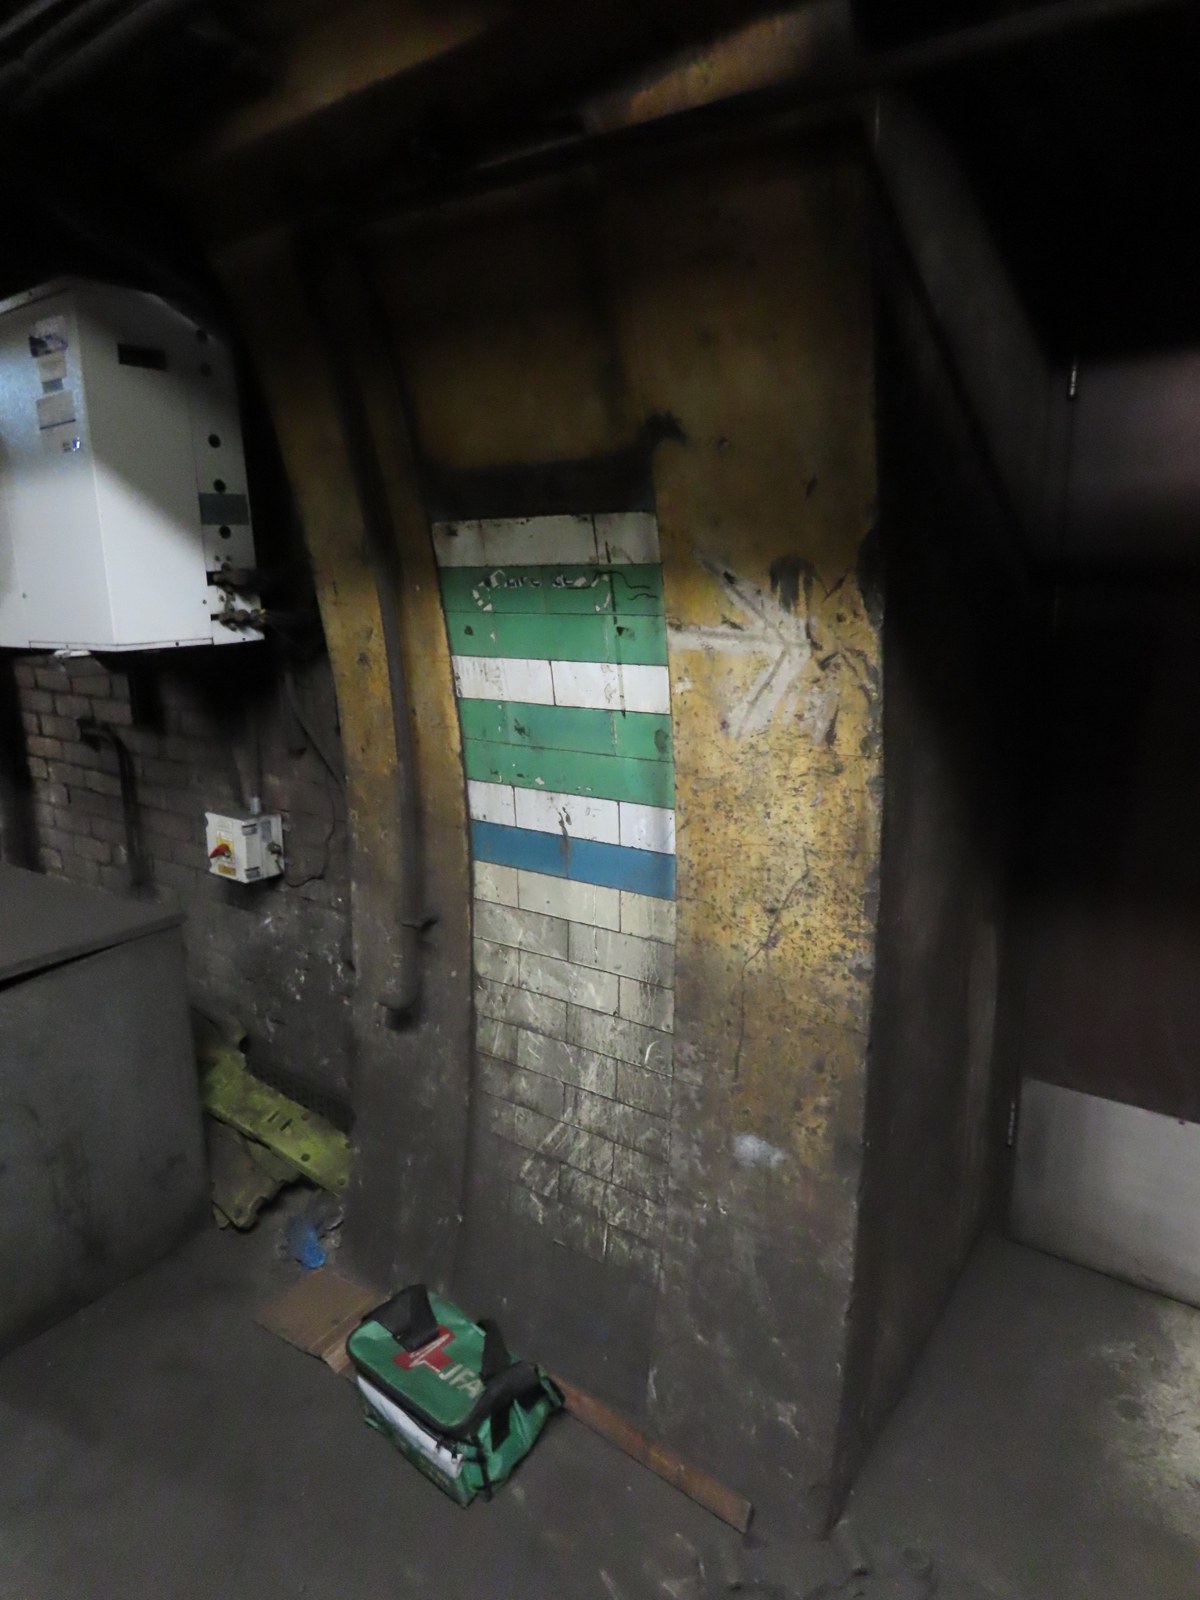
Examples of the Leslie Green tiling pattern were still extant on the passageway walls.
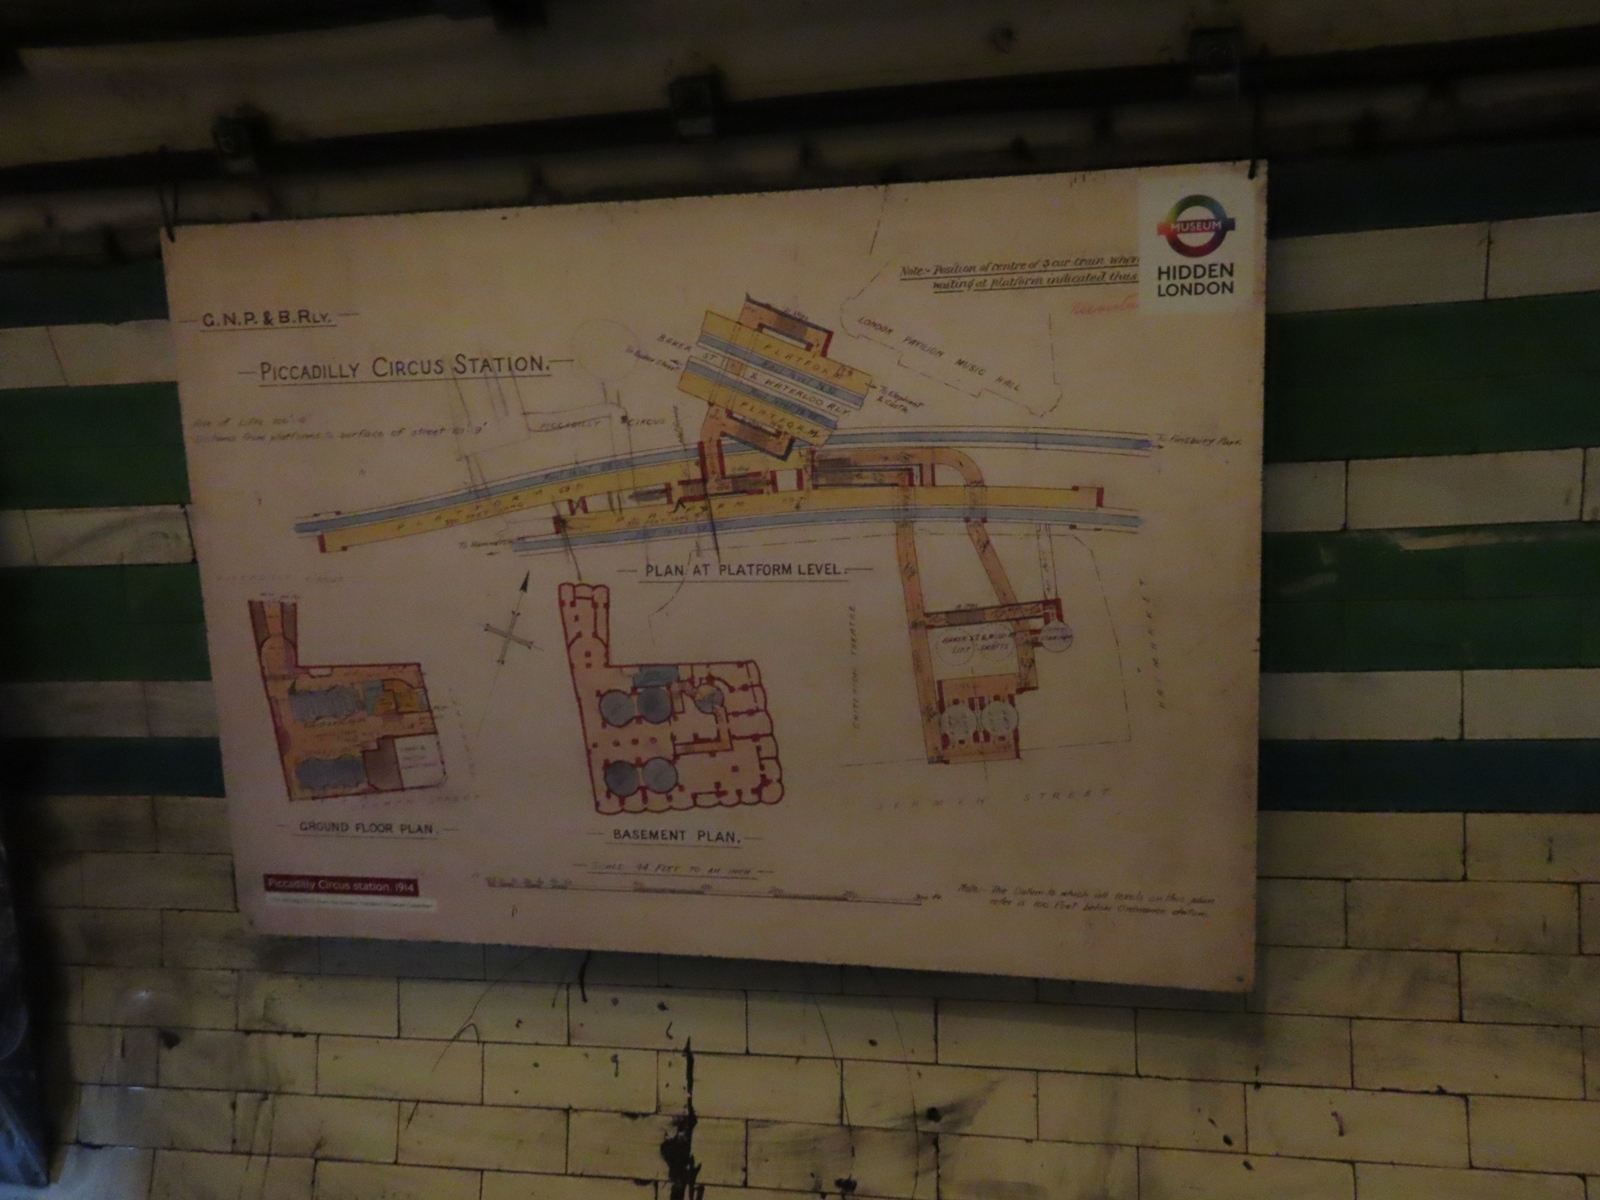
This 1914 plan depicts the station layout, with the Bakerloo platforms truncated, and this passage omitted, for clarity.
The adjacent picture board showed the original station building and booking hall. The lack of any construction above the station building allowed the Underground Group to sell the space for property development - in this case, a hotel was later constructed above the station.
This ‘stomach diagram’ shows how the underground passageways and tunnels all interlink together. A tunnel that is to the same diameter as the actual running tunnels burrows horizontally through the area, and contains the various services that required moving, to accommodate the new passageways.

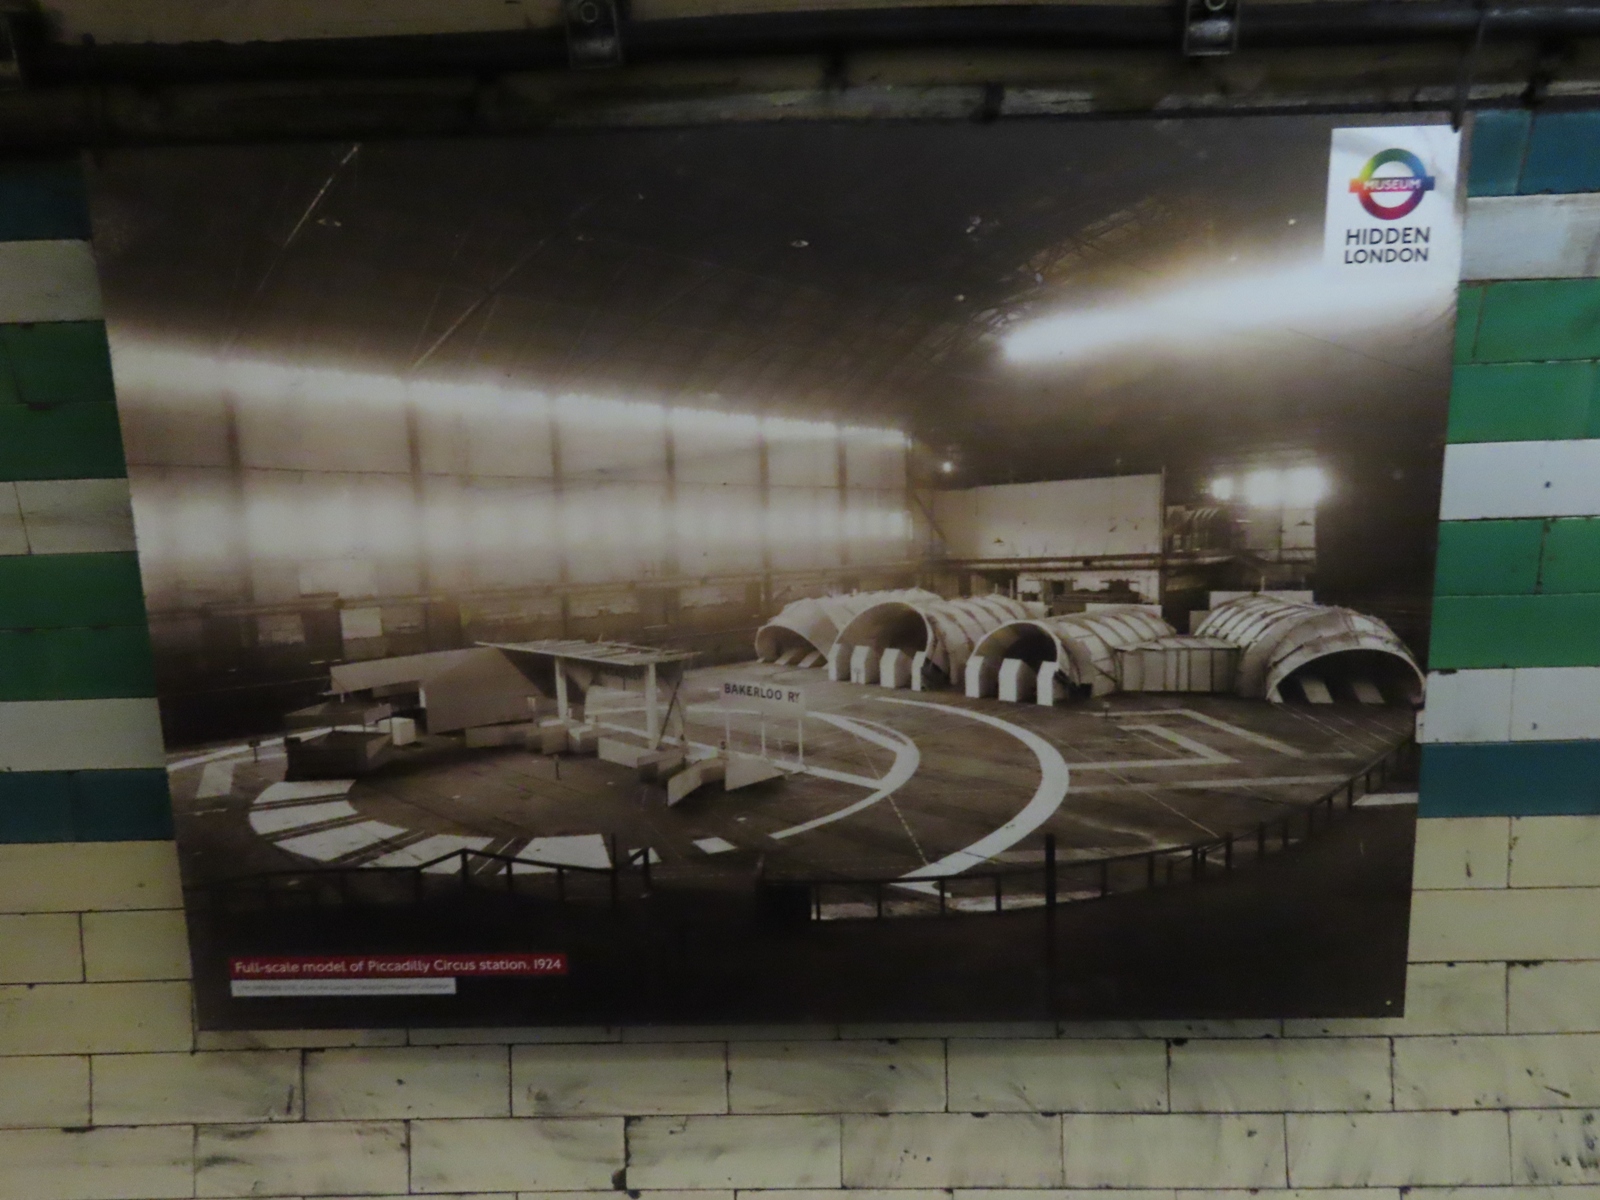
This 1924 image shows a full-scale model of Holden’s proposed new booking hall that was installed at the Earl’s Court Exhibition Centre, allowing the architect to refine the design as required.
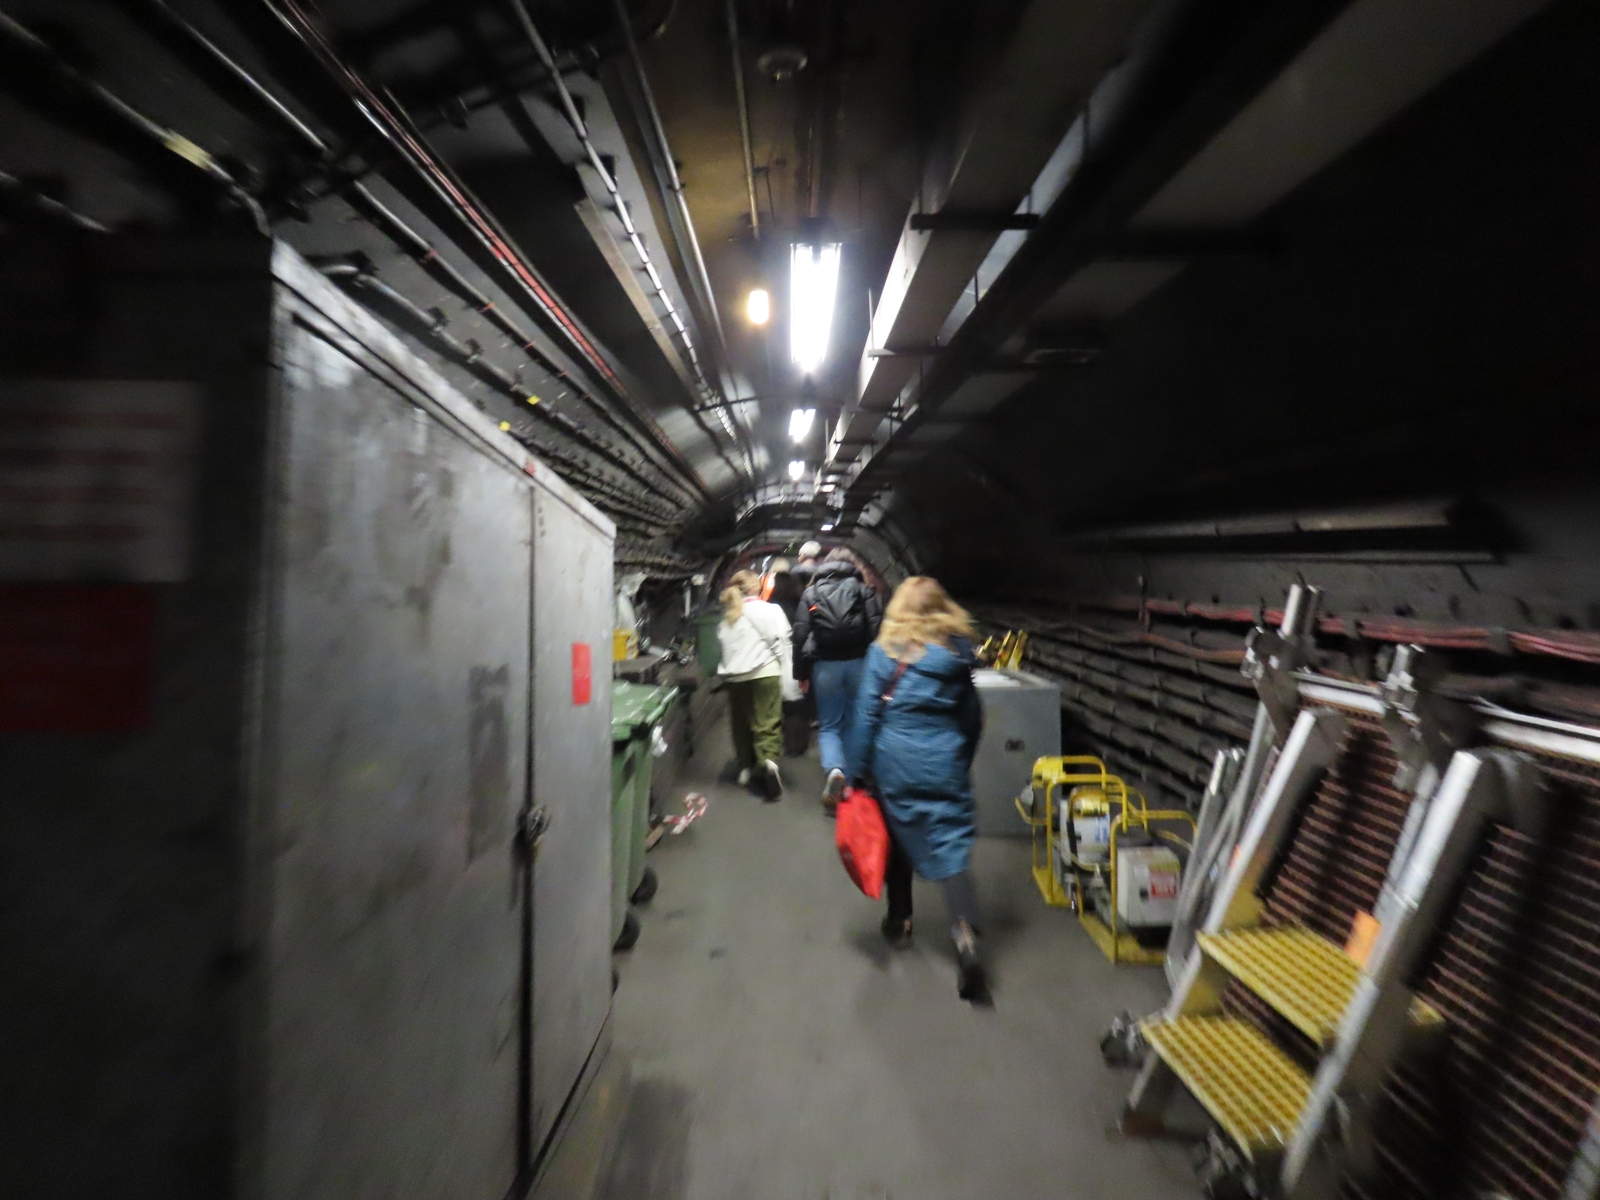
Leaving this passageway, we then headed to the Piccadilly line platforms, and entered another passageway that had become surplus after the lift access was withdrawn. The tiles here were painted black to hide the ventilation shaft’s former use from passengers.
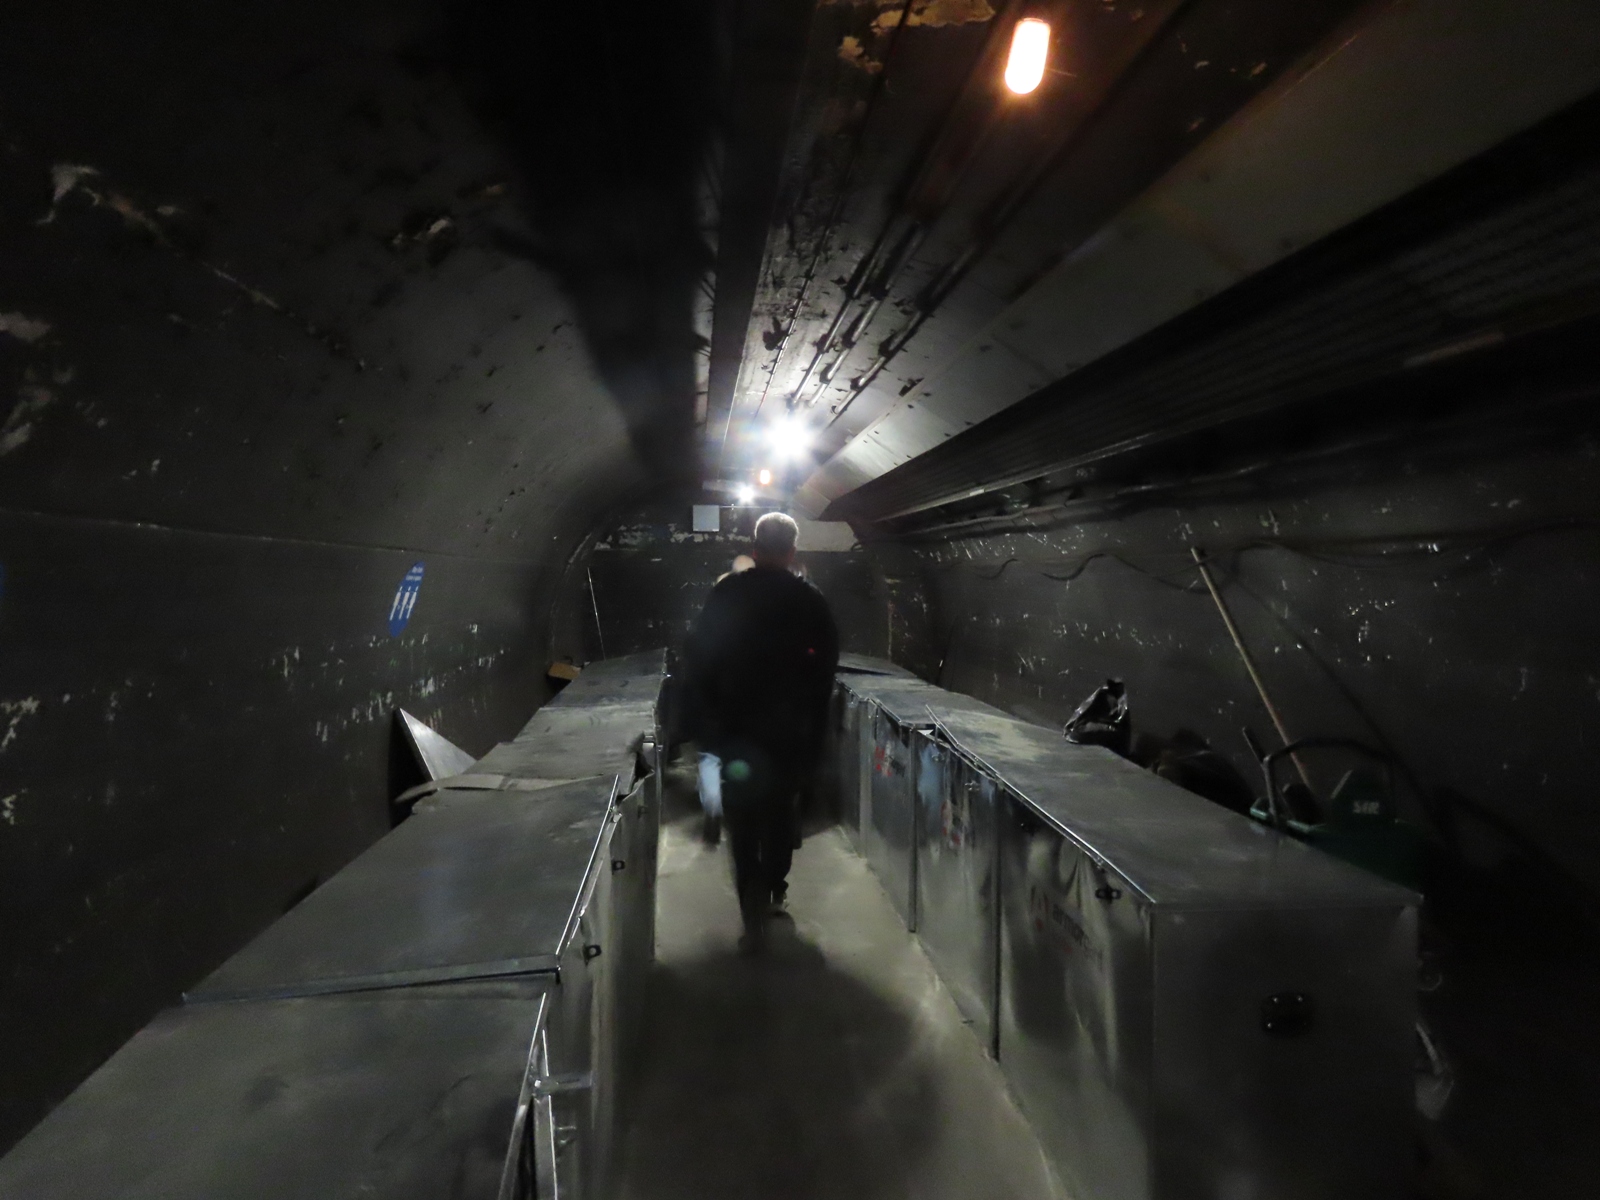
The paint only extended to the section of the passageway that would be visible to any passengers peering through the grilles, however - after turning a corner, the tiling returned to being unpainted.
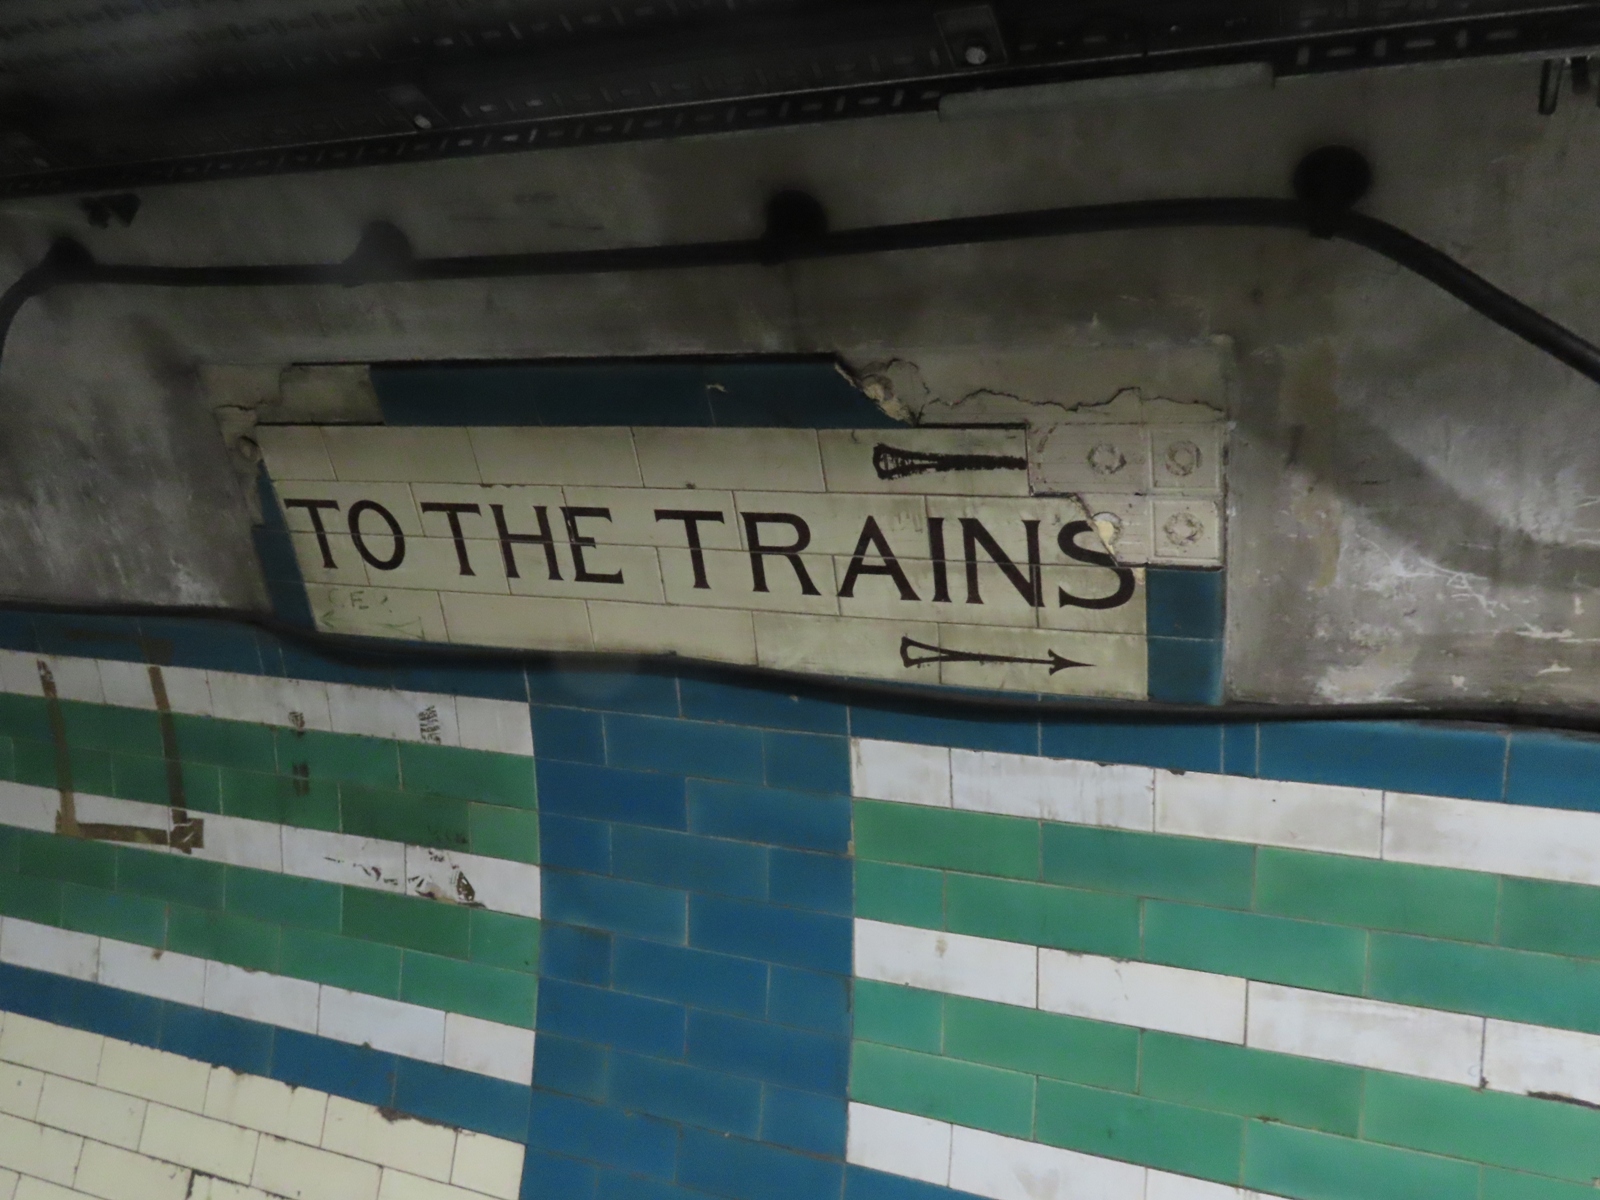
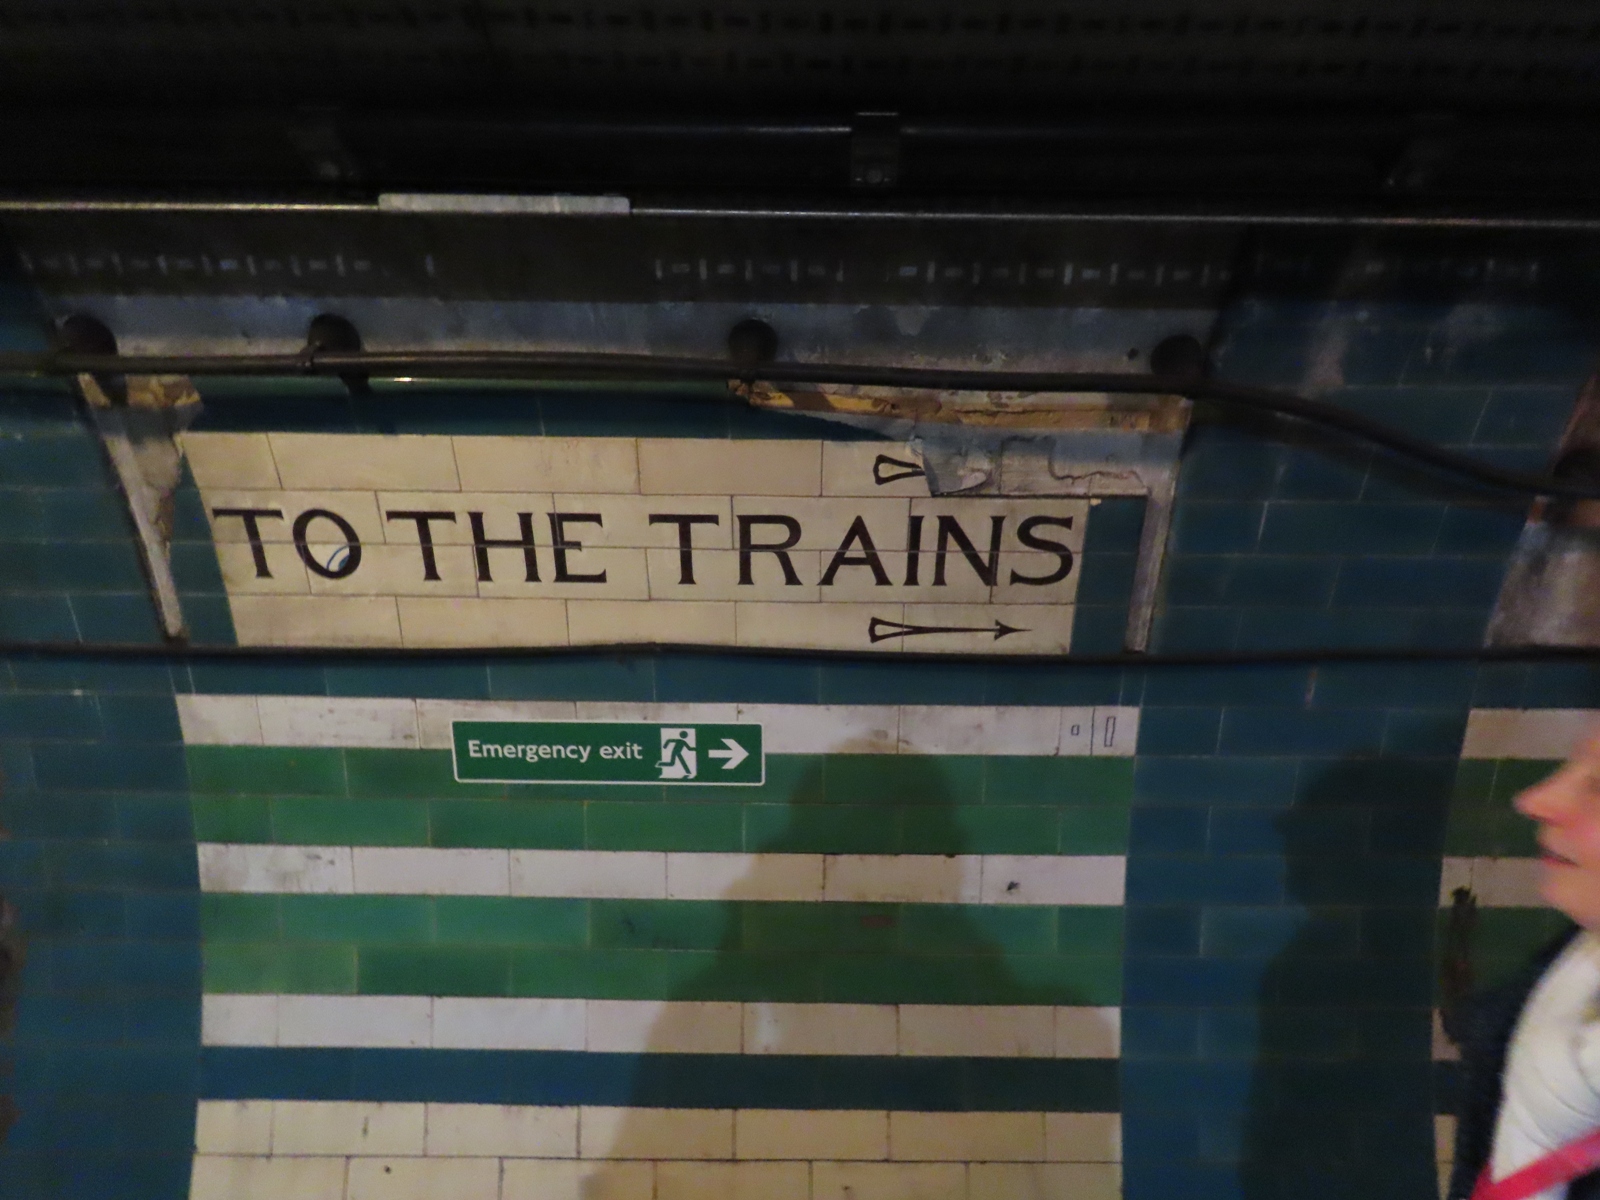
A second ‘To the Trains’ indicator existed a little further along the passageway.
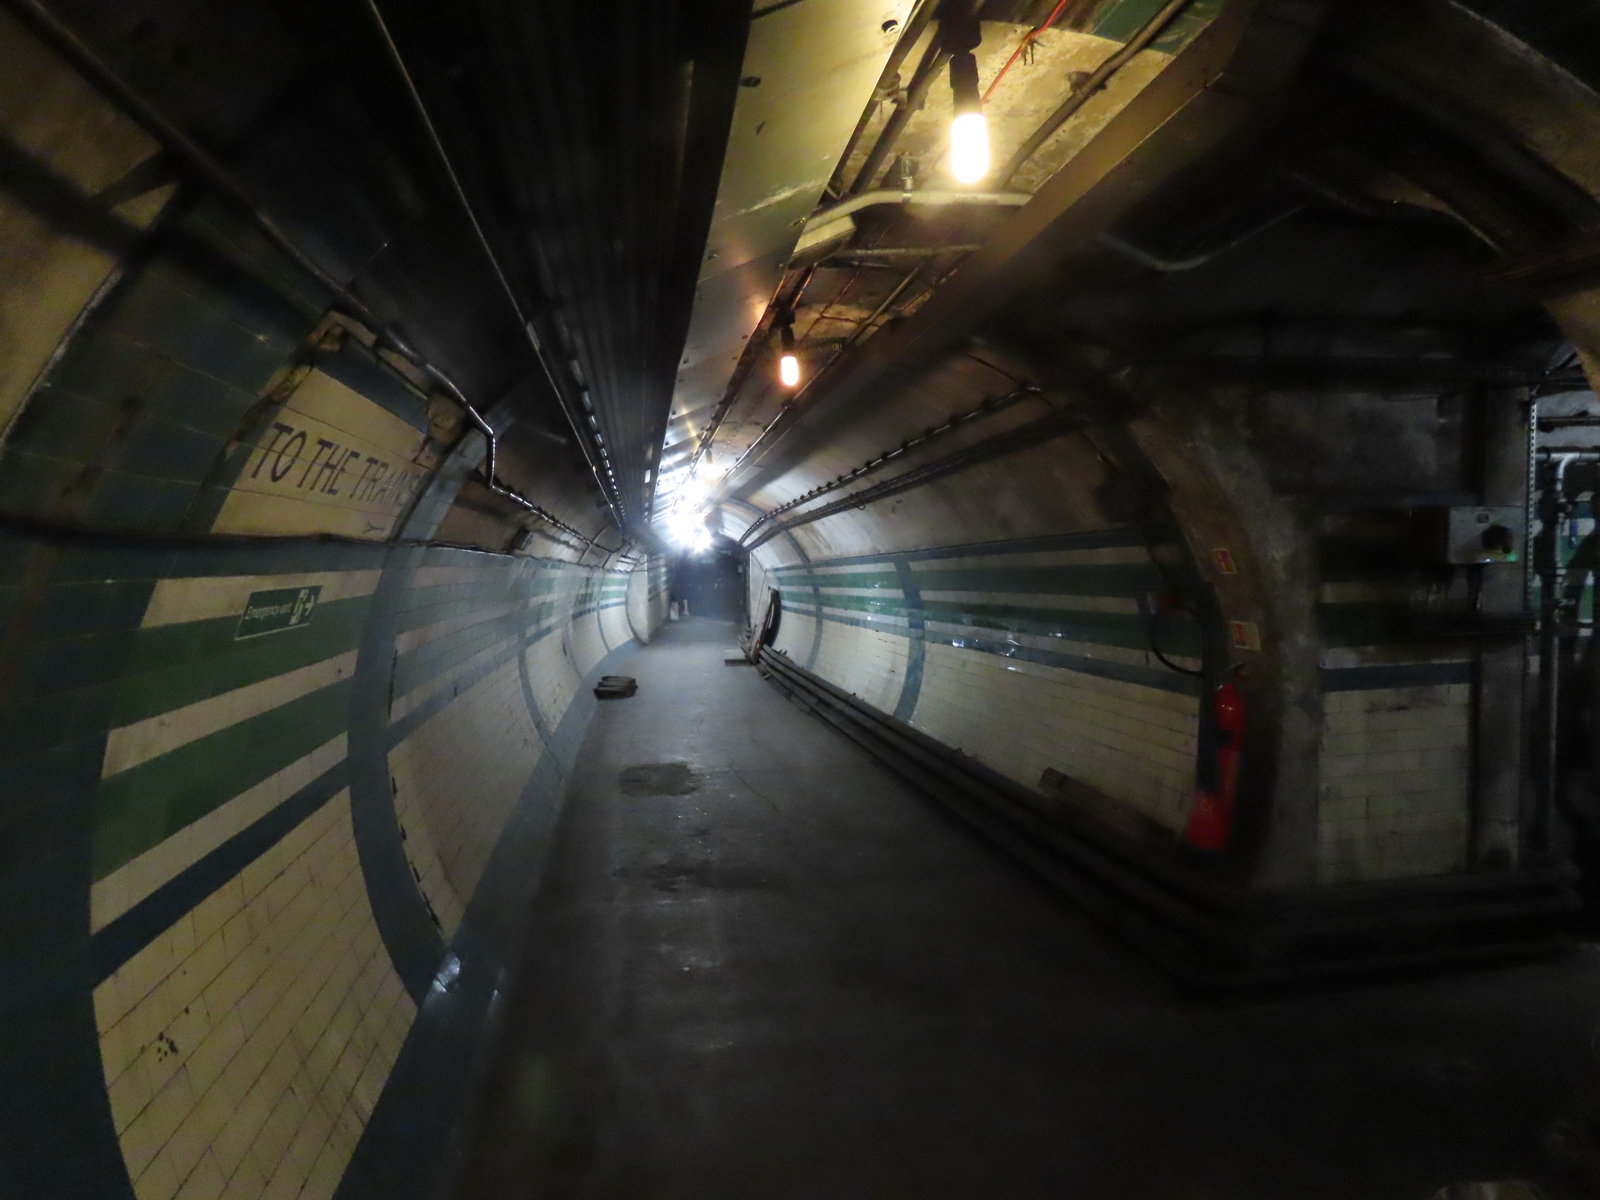
Looking back the way we had just traversed, the passageway can be seen to follow a slight curve.
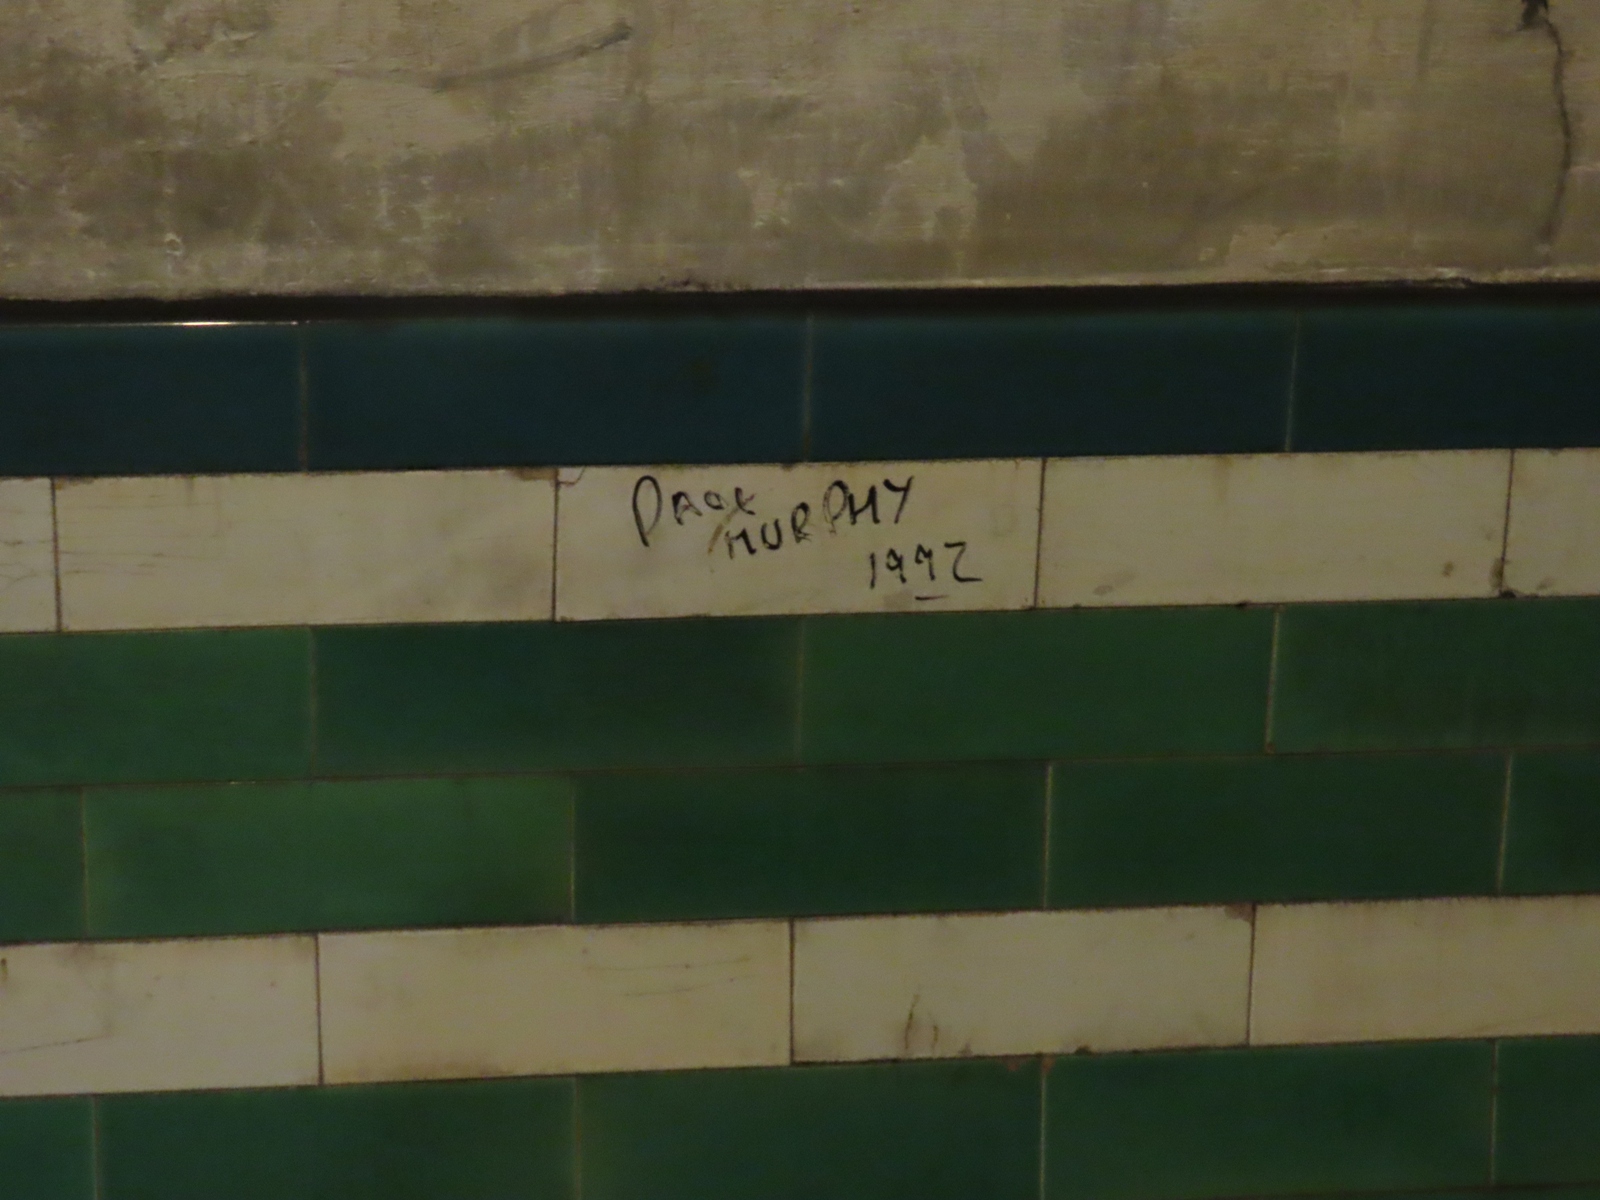
Back in 1992, someone called Paul Murphy had visited this area, and had signed his name on one of the tiles, purely for it to be seen by visitors on tours to the abandoned areas some 34 years later!
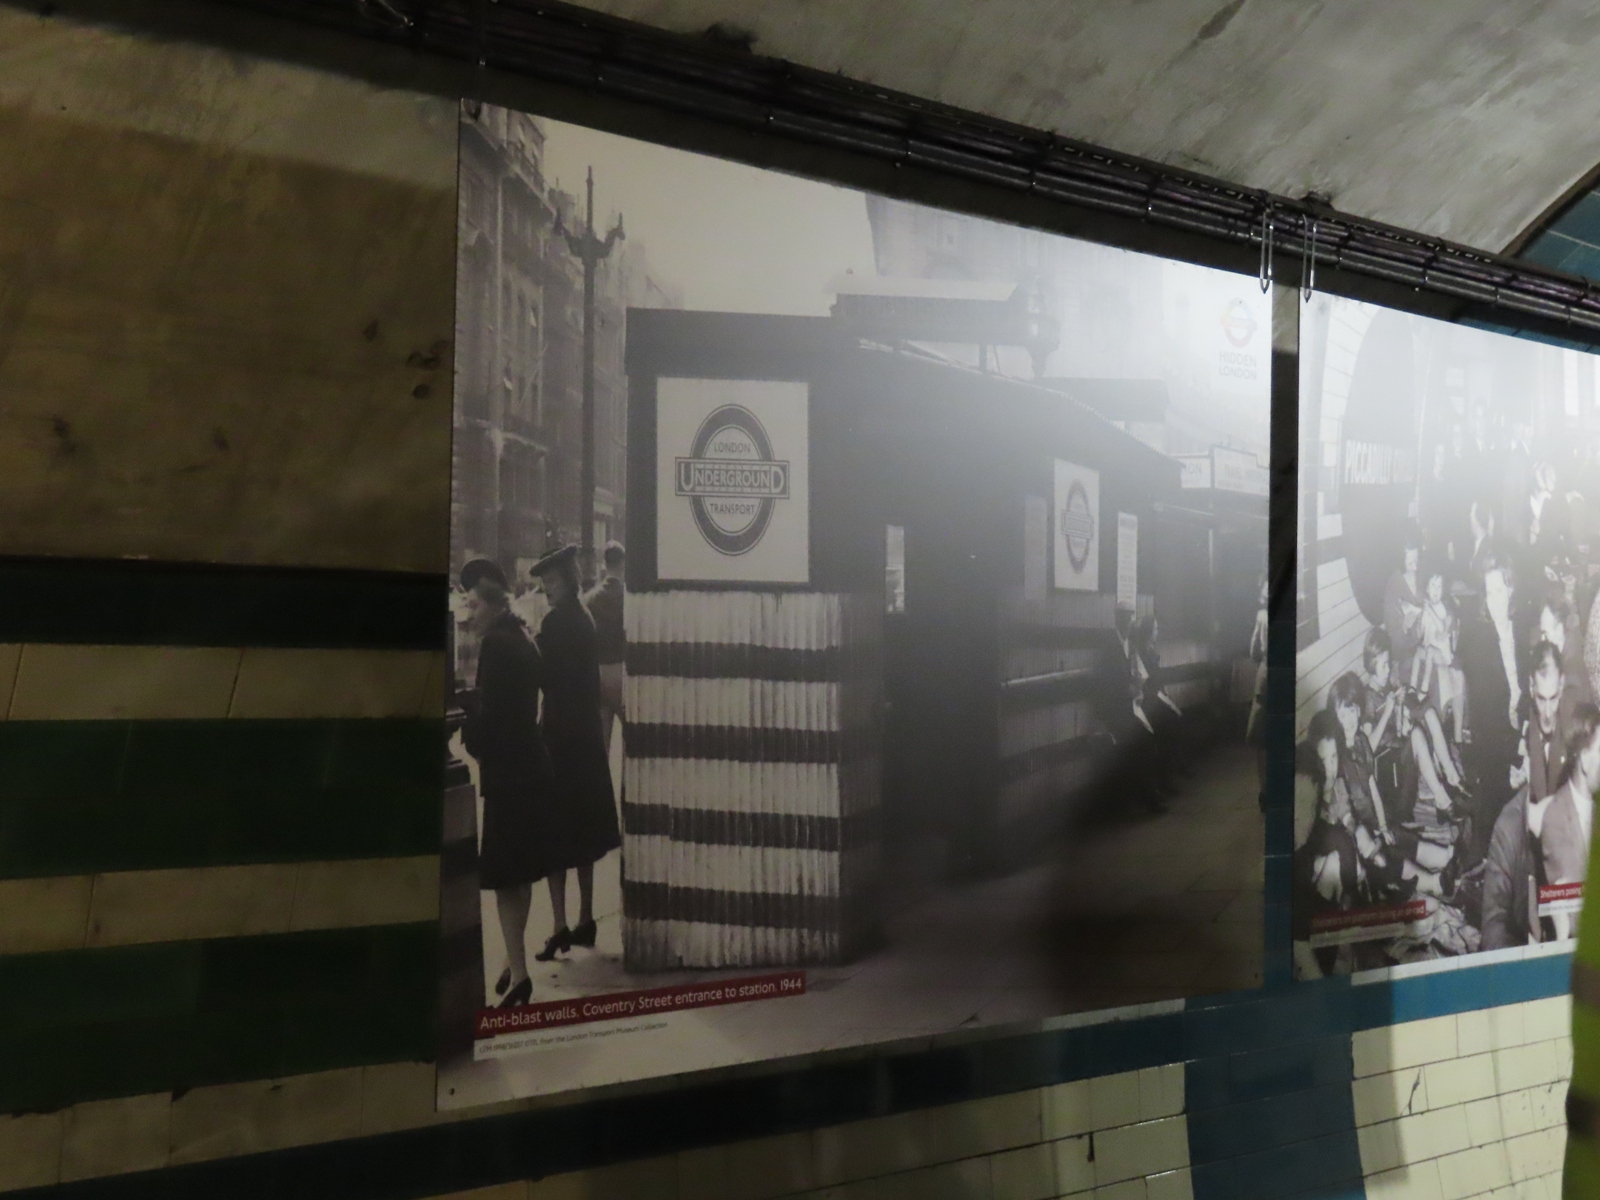
Nearby, a 1944 picture of an anti-blast wall installed around one of the surface entrances began the story of the station’s use during the Second World War.
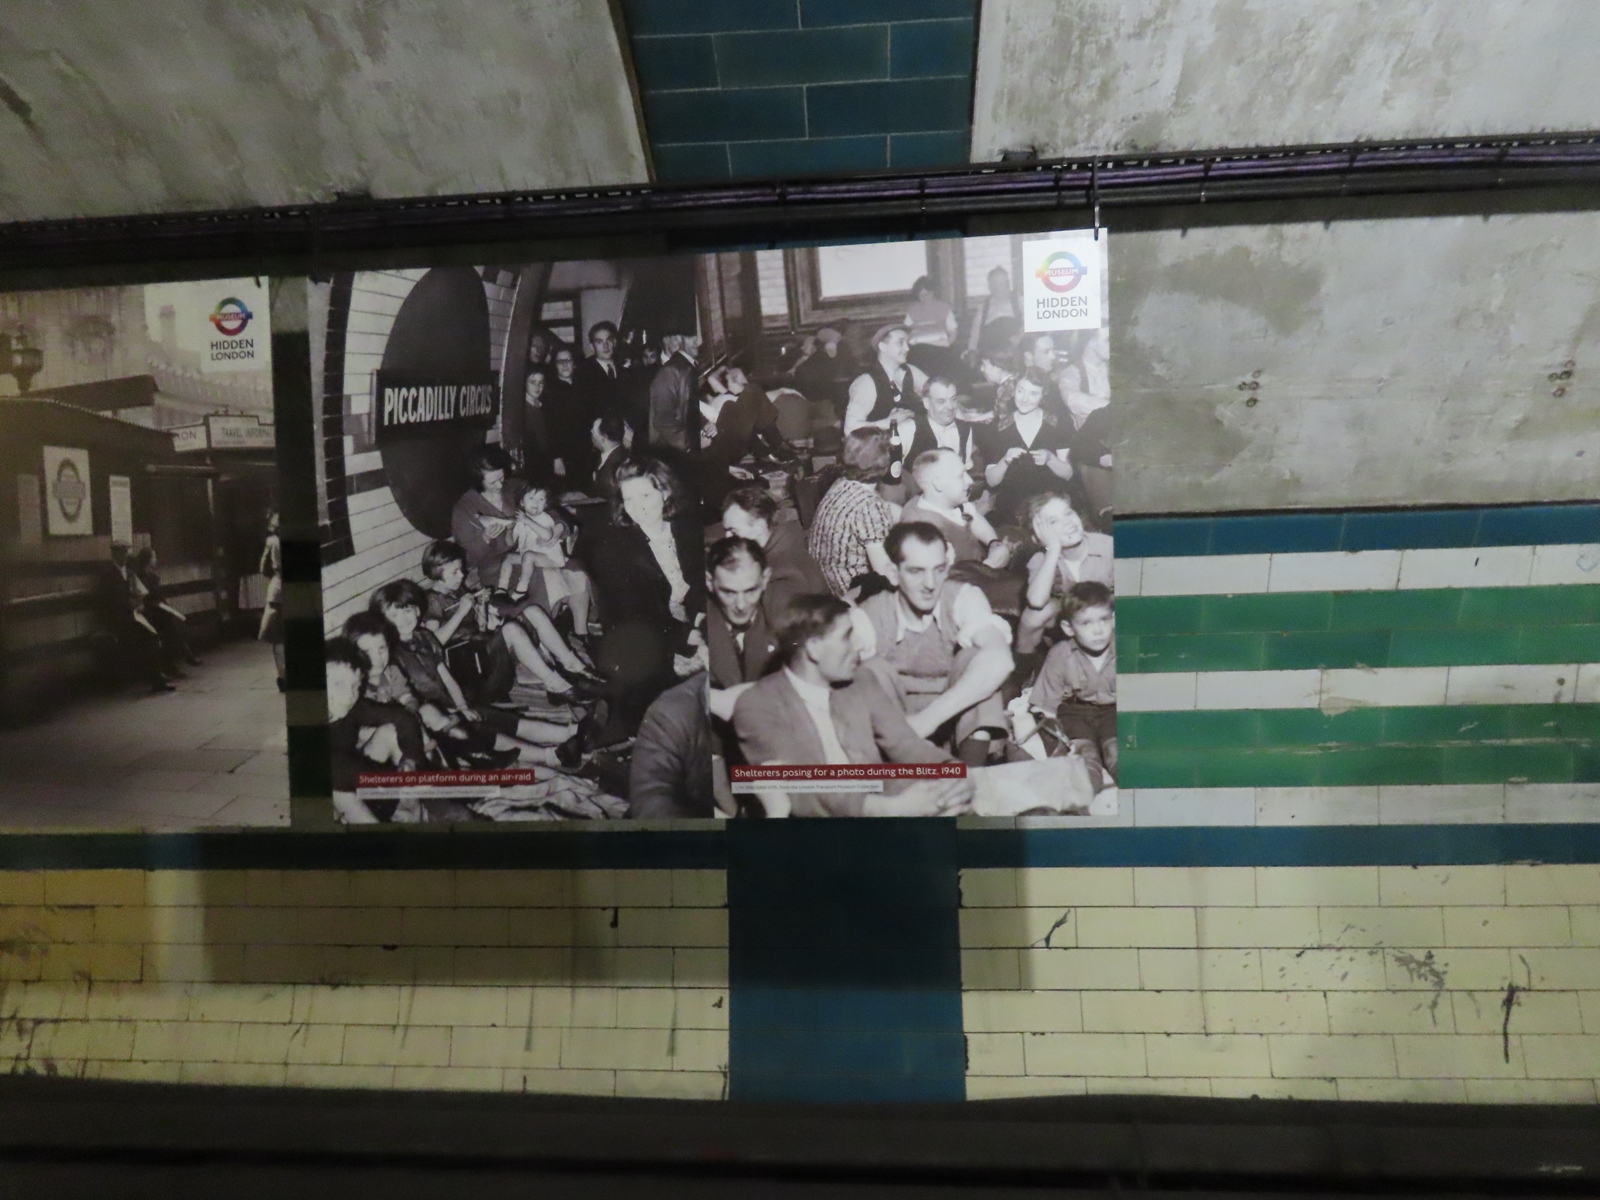
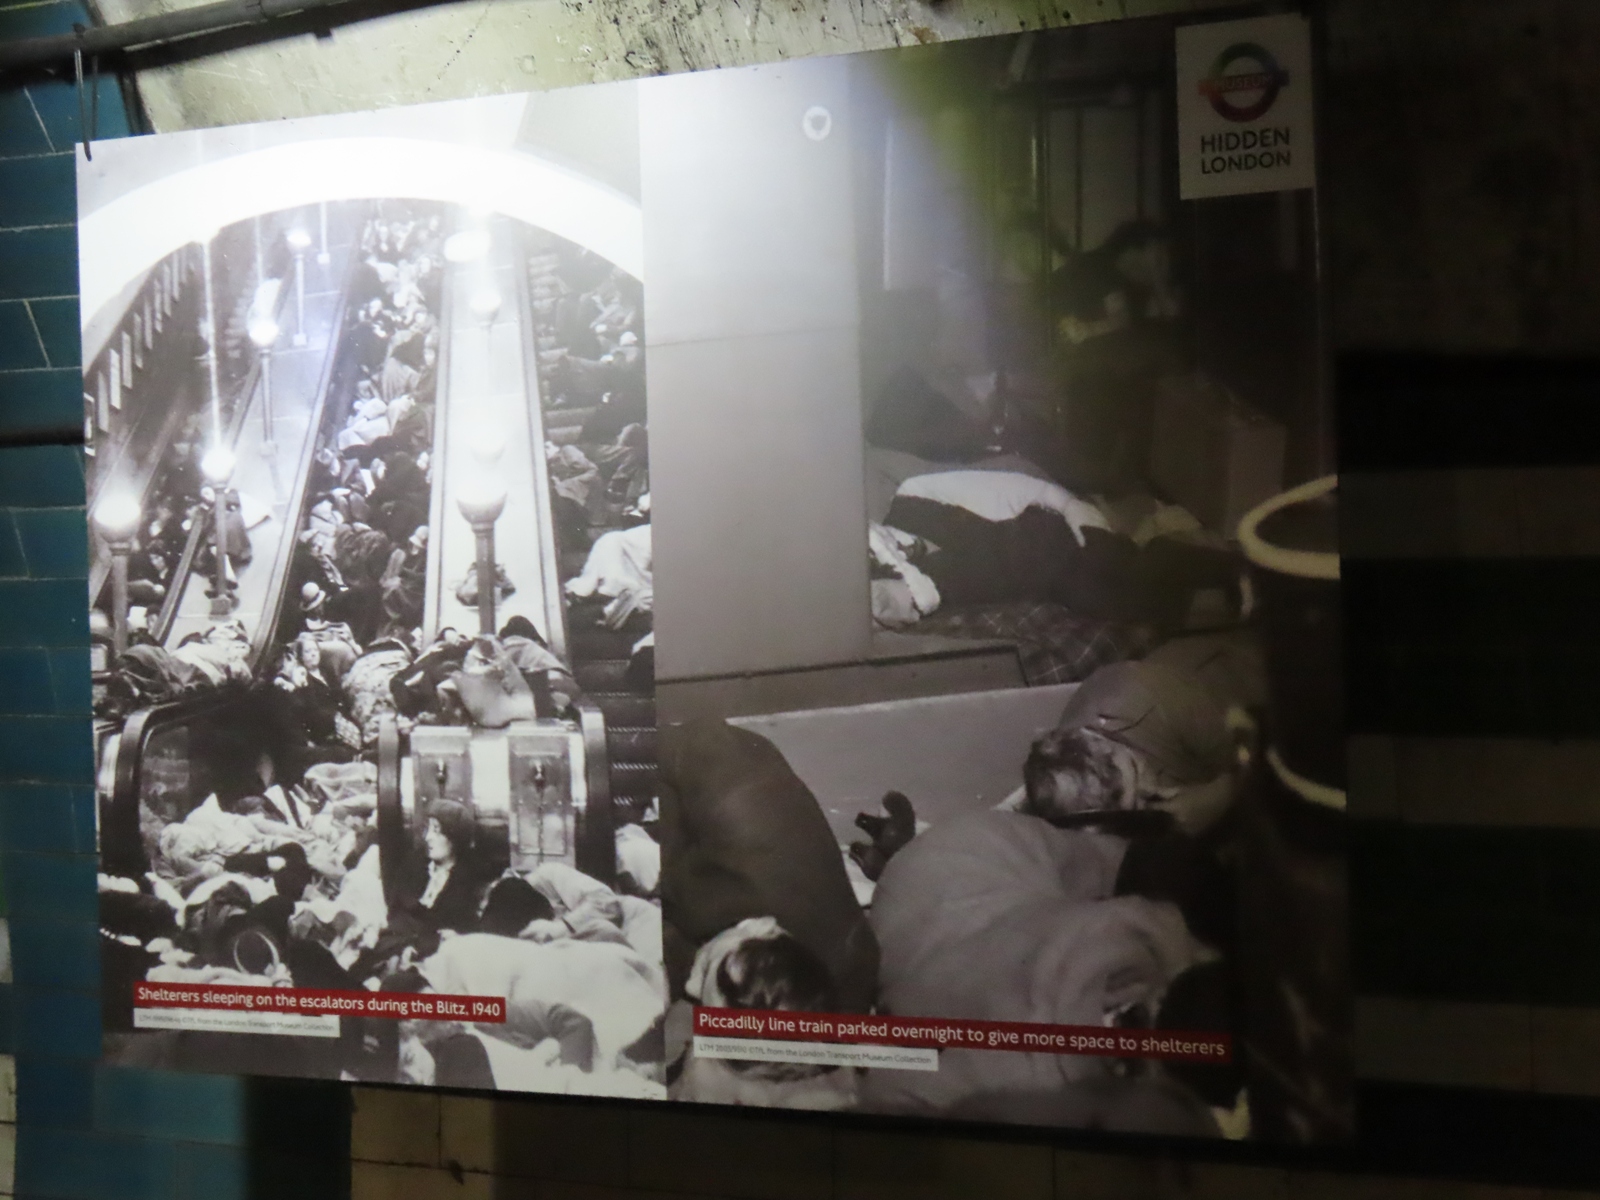
The adjacent photographs showed people using the station as a makeshift air raid shelter. This passage was, itself, used for such a purpose.
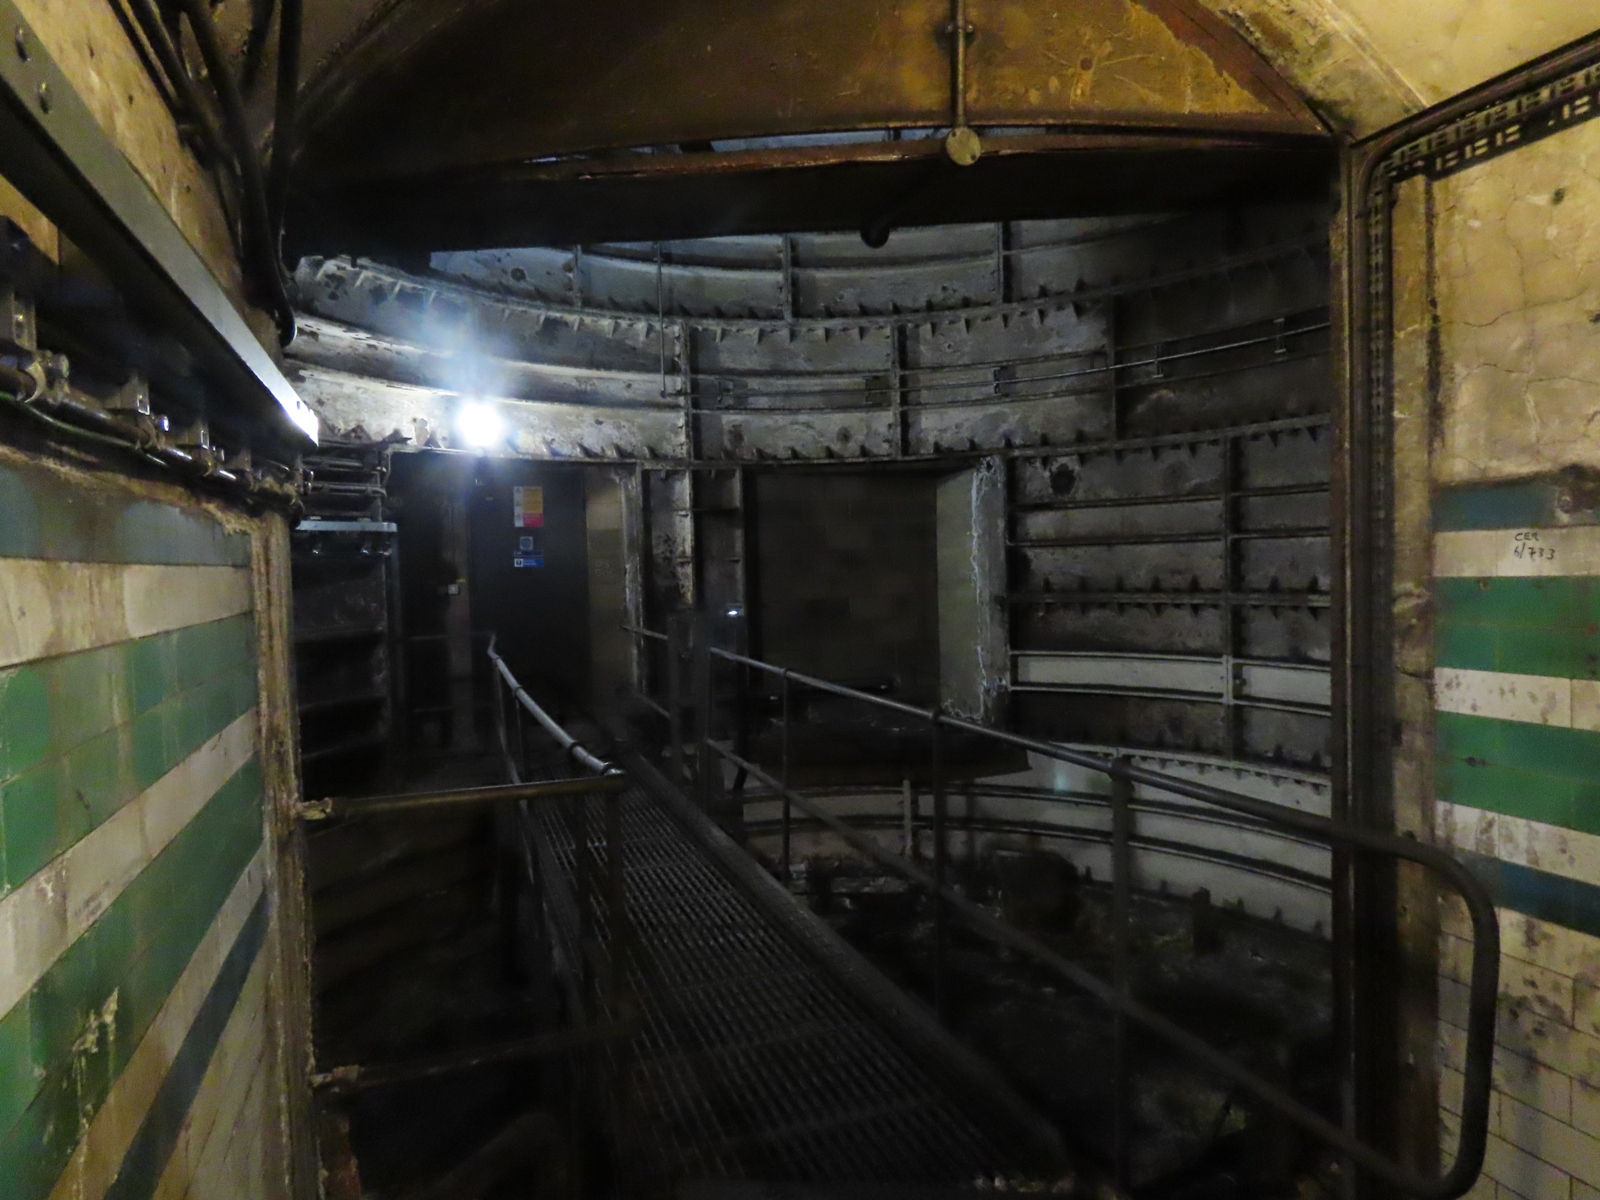
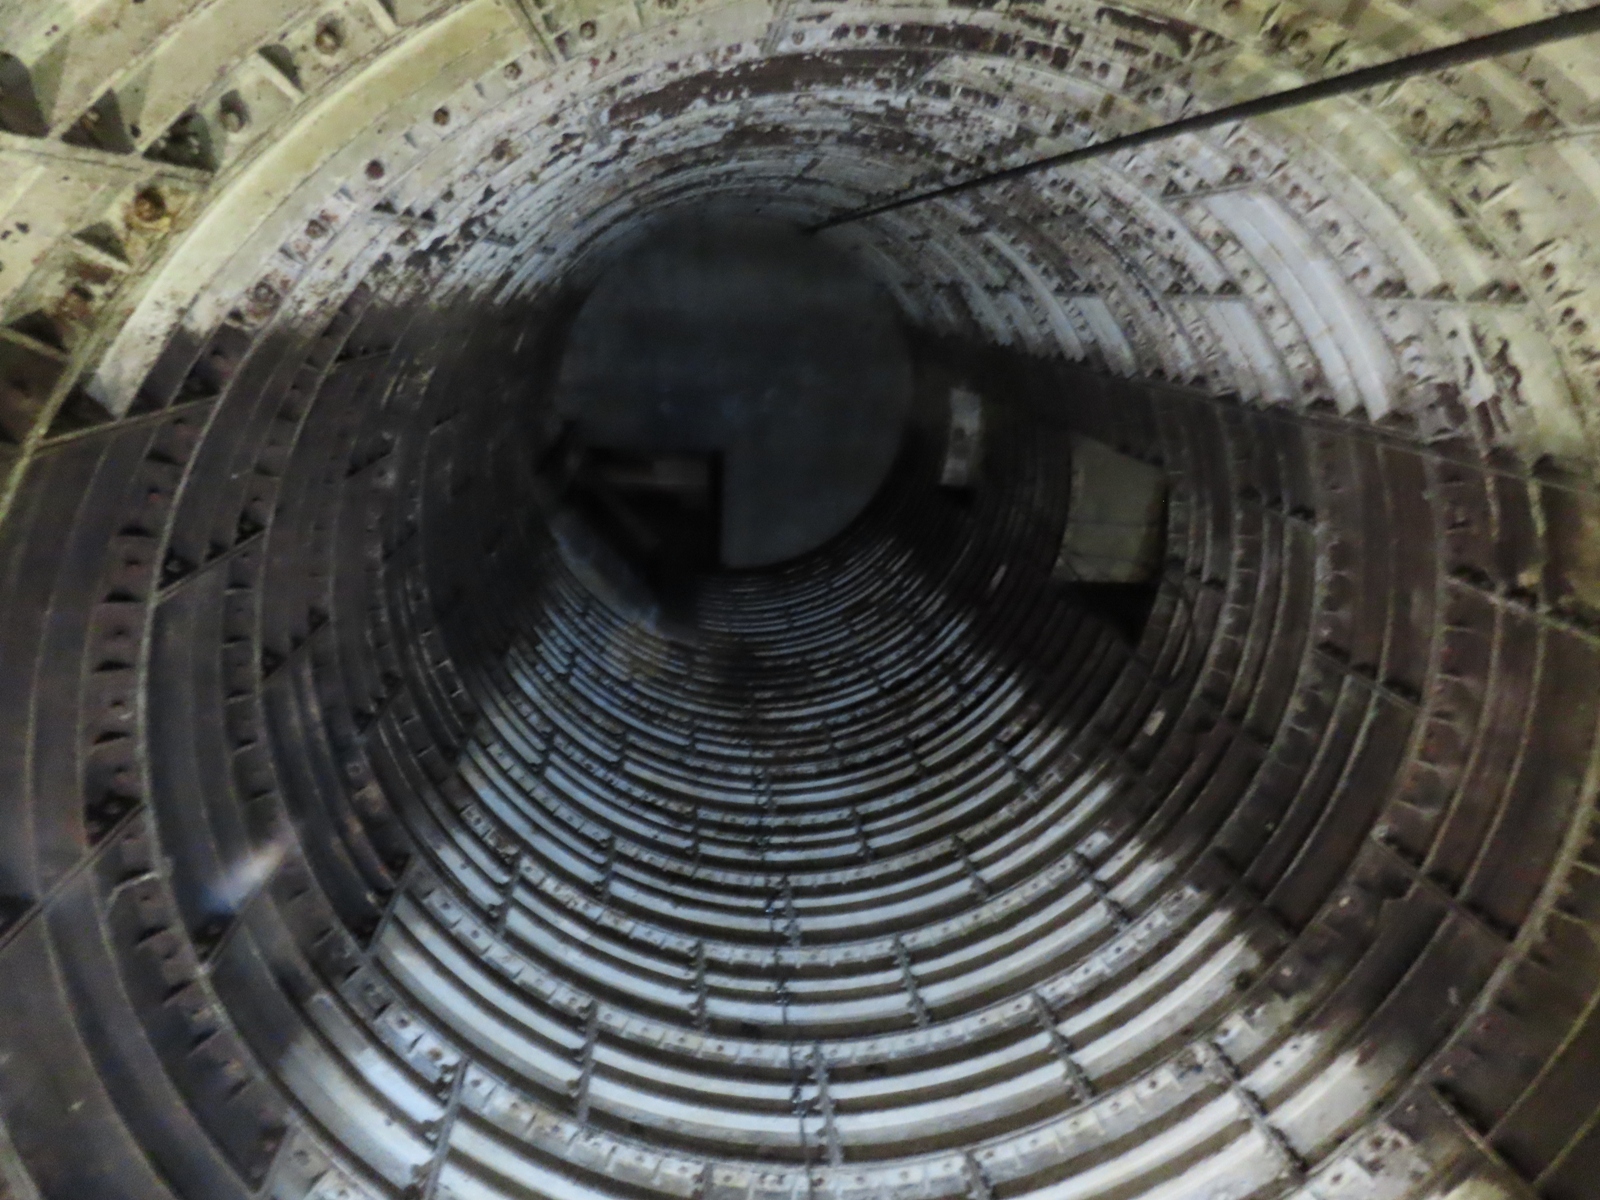
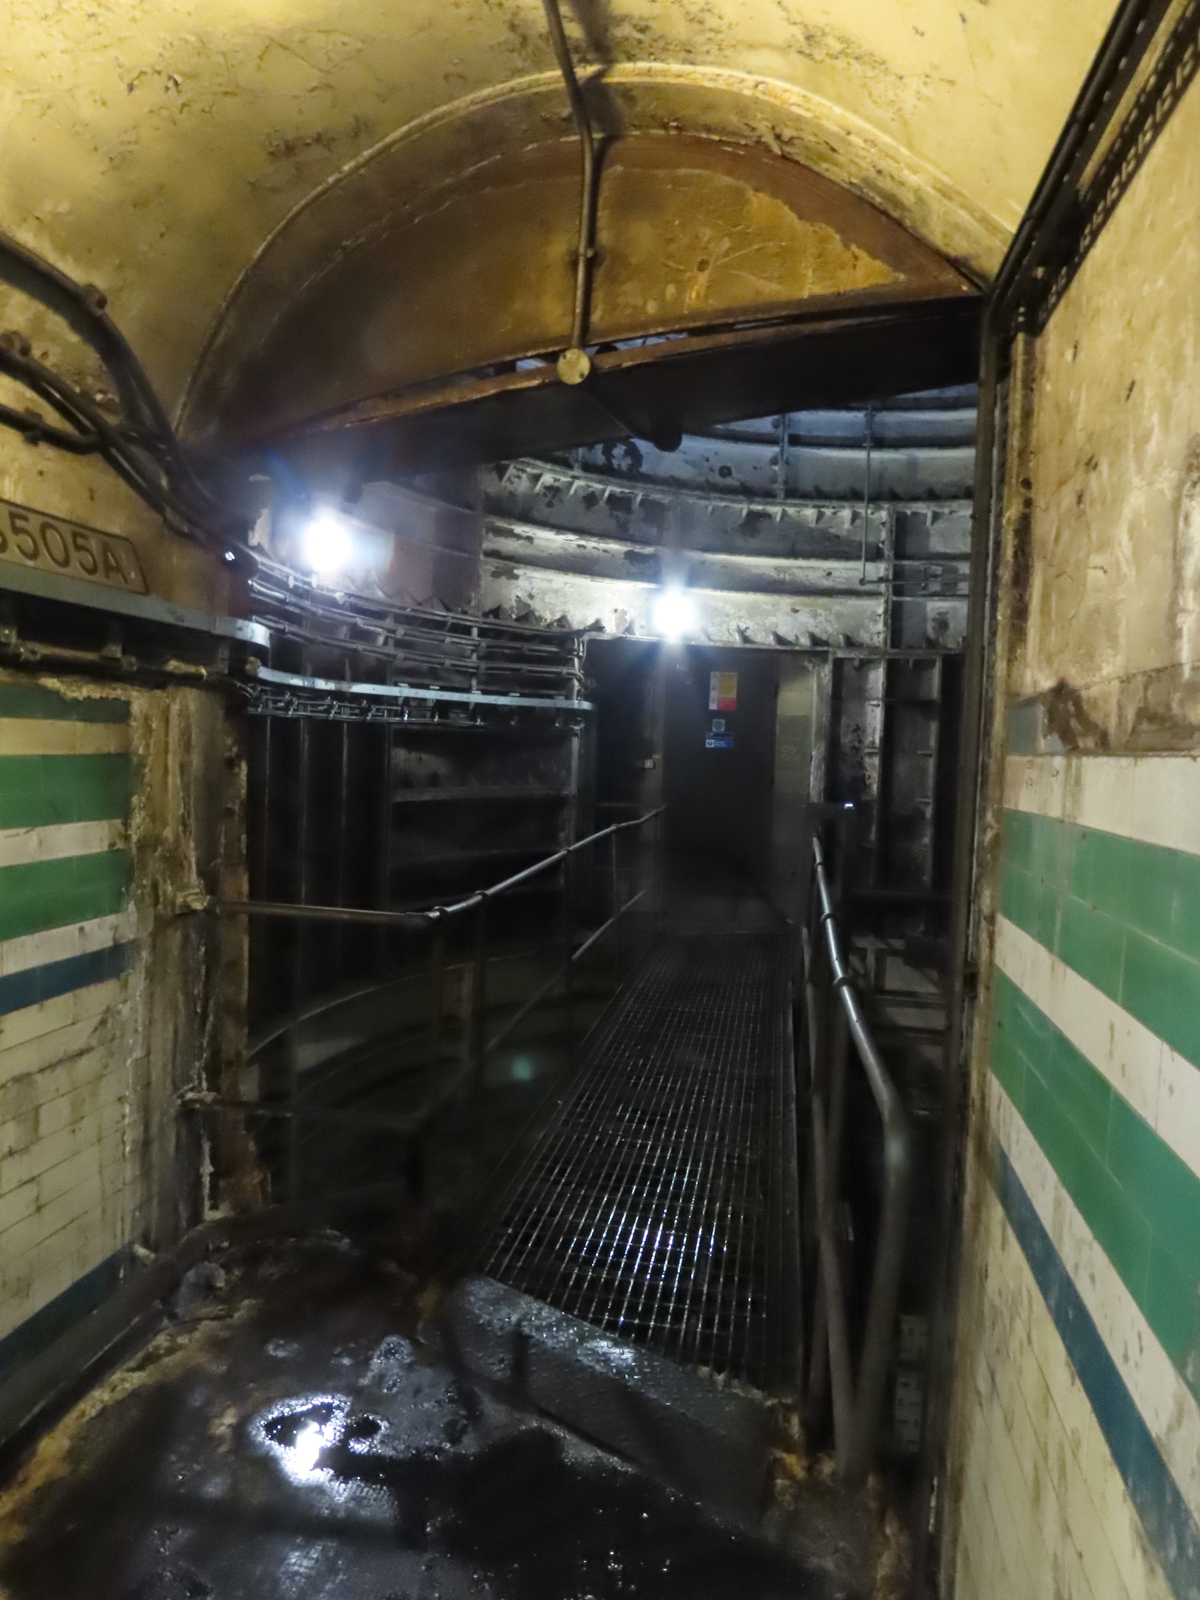
Nearby, one of the two former lift shafts serving the Piccadilly line platforms remained accessible.
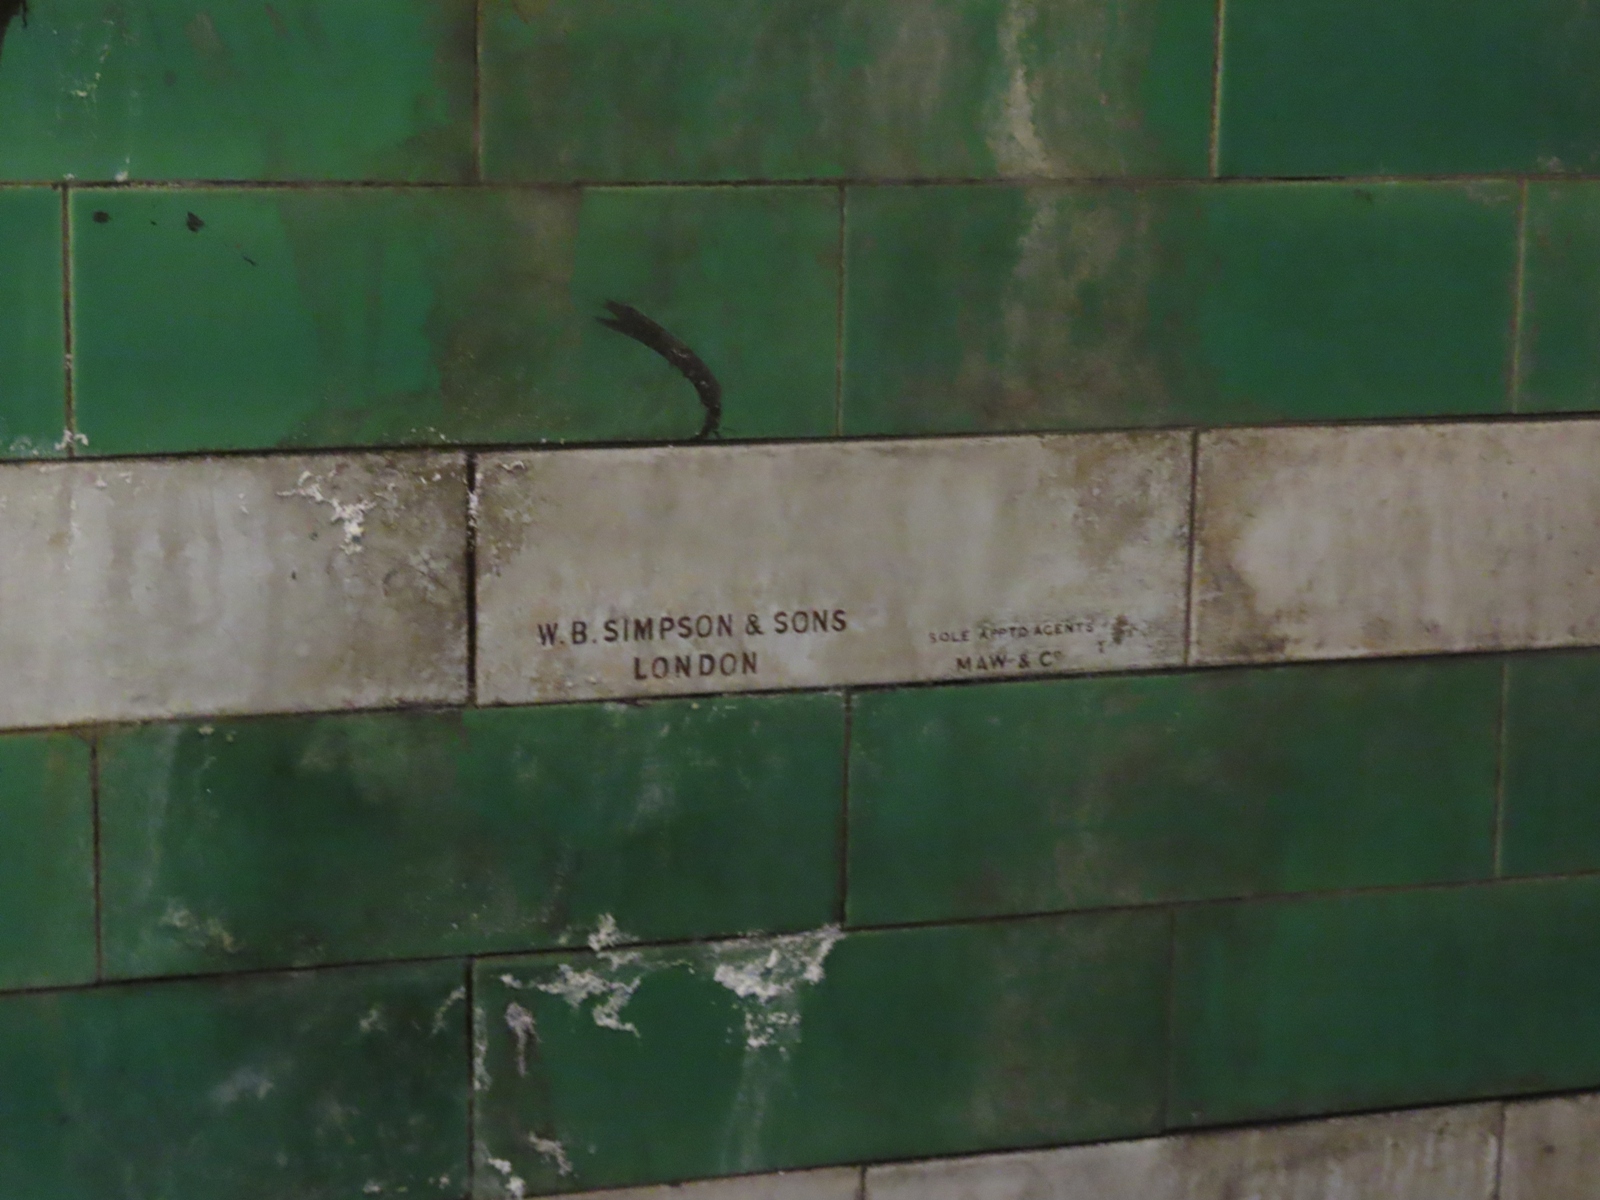
Within the lift landing, a maker’s tile was installed. These were often placed near the lift doors as a free advertisement by the tile manufacturer - in this case, W.B. Simpson & Sons.
A concrete plug was added to the lift shaft as a further blast prevention measure.
Such was the station’s popularity as an air raid shelter, the escalators and even stabled trains were used as makeshift beds for weary Londoners.
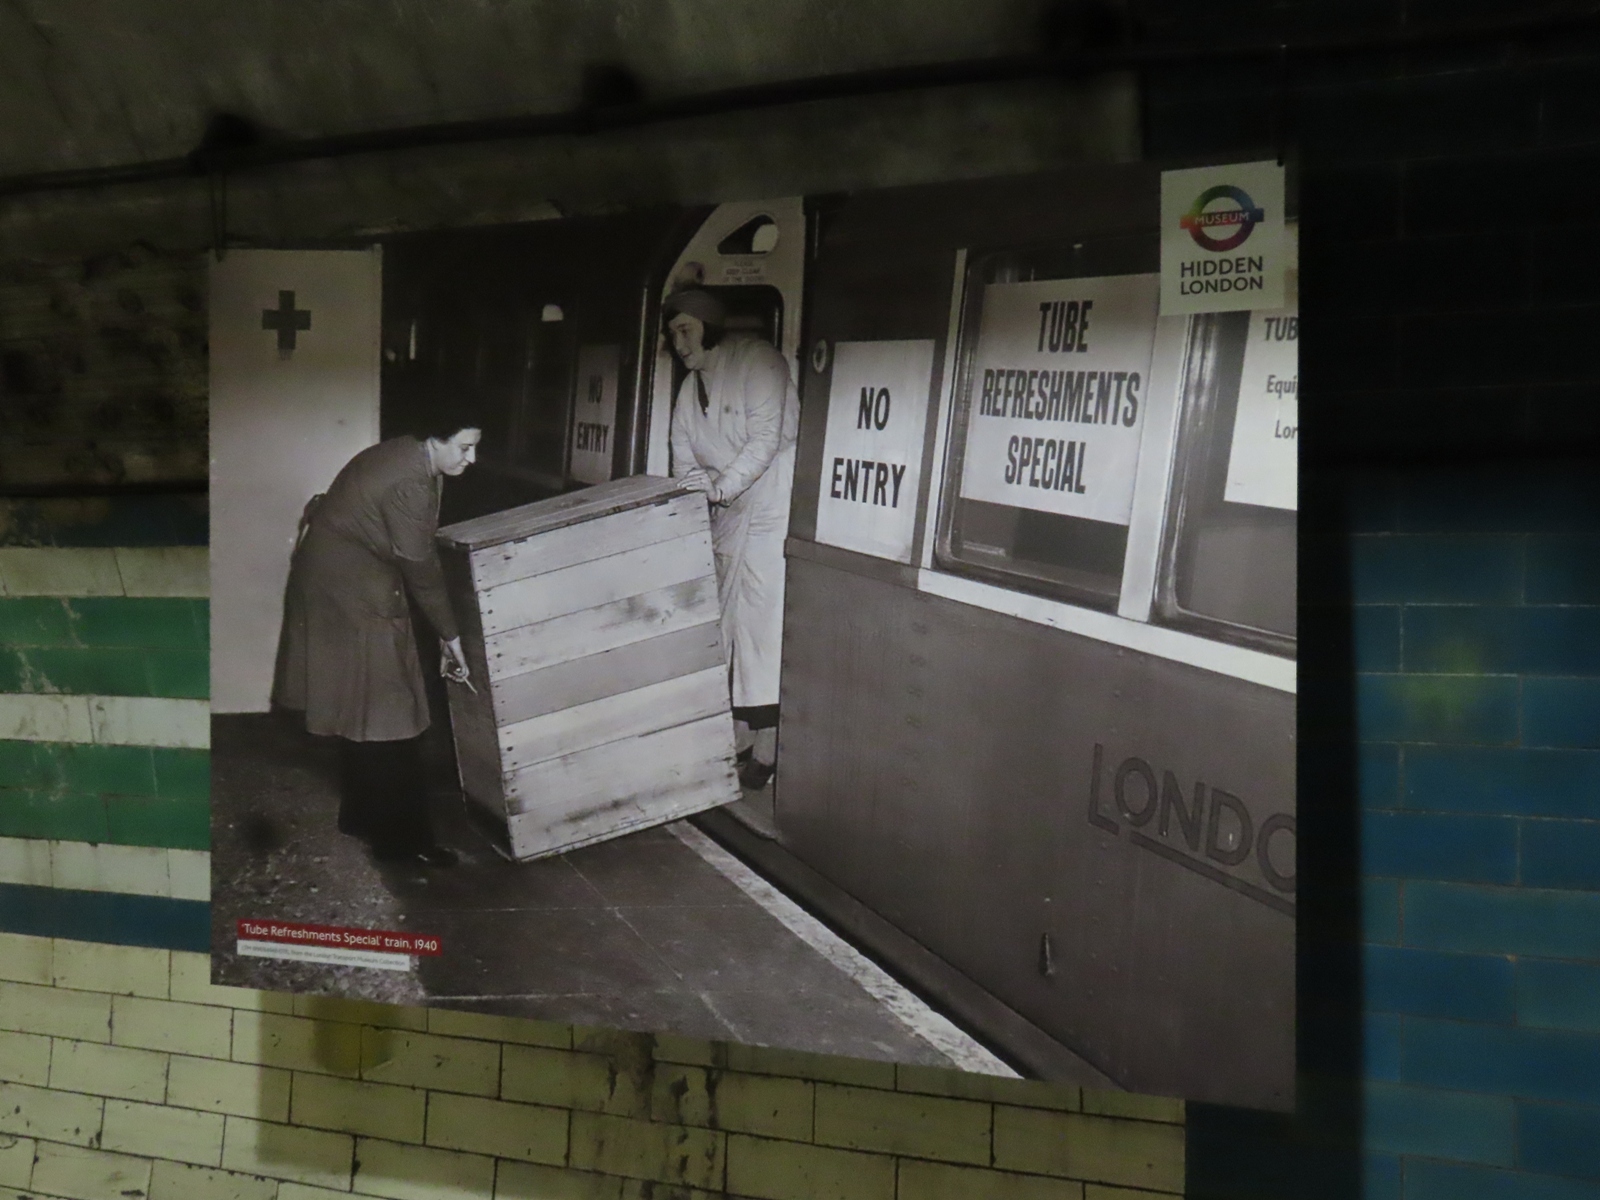
Some trains were used to convey food supplies to shelterers.
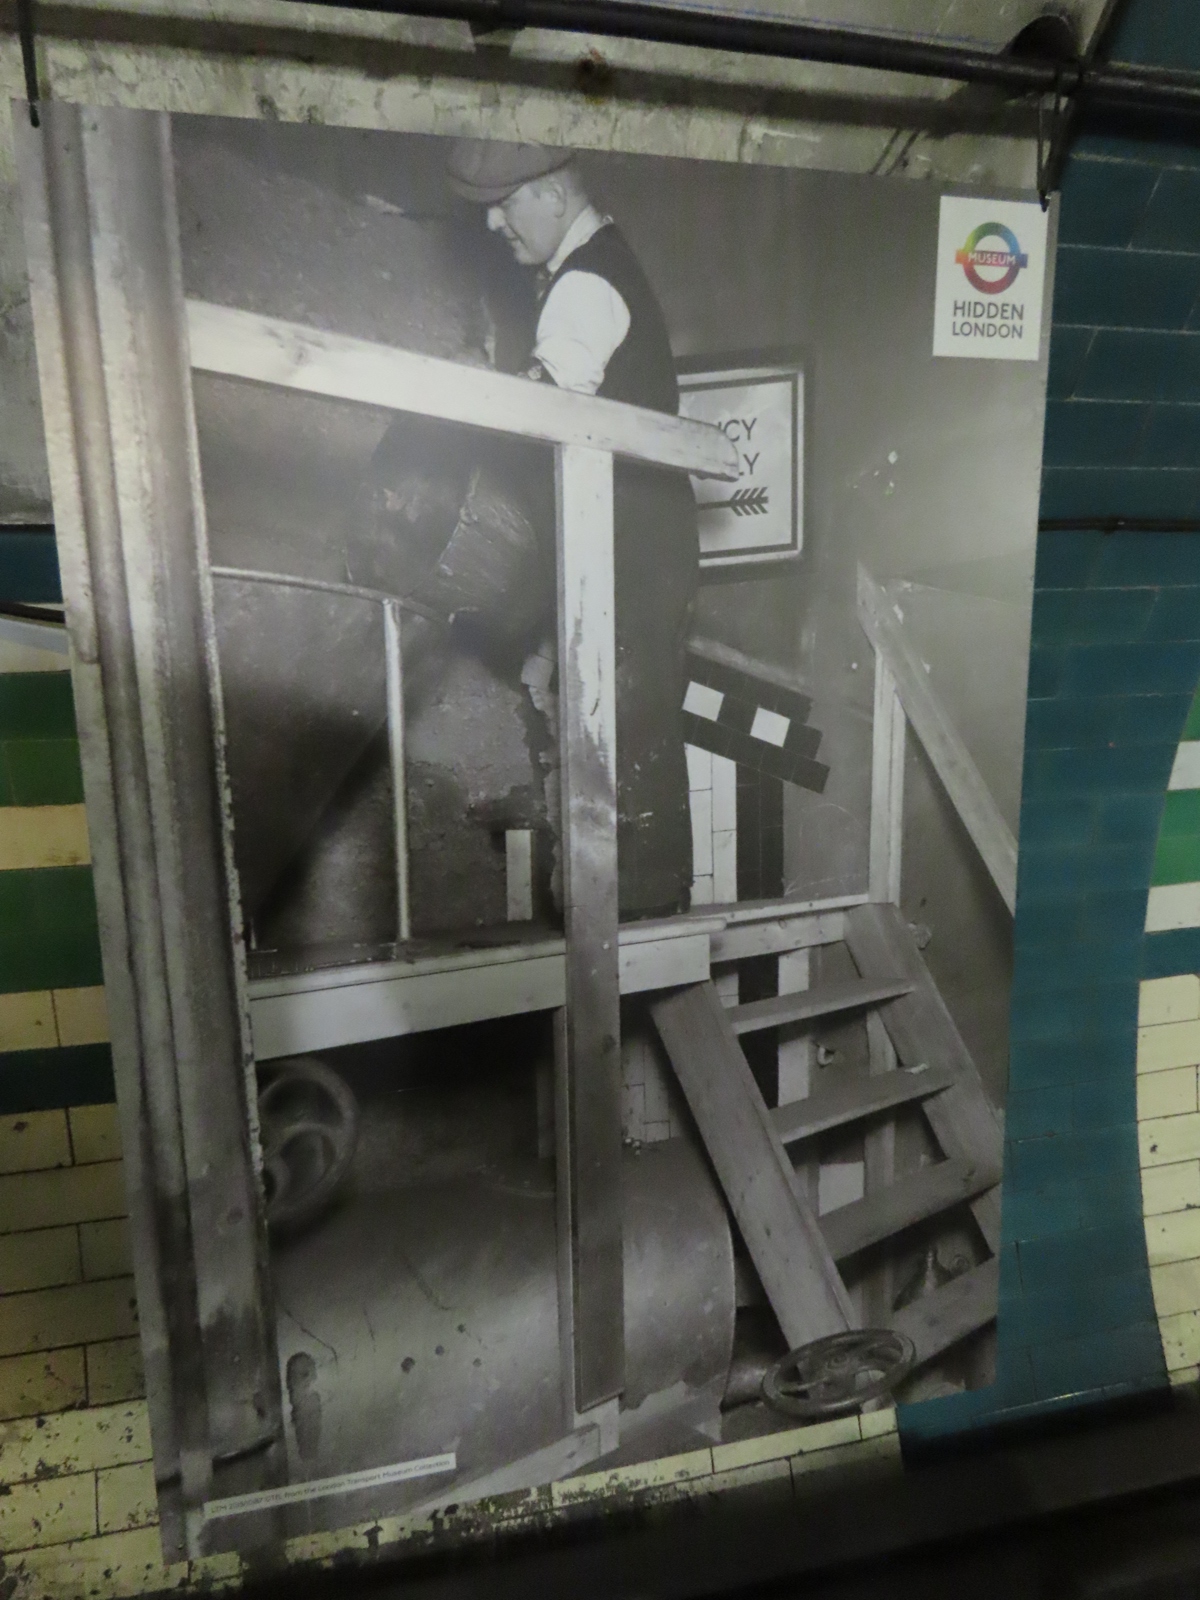
Of course, what goes in must also come out again, but without any plumbing, toilet facilities were basic at best. They comprised a tub containing disinfectant, which had to be emptied every few days. This photograph shows a worker pouring one of the tubs into a tank that was positioned in the spiral staircase shaft. Once full, the open section was sealed, and a pump then brought the contents up to the surface - ensuring that the seals were in place was a rather crucial check to make before activating the pump!
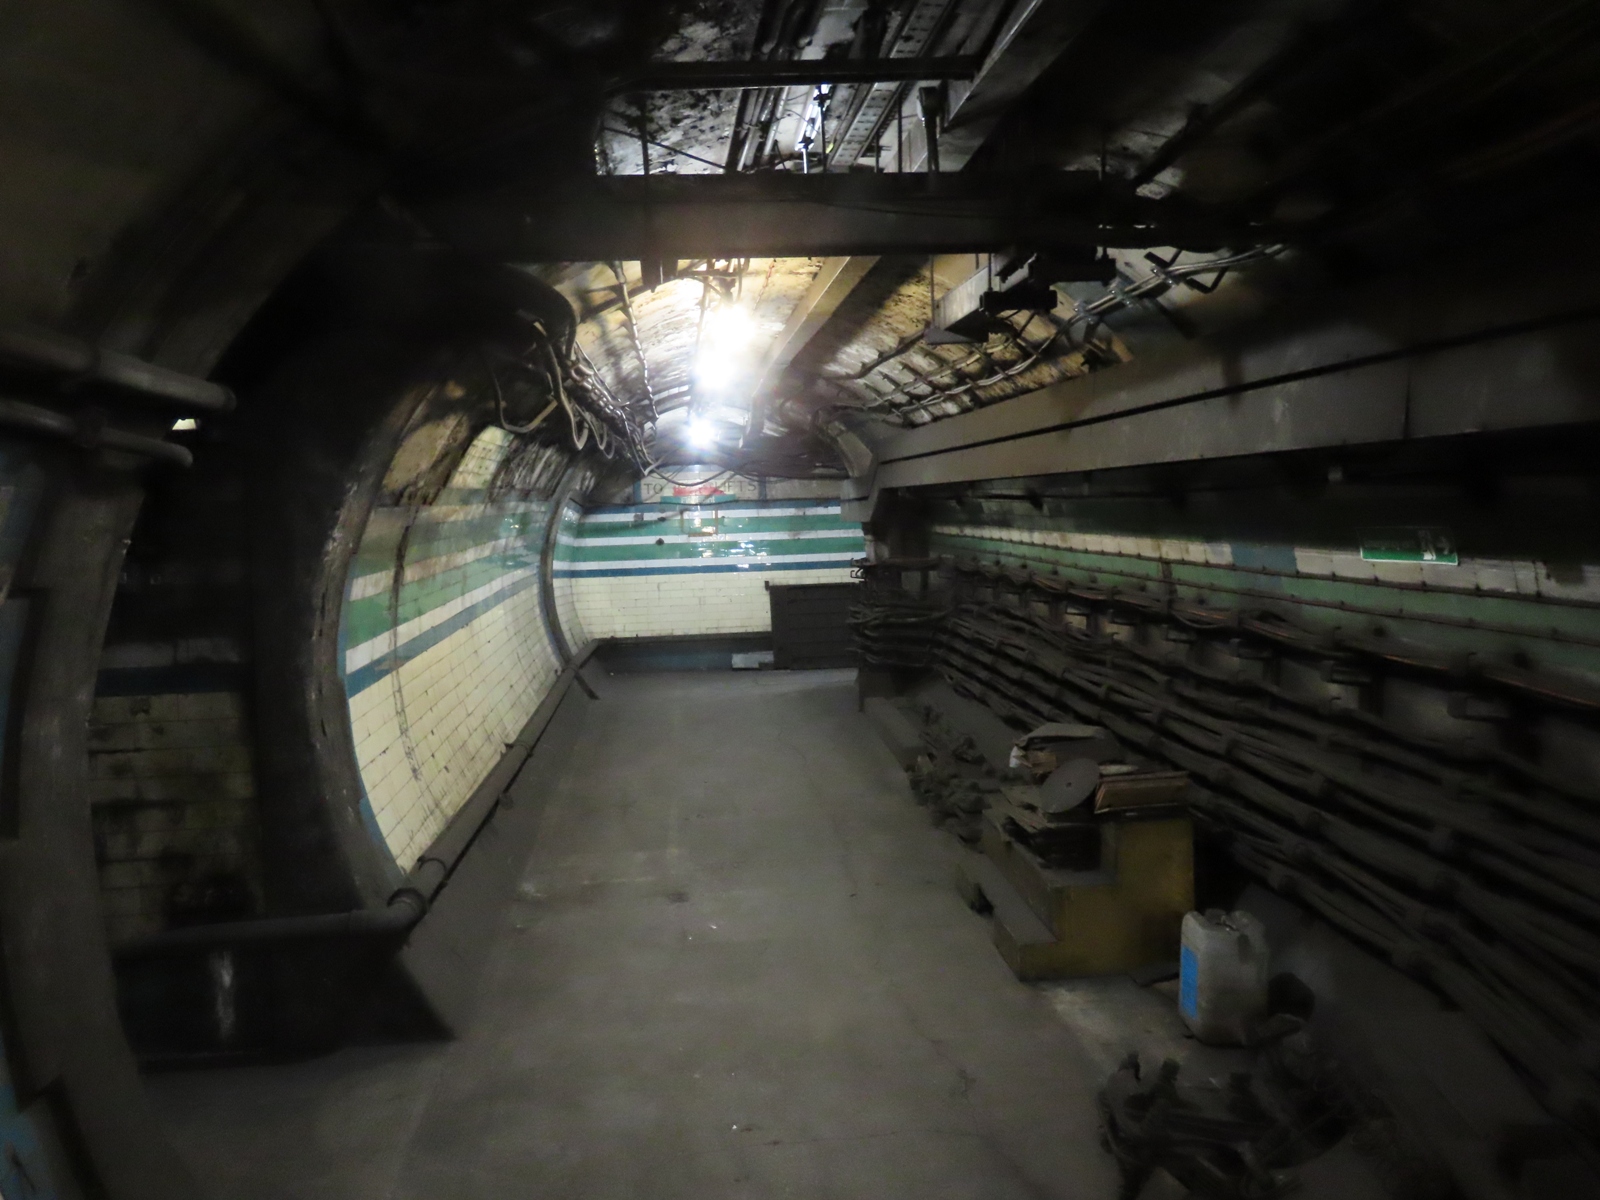
Looking back down the passageway, the lift exits are seen on the right.
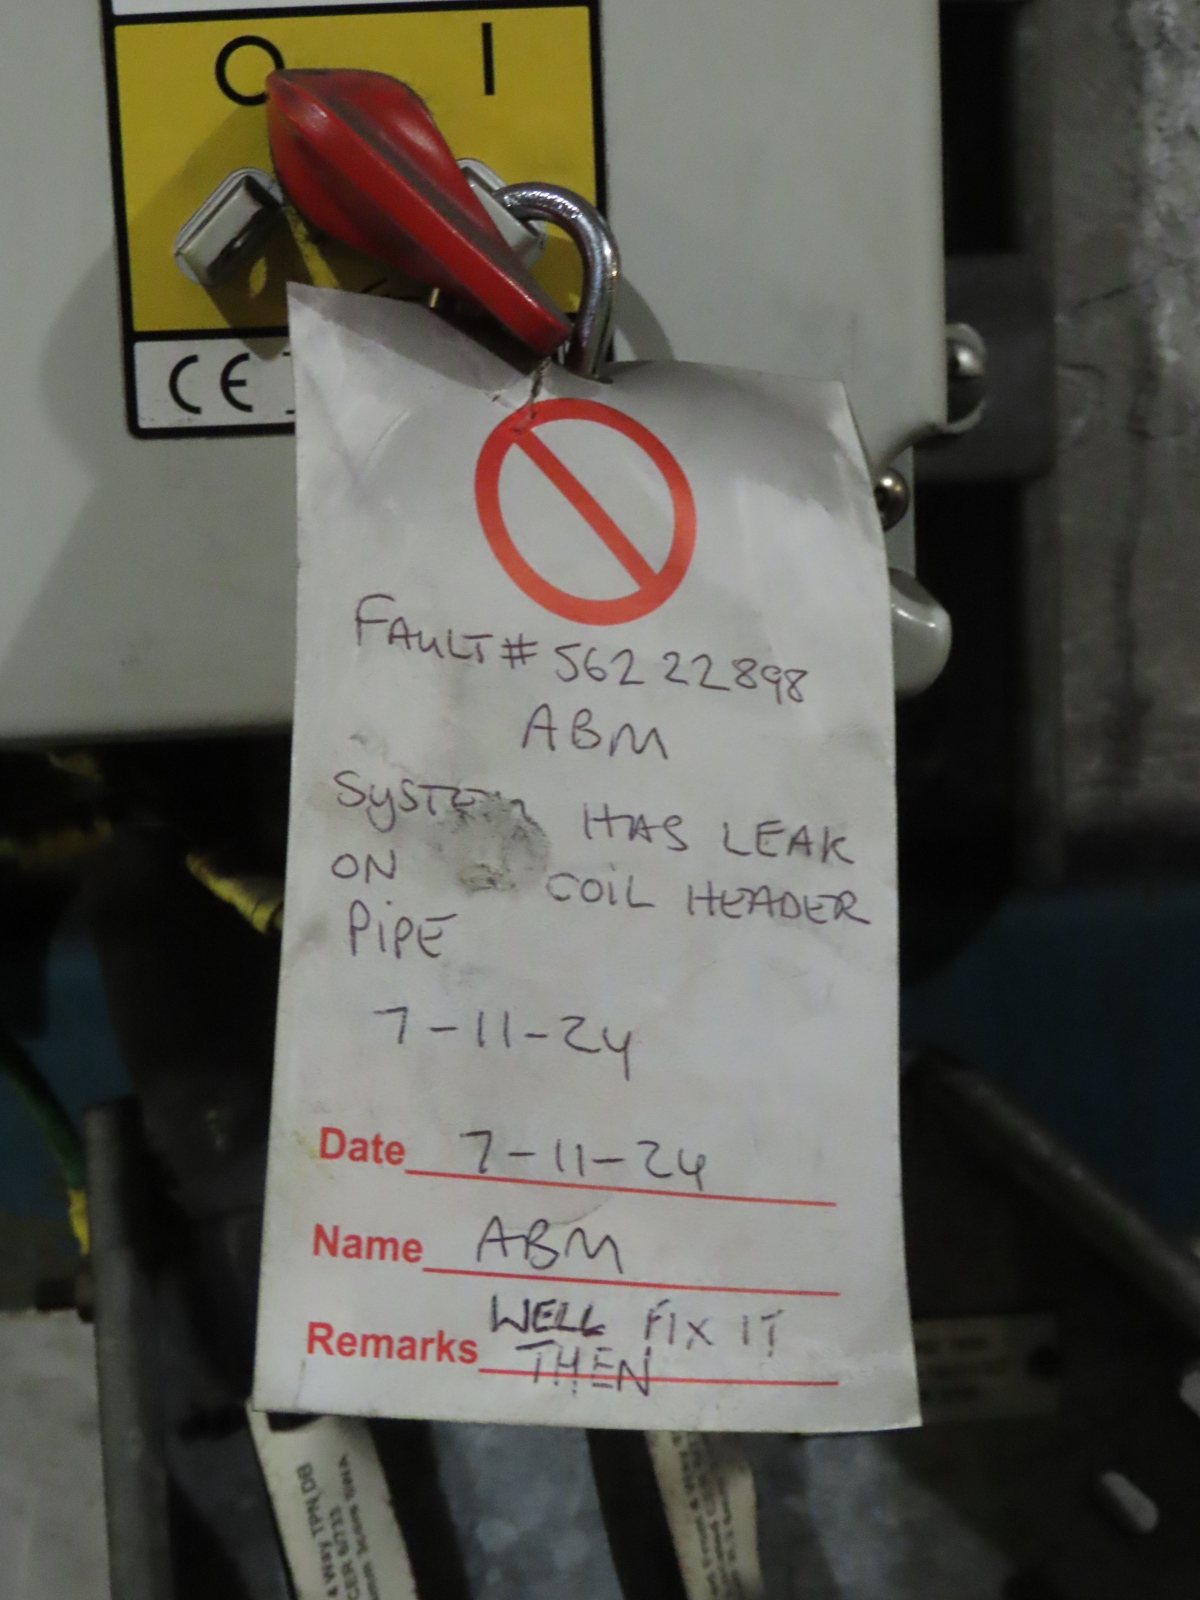
Some modern switchgear nearby had been turned off, owing to a fault on the system that it operated. A rather humorous remedial solution was included on the deactivation tag...
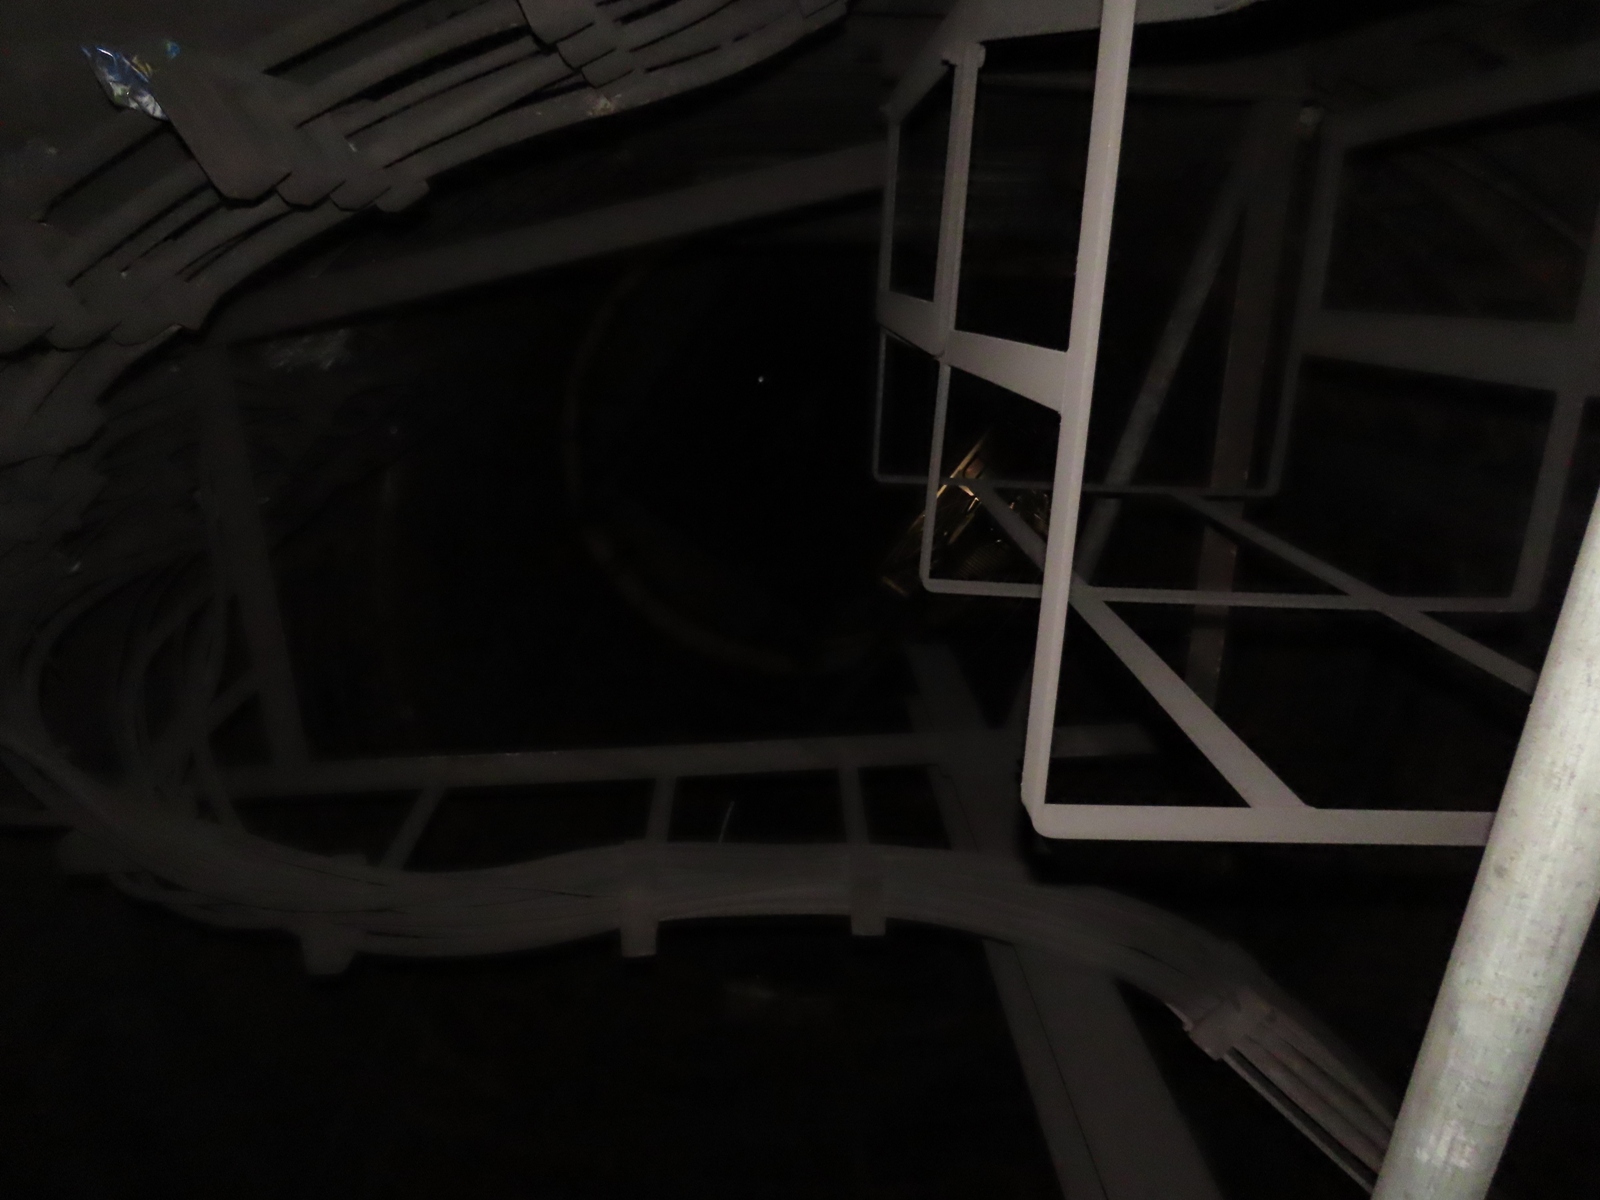
Another view of the lift shaft interior - we would be crossing through the second one shortly.
This tiled sign would have directed passengers wishing to leave the station to the lifts.
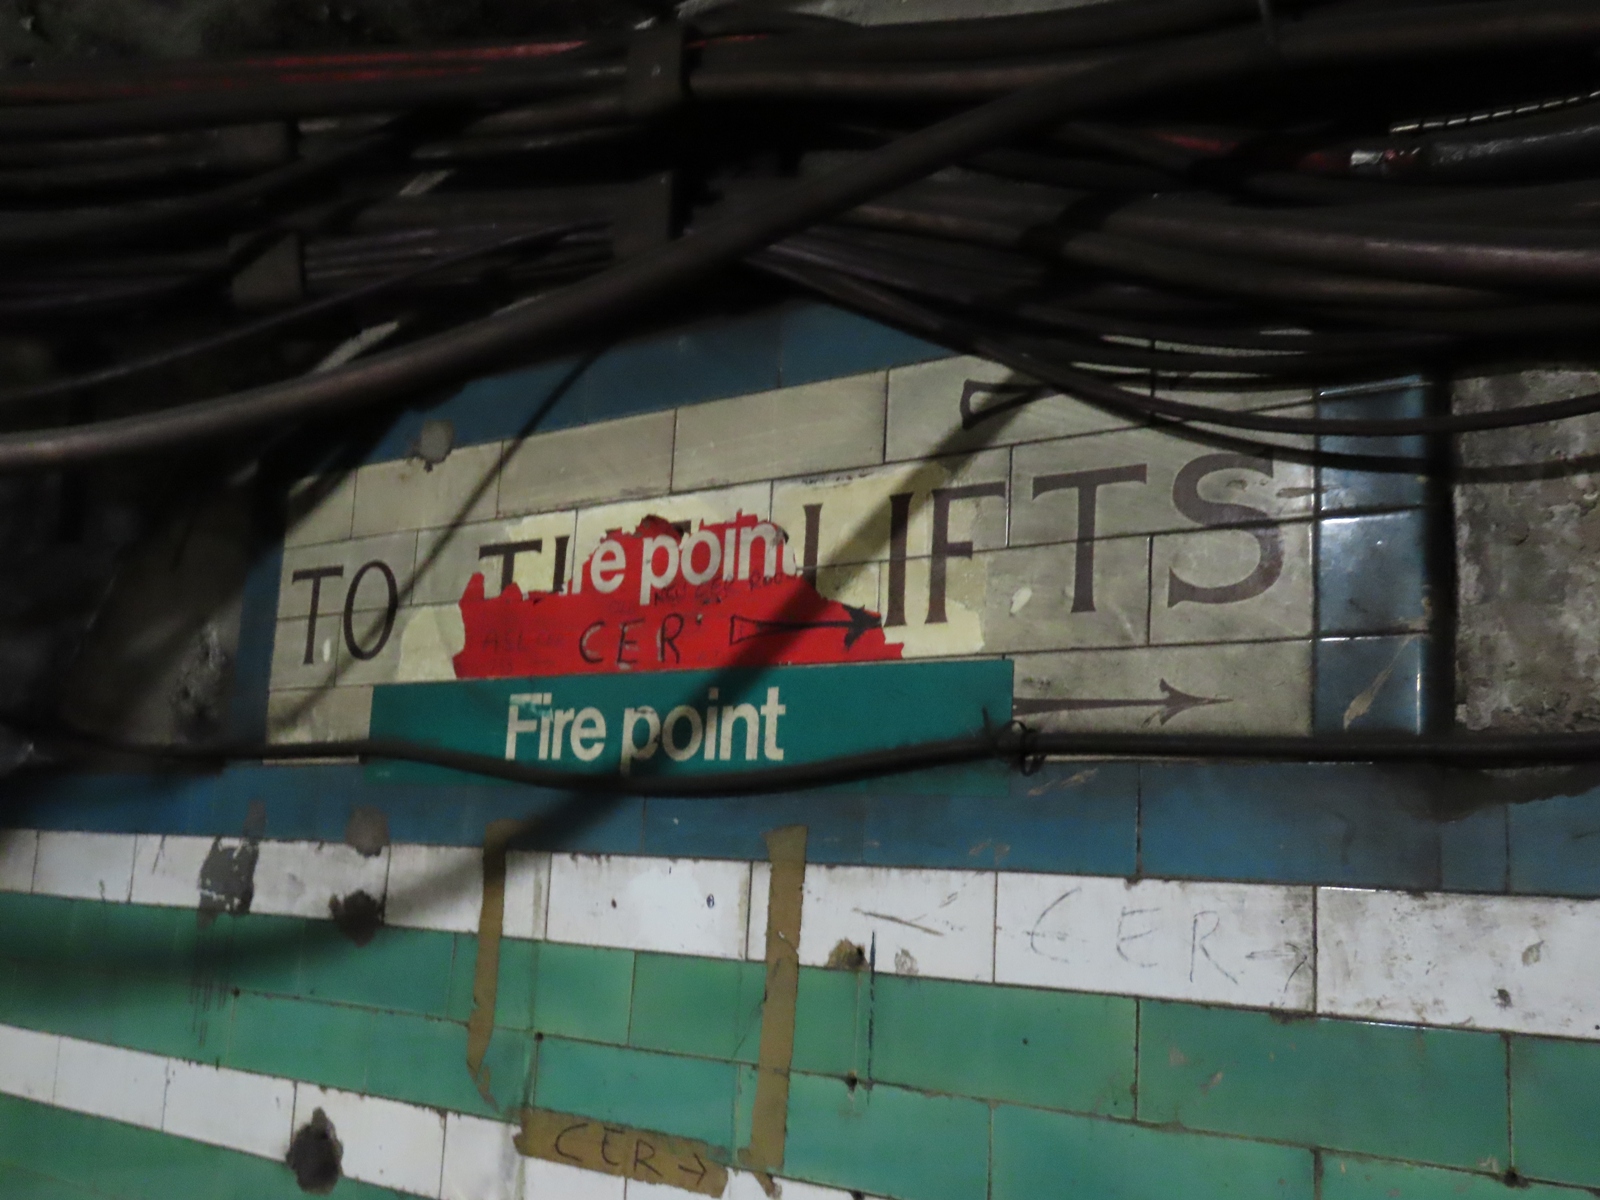
The same tiles can be seen in the background of this image, taken further along the passageway.
Very little could be seen when looking up into the former emergency spiral staircase shaft.
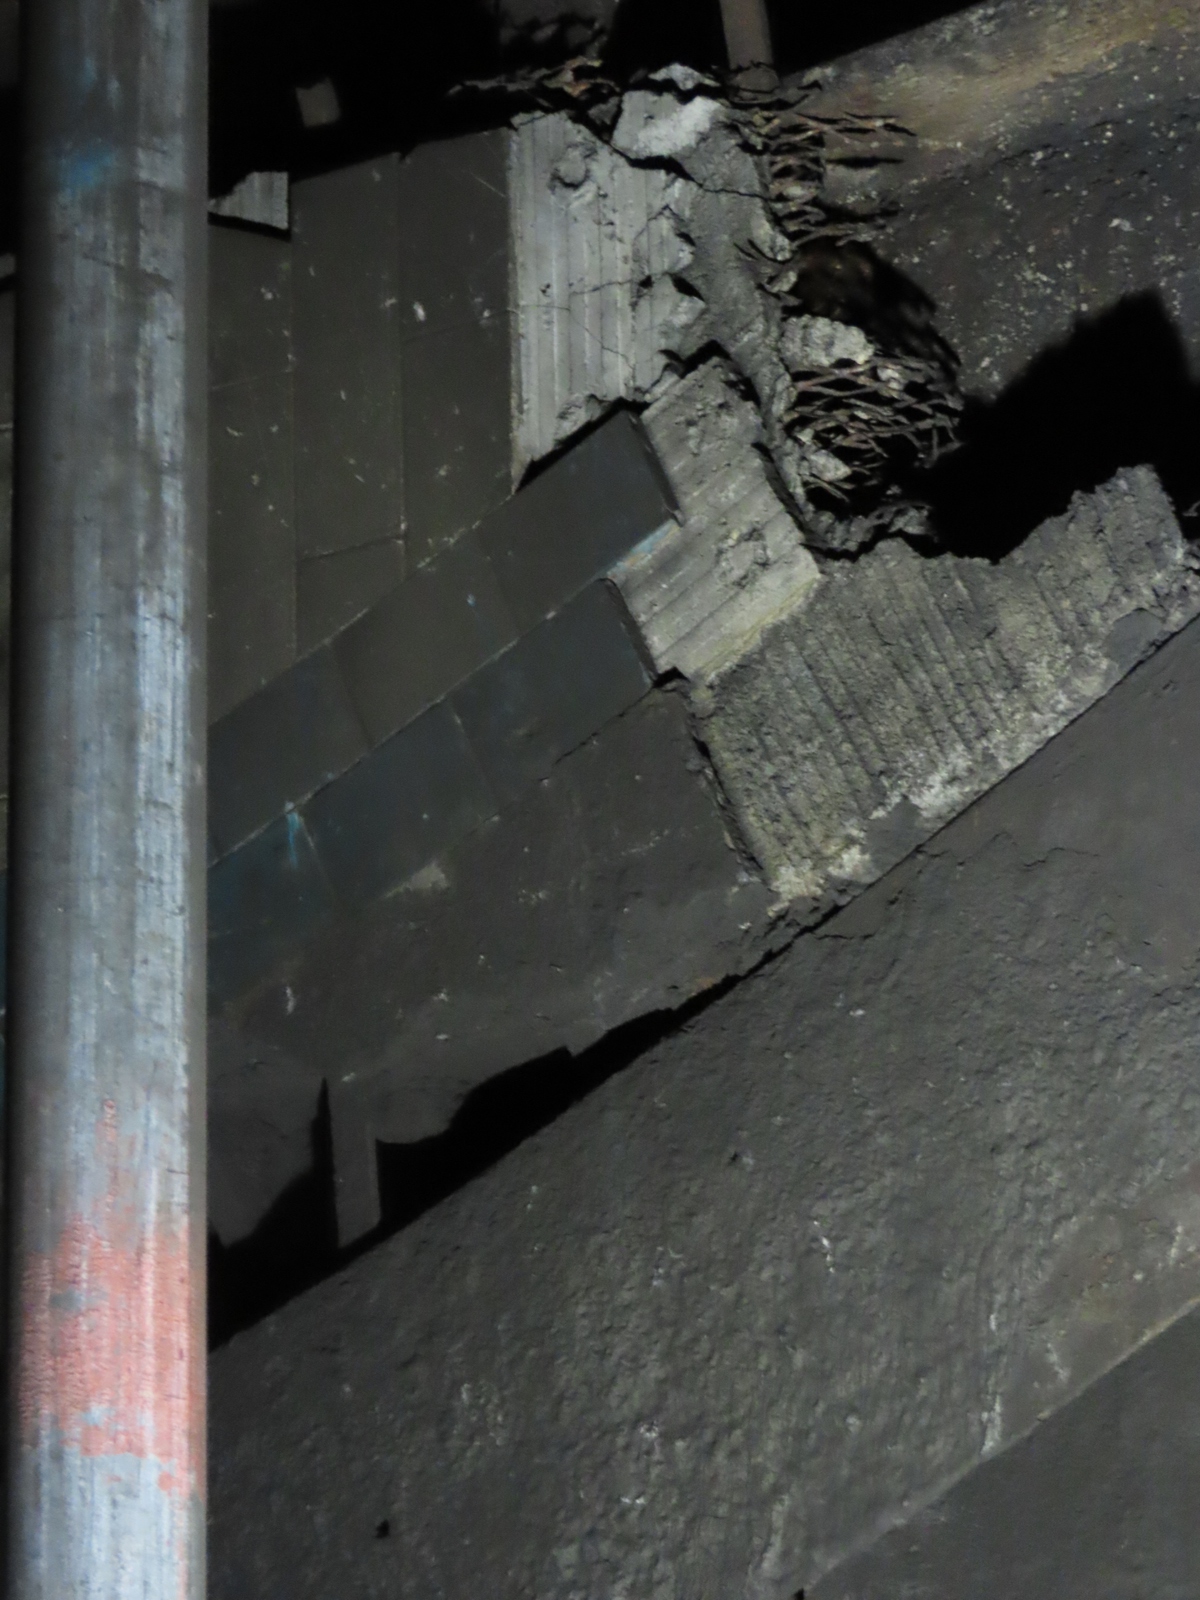
A small amount of tiles still exists within this portion of the shaft.
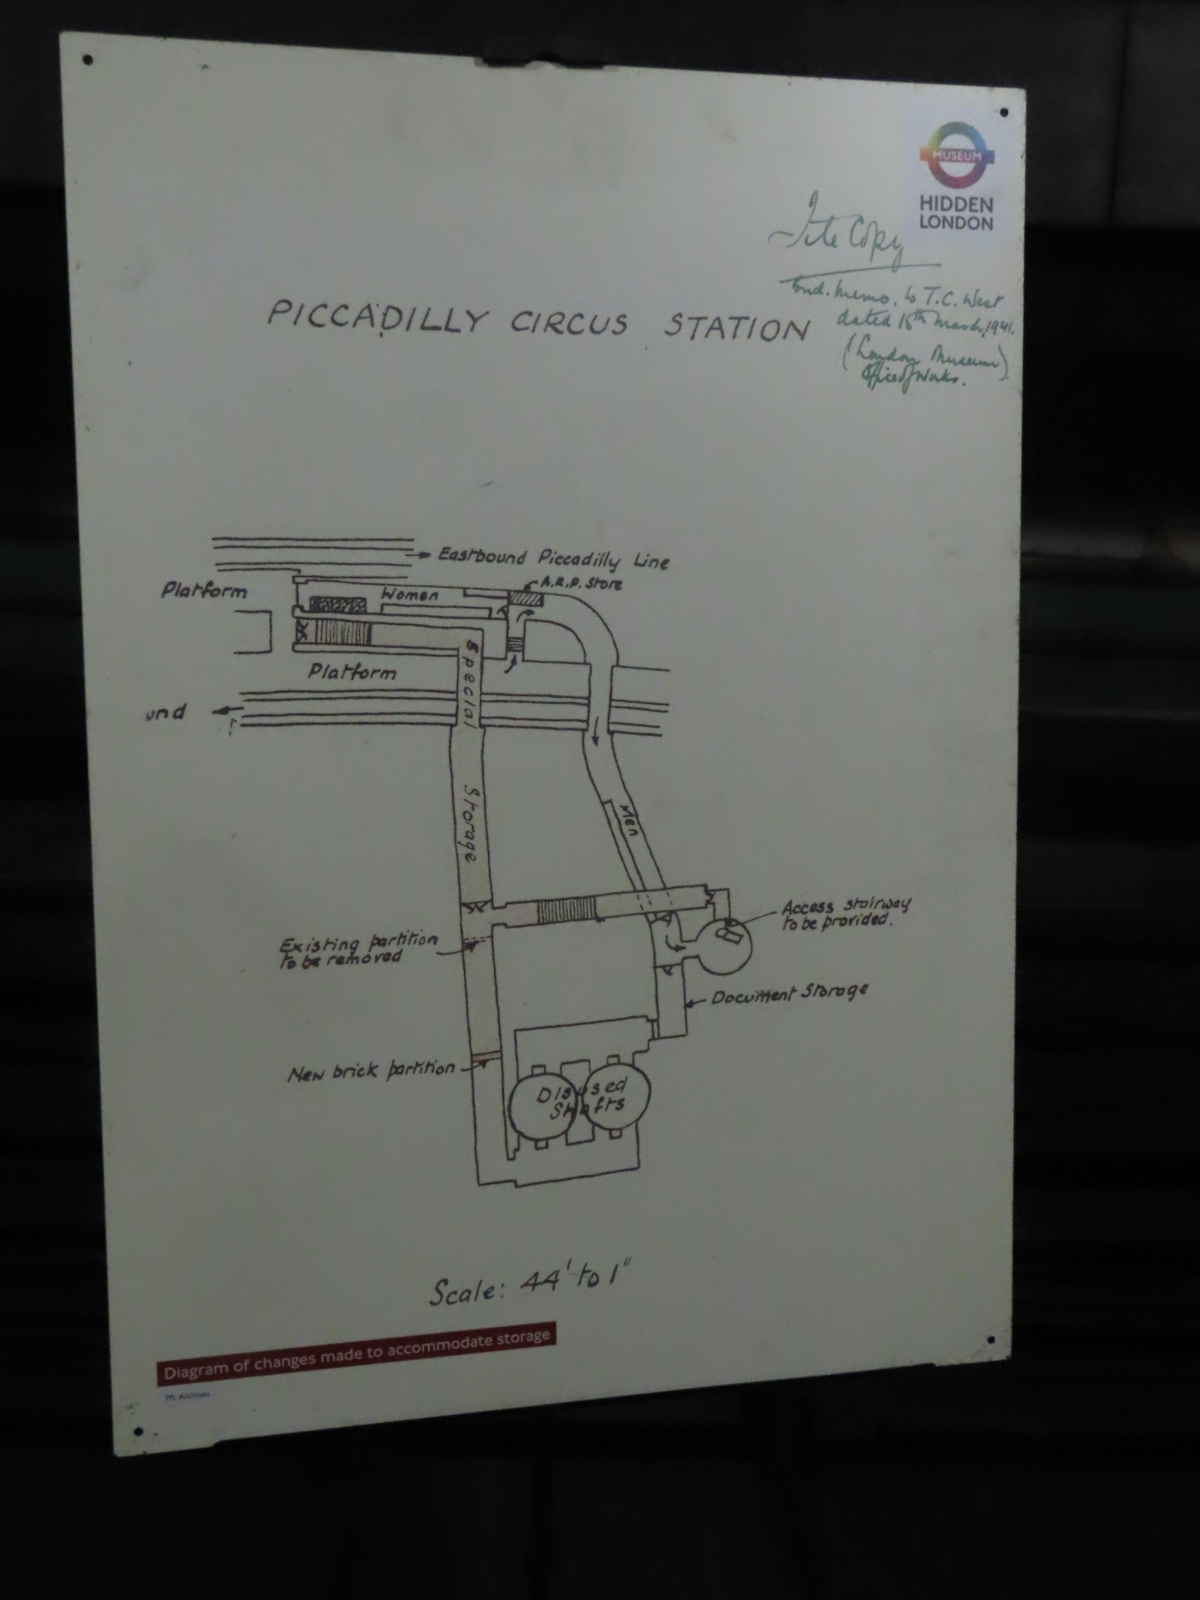
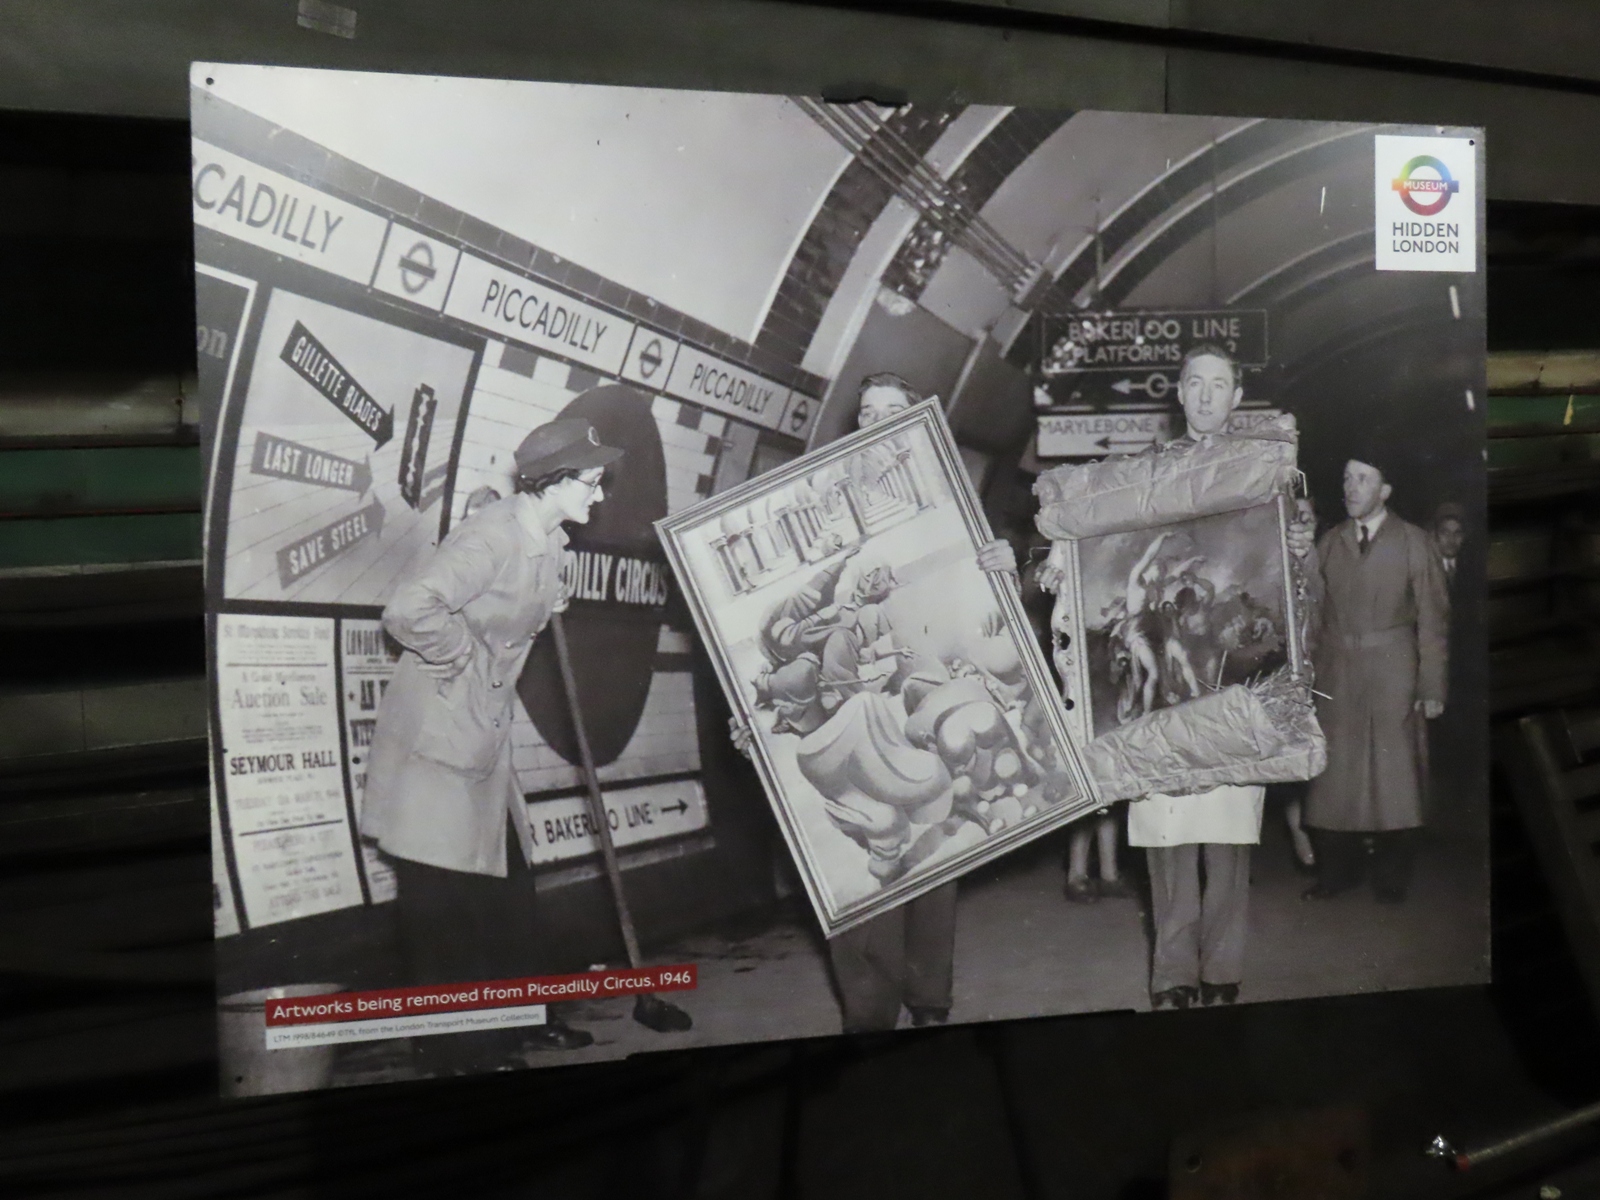
As well as providing shelter accommodation, other disused passageways were also used for storing valuable artworks. Of course, this secret was never shared with any members of the public that were using the station.
This post-war image shows the artworks being returned to their respective galleries - the picture is posed as a publicity image.
This 1980s’ version of the earlier stomach diagram provides a clearer view of the underground layout. The tunnel housing the services is omitted from this version of the diagram.
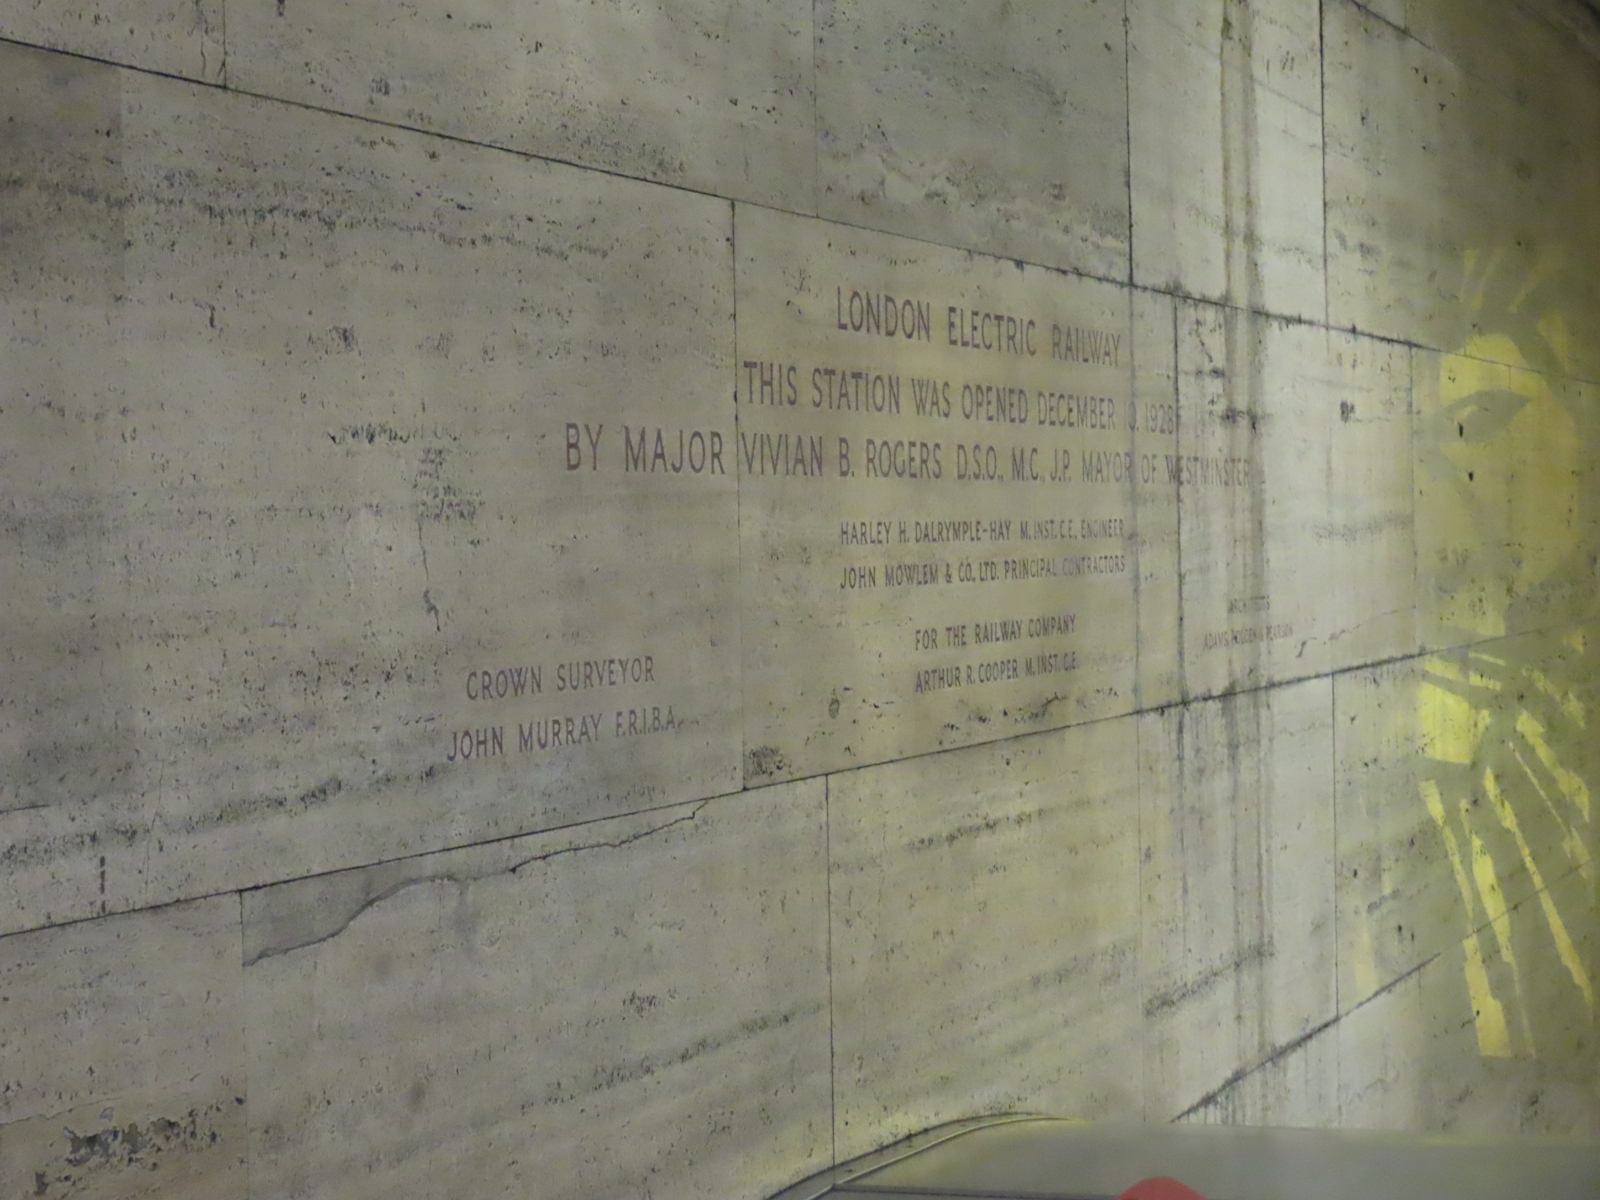
Returning to the public part of the station, we passed this lettering that commemorated the 1928 reopening.