REAL D3748
Thanks to Mick Haruk of Derby's street lighting team for getting hold of this 'Real'-ly rare fitting! This and several other D3748s were located underneath the bridge supporting St Alkmunds Way in Derby City Centre - see here for photographs, including a photograph taken from where this particular fitting was removed. The fittings probably date from the time that the bridge was constructed - the late 1960s. It appears that they were only used for a brief period - they had almost certainly been disconnected for around thirty years.
![]()
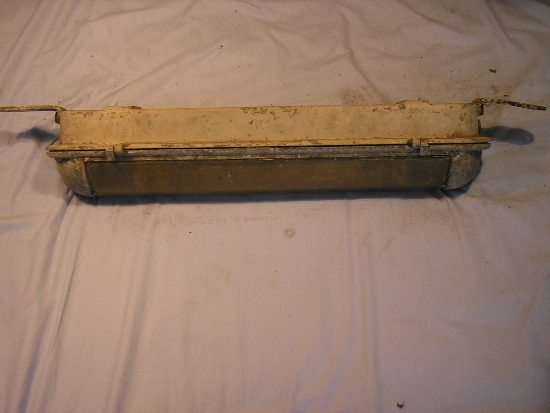
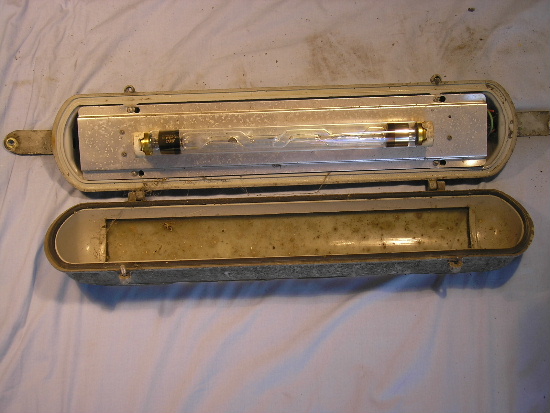
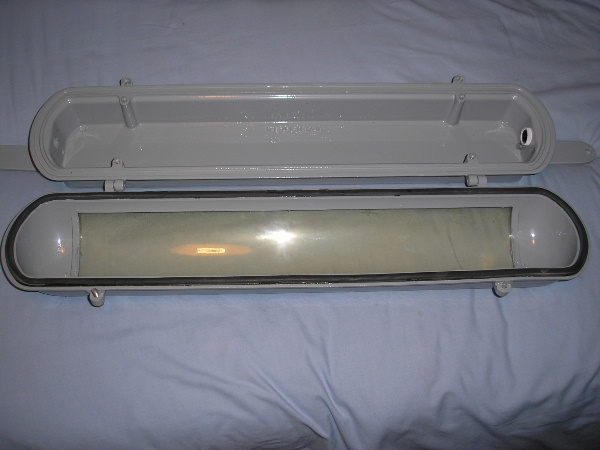
The fitting was held to the underside of the bridge by the two large plates at either end. Apparently the bolts holding the fitting in place were actually quite easy to remove. The external surfaces of the fitting are filthy and parts of the aluminium are quite badly corroded.
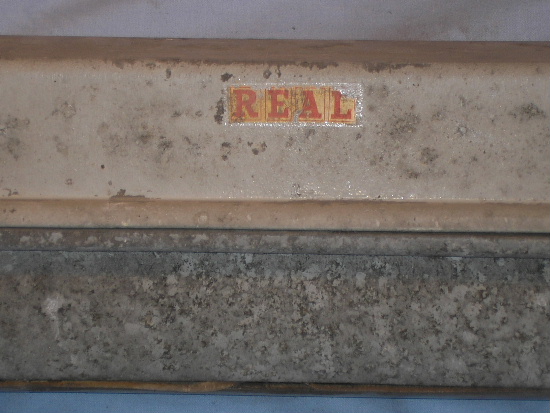
A close-up of the REAL logo - this has done well to survive!
The bowl on the fitting is angled to create an asymmetric light distribution.
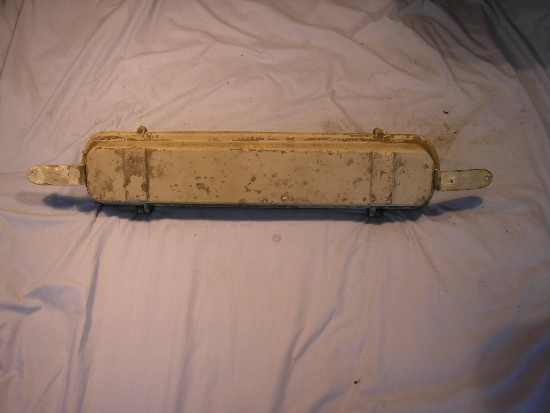
It appears that a top-entry option was available with these fittings - a circle is cast into the centre of the canopy.
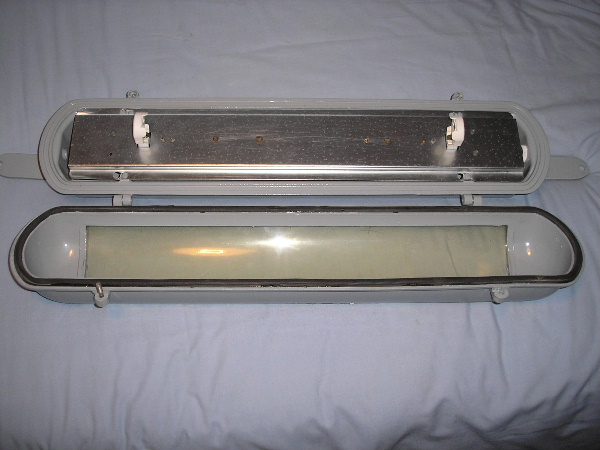
The bowl is hinged, and is held in place with two 3/16" grub screws. Whilst one is missing, the other is still present and is turning without a problem. A lamp can be seen inside the fitting - this was added by me for these photographs as all of the existing lamps had either been damaged or Jeremy had removed them previously for spares.
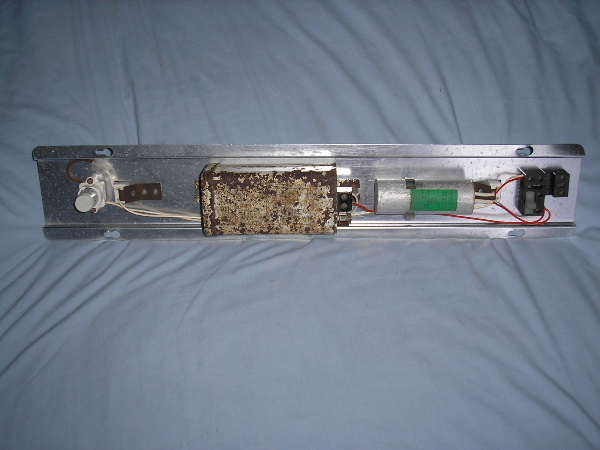
The gear tray seen here was removed from another fitting and appears to be in good condition on this side...
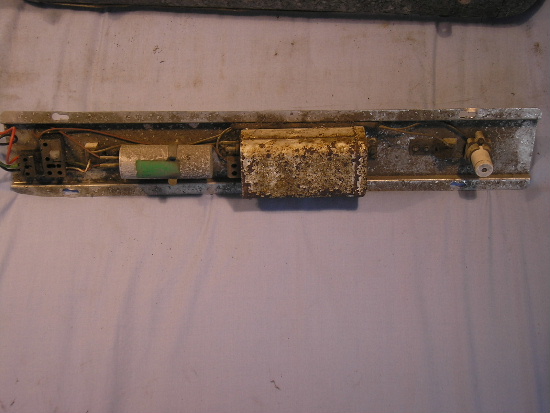
...but is rather in need of a clean on the other! The circuit uses switch-start gear as opposed to the all-in-one units seen on the Thorn Alpha 6 lanterns.
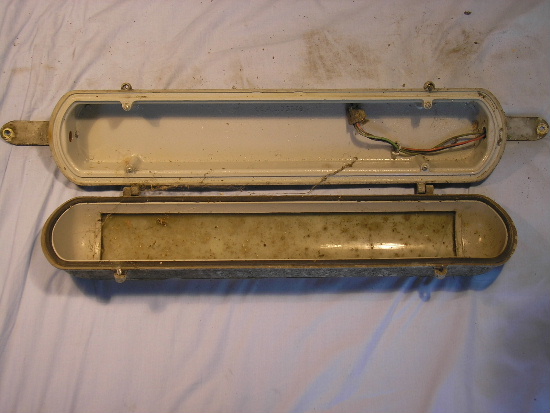
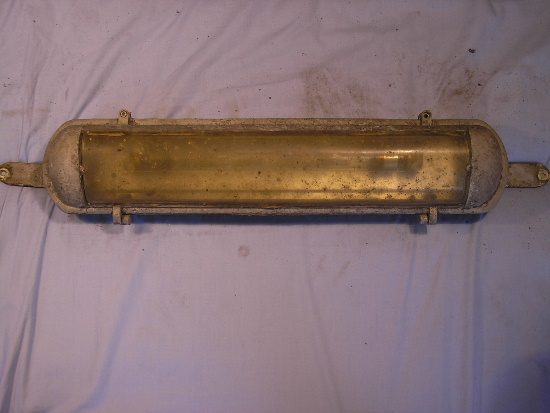
The bowl seal has done a good job of keeping the internal area fairly clean. The fittings could be wired as loop-in/loop-out thanks to the identical conduit threads at either end but these were all wired singly, meaning that the unused thread has been plugged.
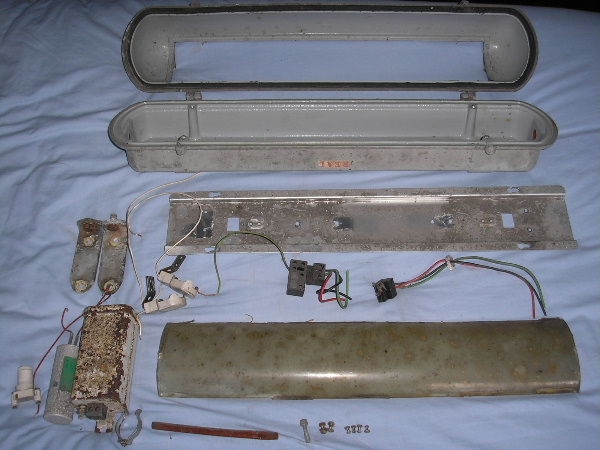
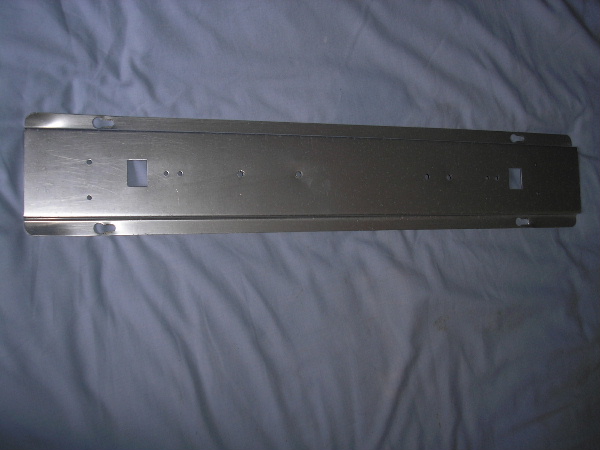
Restoration of the D3748 finally commenced on Friday, 27th March 2009. I started by removing components from the gear tray. Amazingly I did not encounter any seized fixing screws - good! I also removed the curved polycarbonate window; this proved slightly more difficult due to the sealant used to hold it in place (not to mention several small rivets) still securing the plastic. The photograph below reveals the incredibly simple construction of this fitting:
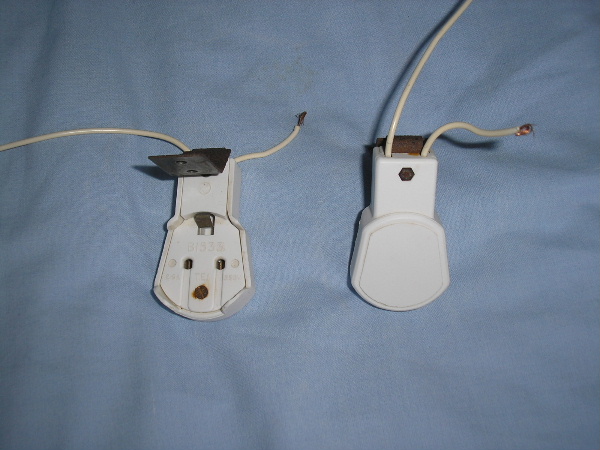
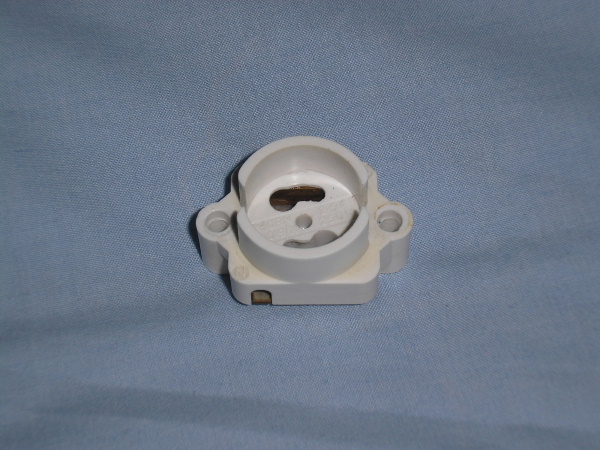
The internal electrical components all received a much-needed clean - the lampholders were first, followed by the starter holder:
The reflector/gear tray was wiped with a Brillo pad in order to remove surface corrosion and ingrained dirt - doing this significantly improved the reflector's earth continuity as well:
The components were then reattached to the gear tray. All of the original wiring was cleaned and re-used, although I felt that the wire between the primary lampholder and the starter holder was too short, and so I attached an additional length of wire at this point. The ballast received a minor clean but was largely left in its 'as-removed' state in an attempt to try to preserve what (if anything) was left of the detail on top.
Meanwhile, the actual bodywork of the fitting had been sent away for bead blasting and a repaint - I was very pleased at how this turned out.
The photograph above shows the fitting after the gasket had been refitted (it had been removed during the blasting), the bowl cleaned and the open cable entry hole converted to accept a 20 mm compression gland. The two fixing feet were taken off and blasted separately to the main fitting - they can be seen reattached here.
The gear tray was then reunited with the rest of the fitting. Finally, a lamp was fitted and the cover secured.

The fitting was powered up for the first time in many years, if not ever, on Saturday, 11th April 2009. Interestingly, the start-up of the lamp was reasonably instantaneous - I was expecting there to be a few short blinks from the starter before the arc finally stabilised, however such an event did not occur.
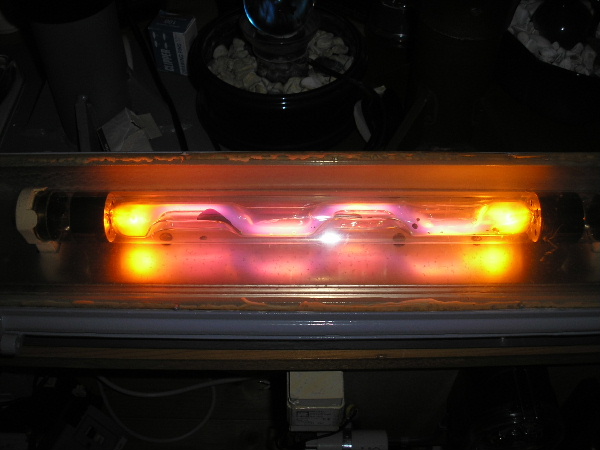
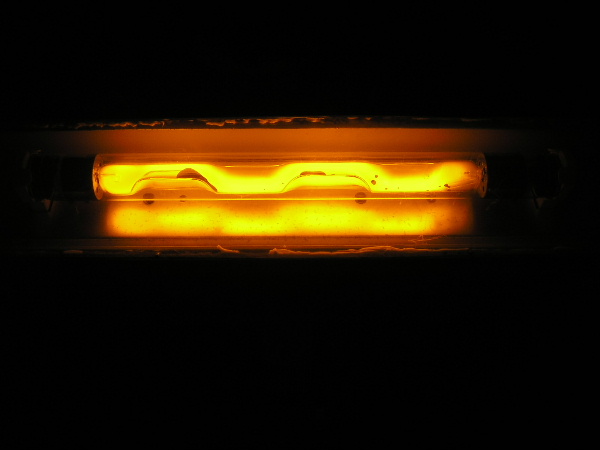
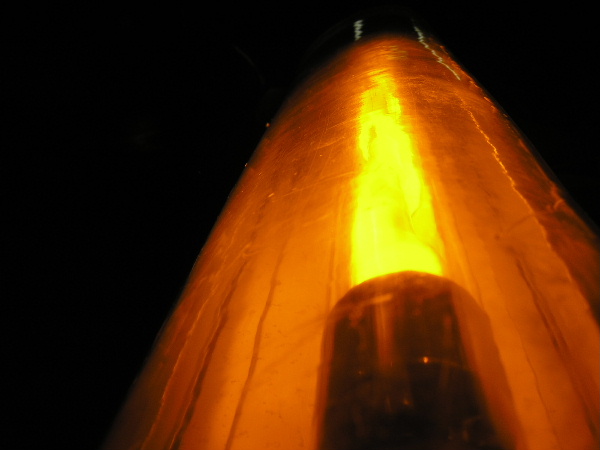
After a somewhat lengthy warm-up, the familiar colour of a low-pressure sodium lamp was achieved. (Subsequent warm-ups have proved to be considerably quicker than this initial running.)
The angled bowl on this fitting made for an interesting optical display!
Lamp warm-up video:
Testing the fitting with my energy monitoring device revealed the following results:
| Test Voltage (V) | Current being drawn at full power (A) | Measured wattage (W) | Apparent Power (VA) | Frequency (Hz) | Power Factor | True Power (W) |
| 236.9 | 0.37 | 63 | 88 | 49.9 | 0.72 | 63.11 |
BACK TO SUBWAY AND TUNNEL LIGHTS
CLICK HERE TO MAKE A MONETARY DONATION
© 2002 - English Street Lights Online