ESLA - Wiring up and Working
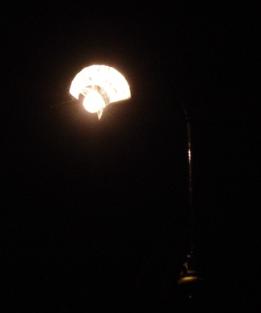
On Saturday, 1st November 2003, at about 5pm, the ESLA was switched on for the first time. Jeremy had made a start on wiring it up earlier that day, and finished at dusk, so as soon as I placed the fuse carrier into the cut-out, the lantern switched on straight away.
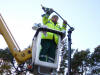
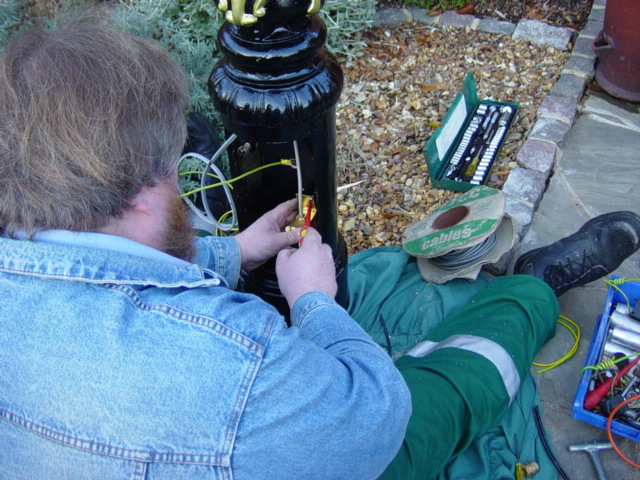
Jeremy begins with the task of turning some wires into a work of art. He sat in the same position for hours! I was worried that he wouldn't be able to get up again, but apparently he did this on a regular basis when wiring up column bases.
Here, the new backboard is being drilled, in order to allow the large brass fixing bolt to pass through it and into the wall of the column base.
More backboard adjustments.
With the backboard installed, Jeremy terminated the armoured supply cable; he is pictured here fitting the cable gland plate to the backboard.
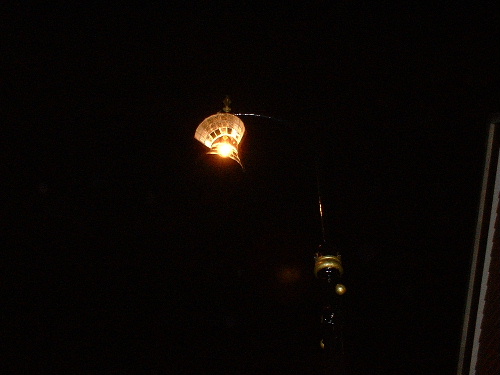
The limited availability of daylight in November posed a problem as work was nearing completion, with the finishing touches having to be made by torchlight.
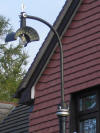
If only there were a convenient street light in the vicinity!
Wait a second...there IS a convenient street light in the vicinity...let's fire the old girl up, shall we!
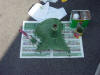
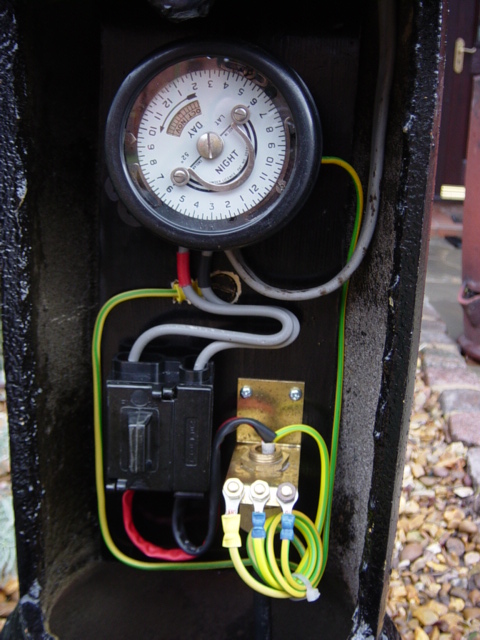
The next morning, the base was photographed before any spiders had had a chance to spin their webs over the components. The time switch and cutout look brand new, but in reality, they date from the 1950s and have received a very thorough cleaning. The time switch used is a Sangamo part-night (dusk until 11 PM GMT, or midnight during BST) with Bakelite case, and the cut-out is a Lucy. These cut-outs were often installed upside-down, in order that the neutral is on the left-hand side.
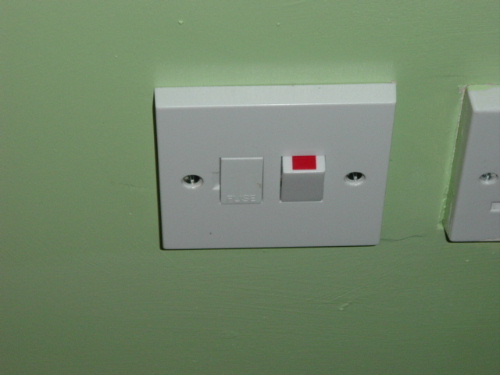
At the 'house' end of the installation, this switched fuse spur protects the supply cable between the house and the column. A BS 1362 fuse rated at 5 amps is fitted here, whilst a BS 88 fuse rated at 4 A is connected in the cut-out.
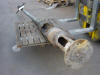
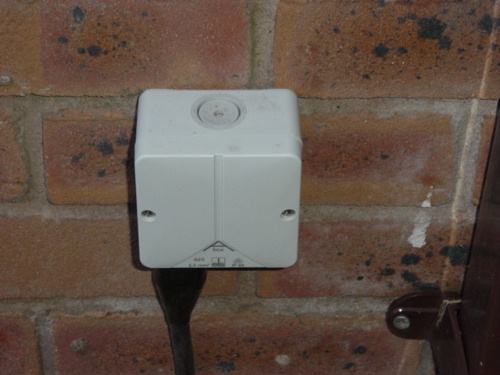
The supply cable terminates into this outdoor-rated enclosure.
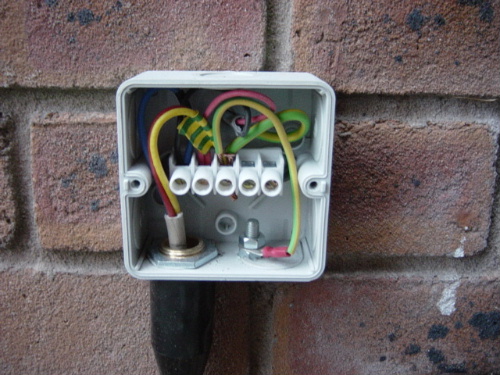
A short section of 1.5 mm2 twin-and-earth cable links between the switch and the enclosure, whilst a three-core steel wire armoured cable (also 1.5 mm2) supplies the column.
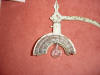
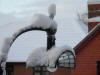
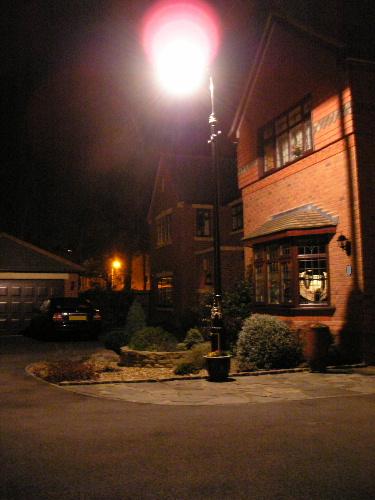
With that, the project is more or less finished! Notice that the tips of the ladder bars, central flower decoration, and top rim of the column have been painted gold now as well.
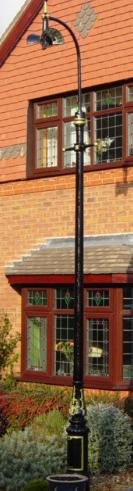
This is when you realise all that restoration was worth it - when the thing is actually doing what it's supposed to do: light the streets.
CLICK HERE TO MAKE A MONETARY DONATION
© 2002 - English Street Lights Online