ESLA - Restoration
Understandably, I was keen to commence the restoration on the ESLA as quickly as possible, and within a few weeks of acquiring it, I set to work on its extensive renovation.
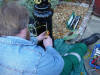
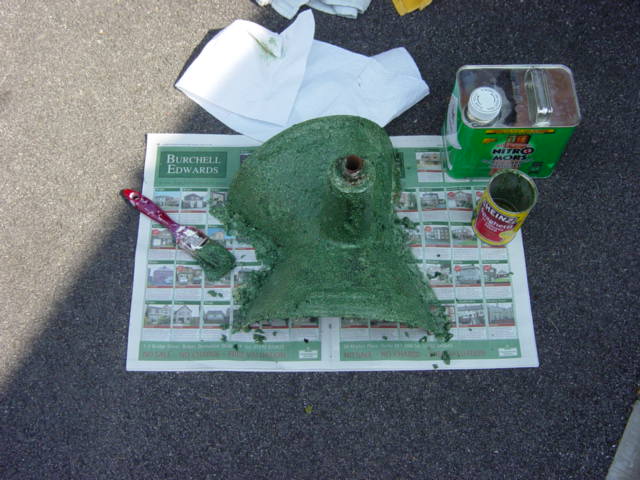
The first task was to remove the old, flaking paint from the canopy. I did this by applying the paint stripper Nitromors, whilst wearing a regulation oversized baby-grow, as is customary.
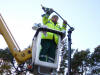
The cream top coat rapidly gave way to the ESLA's 'factory green' finish. I imagine that this was the first time it had been seen for nearly three quarters of a century! It saddens me to think that the person who applied that paint is probably no longer with us; however, on a lighter note, the spaghetti can was not for me to eat out of - it was to hold a small amount of Nitromors, as only small patch of the paint was removed at a time. I wonder how the people who were trying to sell their houses feel now that a large green lantern has completely blocked out their view!
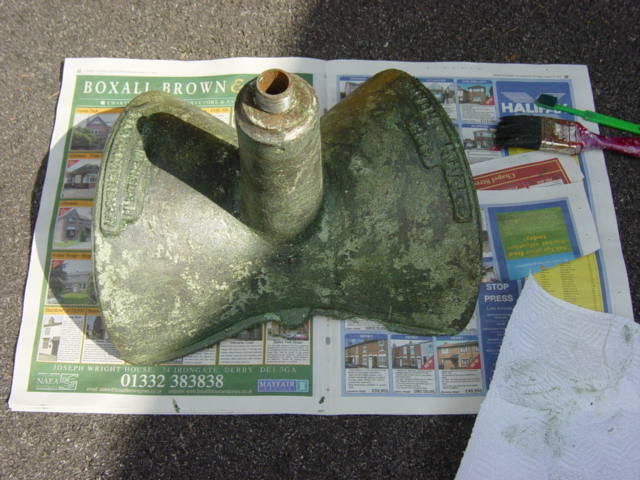
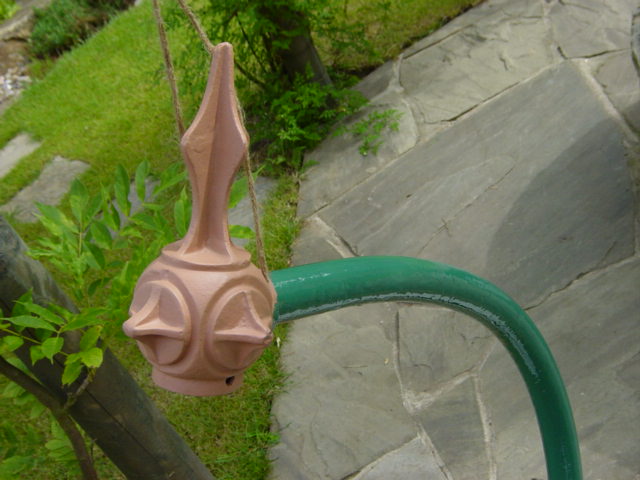
The lantern after all the paint was removed. I should imagine that the 'Factory Green' paint was lead based, which of course is no longer used to make paints due to the health risks involved. The white patches are not paint - they are part of the metal or areas where rusting has taken place. The lettering was now much clearer to read. A toothbrush was used to remove any pieces of paint from between each letter so it really stands out now! Click the above picture to see the lantern in a similar position after it had received its second-to-last coat of paint.
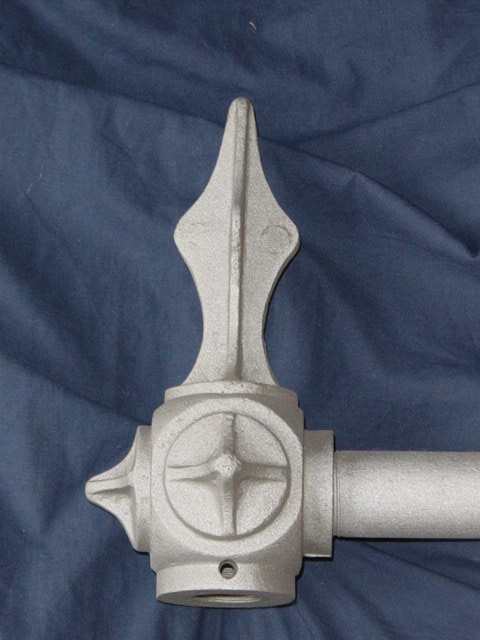
Meanwhile, I had sent the bracket off to be sandblasted. This process only took a day, and I was impressed by the speed at which the company worked at! Naturally, I had worries about the finial being damaged, but luckily no such damage had occurred.
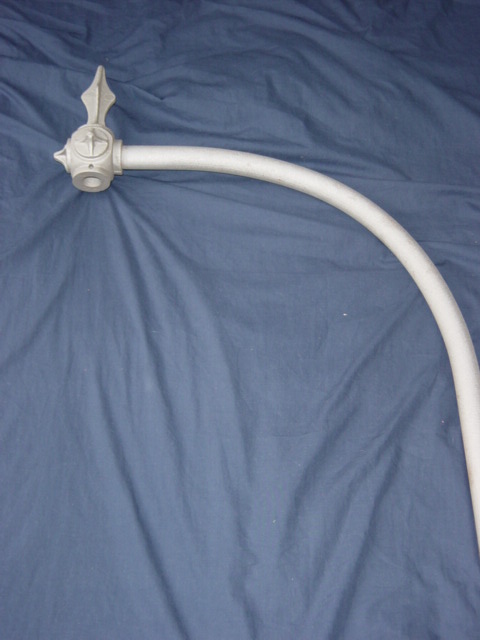
The bracket and lantern receive a little rust-proofing treatment. The finial had been left, in order that I could hold onto it while the bracket was being painted.
The bracket and lantern receive a little rust-proofing treatment. The finial had been left, in order that I could hold onto it while the bracket was being painted.
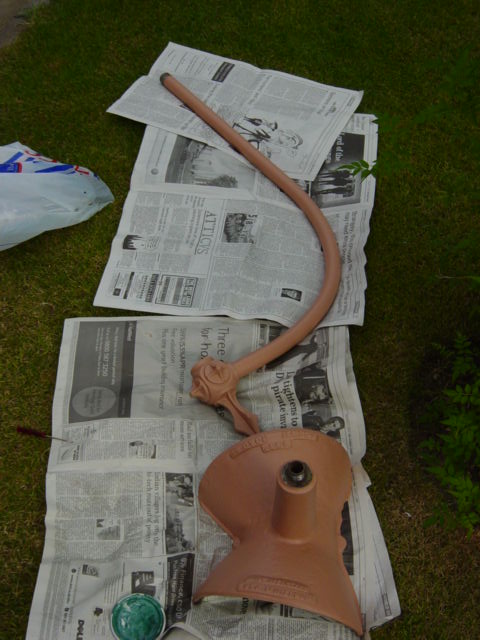
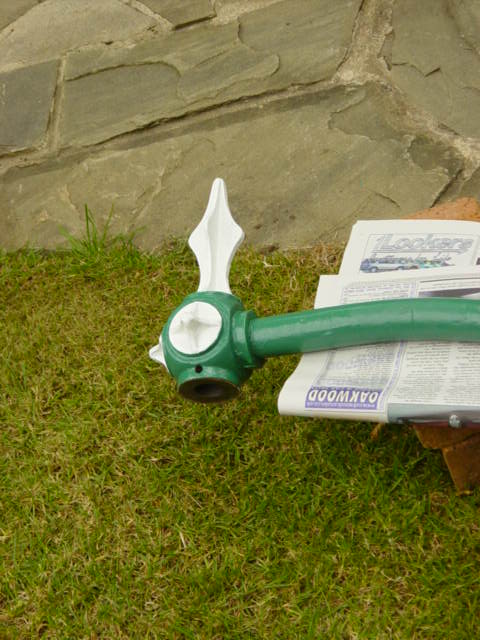
A similar photograph here - this time everything has received two coats of rust-proofing paint. The finial looks brilliant, although I'm not keeping it that colour!
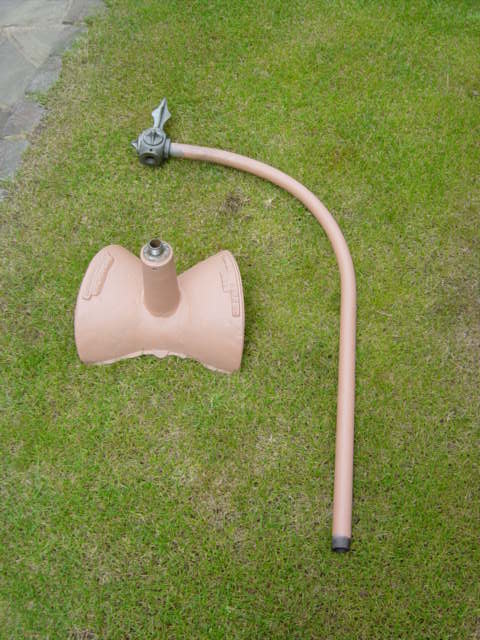
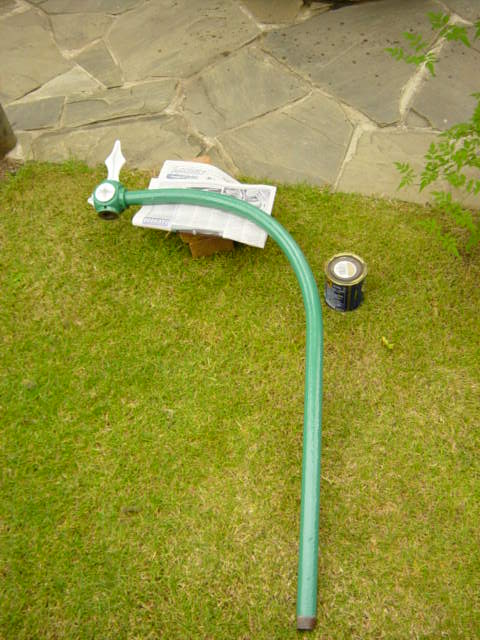
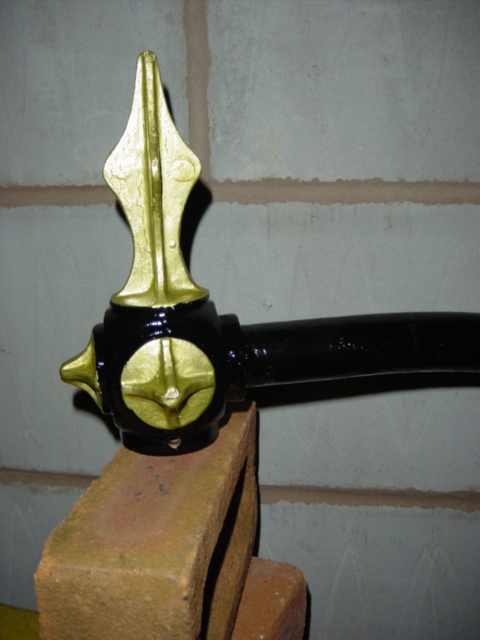
The bracket in a new coat of factory green - another two layers of rust preventer! The finial will be painted in this way as well; however, the 'fancy bits' will be in a different colour.
No, not white! Or green for that matter...
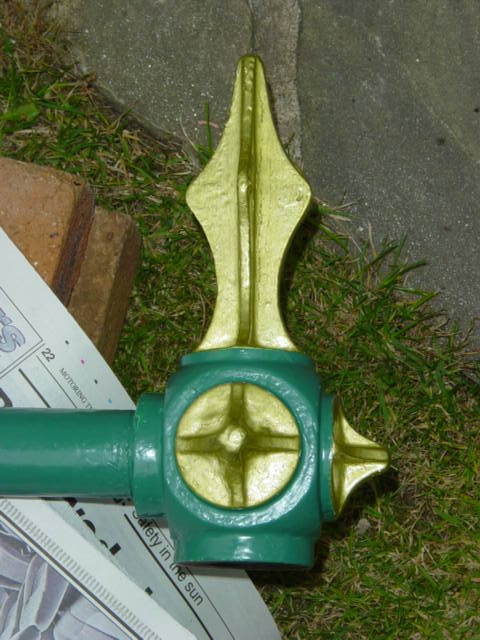
That's right, they're going to be gold! Time to start repainting the rest of the bracket...
The last layer to be applied is a glossy black paint - I chose this to go with the gold as both colours complement each other very well.
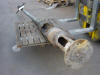
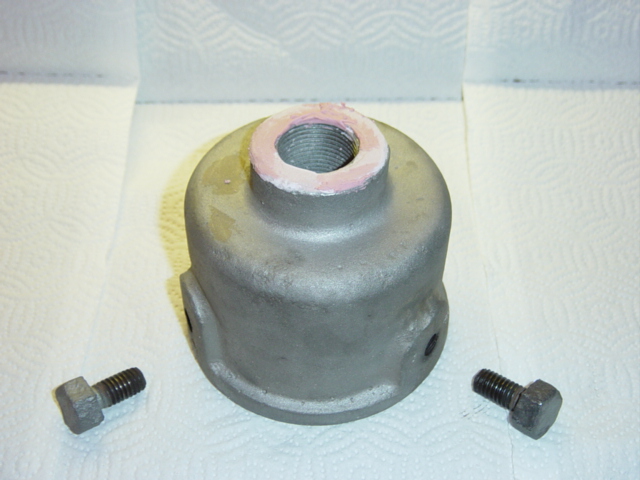
As the previous photographs show, no spigot cap came with the bracket. Luckily, Jeremy managed to get one from a bracket that had been removed following a lighting upgrade on a street. It has been sandblasted and the top has been coated in a metal repairing compound, due to this area looking particularly corroded. Before the sandblasting, it was black, but not with paint! The original bracket it was on had had to be removed using a blowtorch - there was no other way of separating the two, and so the metal was covered with a layer of ash! The two Whitworth bolts are thought to date from before the Second World War, as they have very large heads (later bolts had smaller heads).
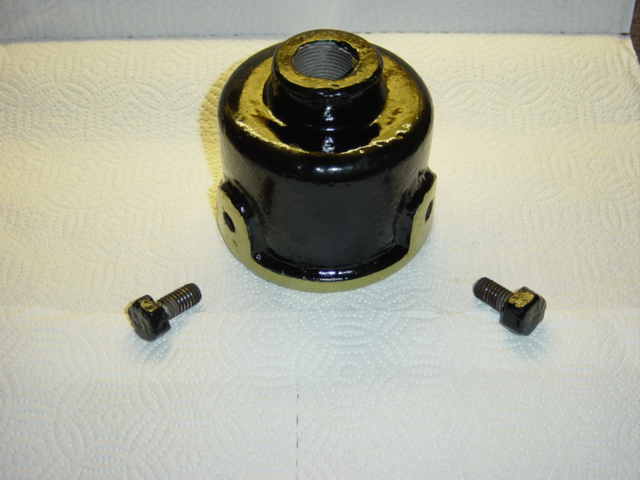
Well, this time I can safely say that the blackness is paint! It's quite hard to see here, but a rim around the base has been painted gold - the apparent 'goldness' on the top is a reflection from a fluorescent lamp.
Meanwhile, the lantern body was also painted in its final coat - also black. (No, I haven't taken this idea from any Rolling Stones' songs by the way!)

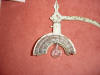
The last bit of paintwork - making the writing gold! The flash had to be used, otherwise the picture was too dark, but it makes the text directly below the camera look white! The casting fault on the 'B' in 'Canterbury' can be seen here.
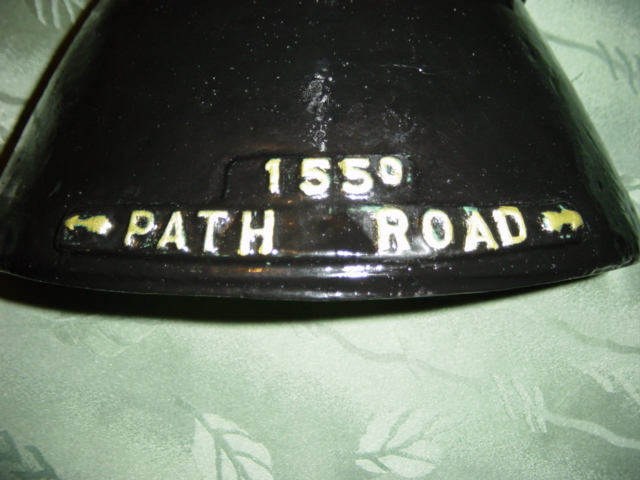
The other wing now - a similar story really. I love the little decorative arrows that point out where the road and path should be - they would never be seen by anyone after the lantern had been installed, and yet they were still made to look ornate.
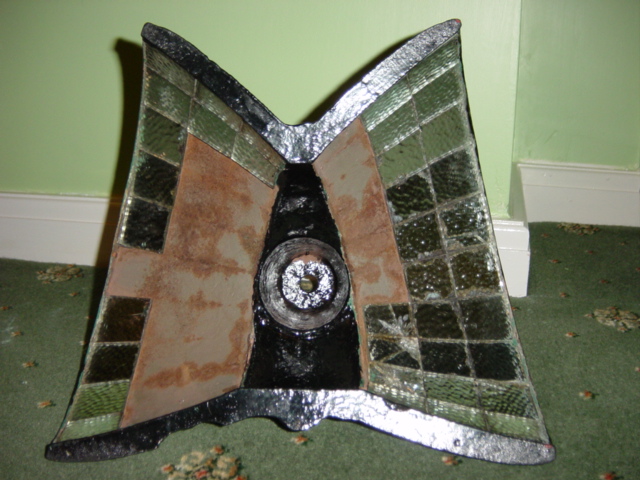
Quite a few mirrors, mainly broken ones, were then removed. Some good ones were also taken out to make it easier to put the new ones in. Some of the mirrors with just a slight crack in them were retained as I wanted to use as many of the original mirrors as possible.
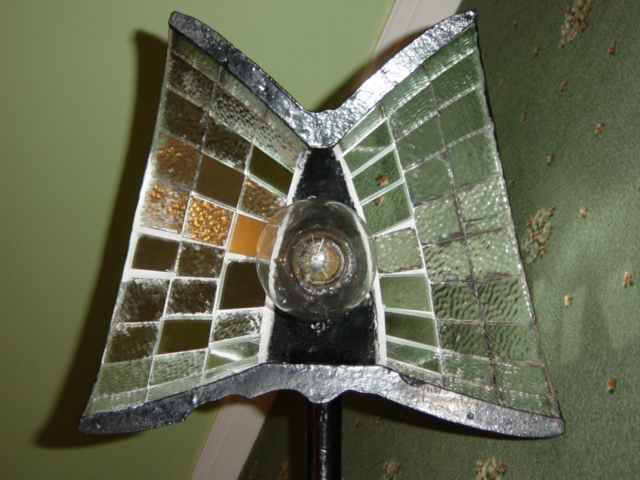
An almost identical shot to the one above! I tried all local glass companies, and none of them would do patterned mirror glass, so I had to make do with some clear pieces. The problem is, the original ESLA glass is not all the same size, and neither is the modern glass for that matter, so the two rows of small glass had to be adapted to only have nine mirrors in them, as opposed to ten in the medium and large glass rows. Still, at least they are doing their job - take a look at the right hand side of the picture - the flash has reflected well!
What aren't shown here are photographs of the brass lampholder and retaining screw after they had been worked on - they were badly corroded when I first received the lantern, but looked like new after being dipped in vinegar for a time.
CLICK HERE TO MAKE A MONETARY DONATION
© 2002 - English Street Lights Online